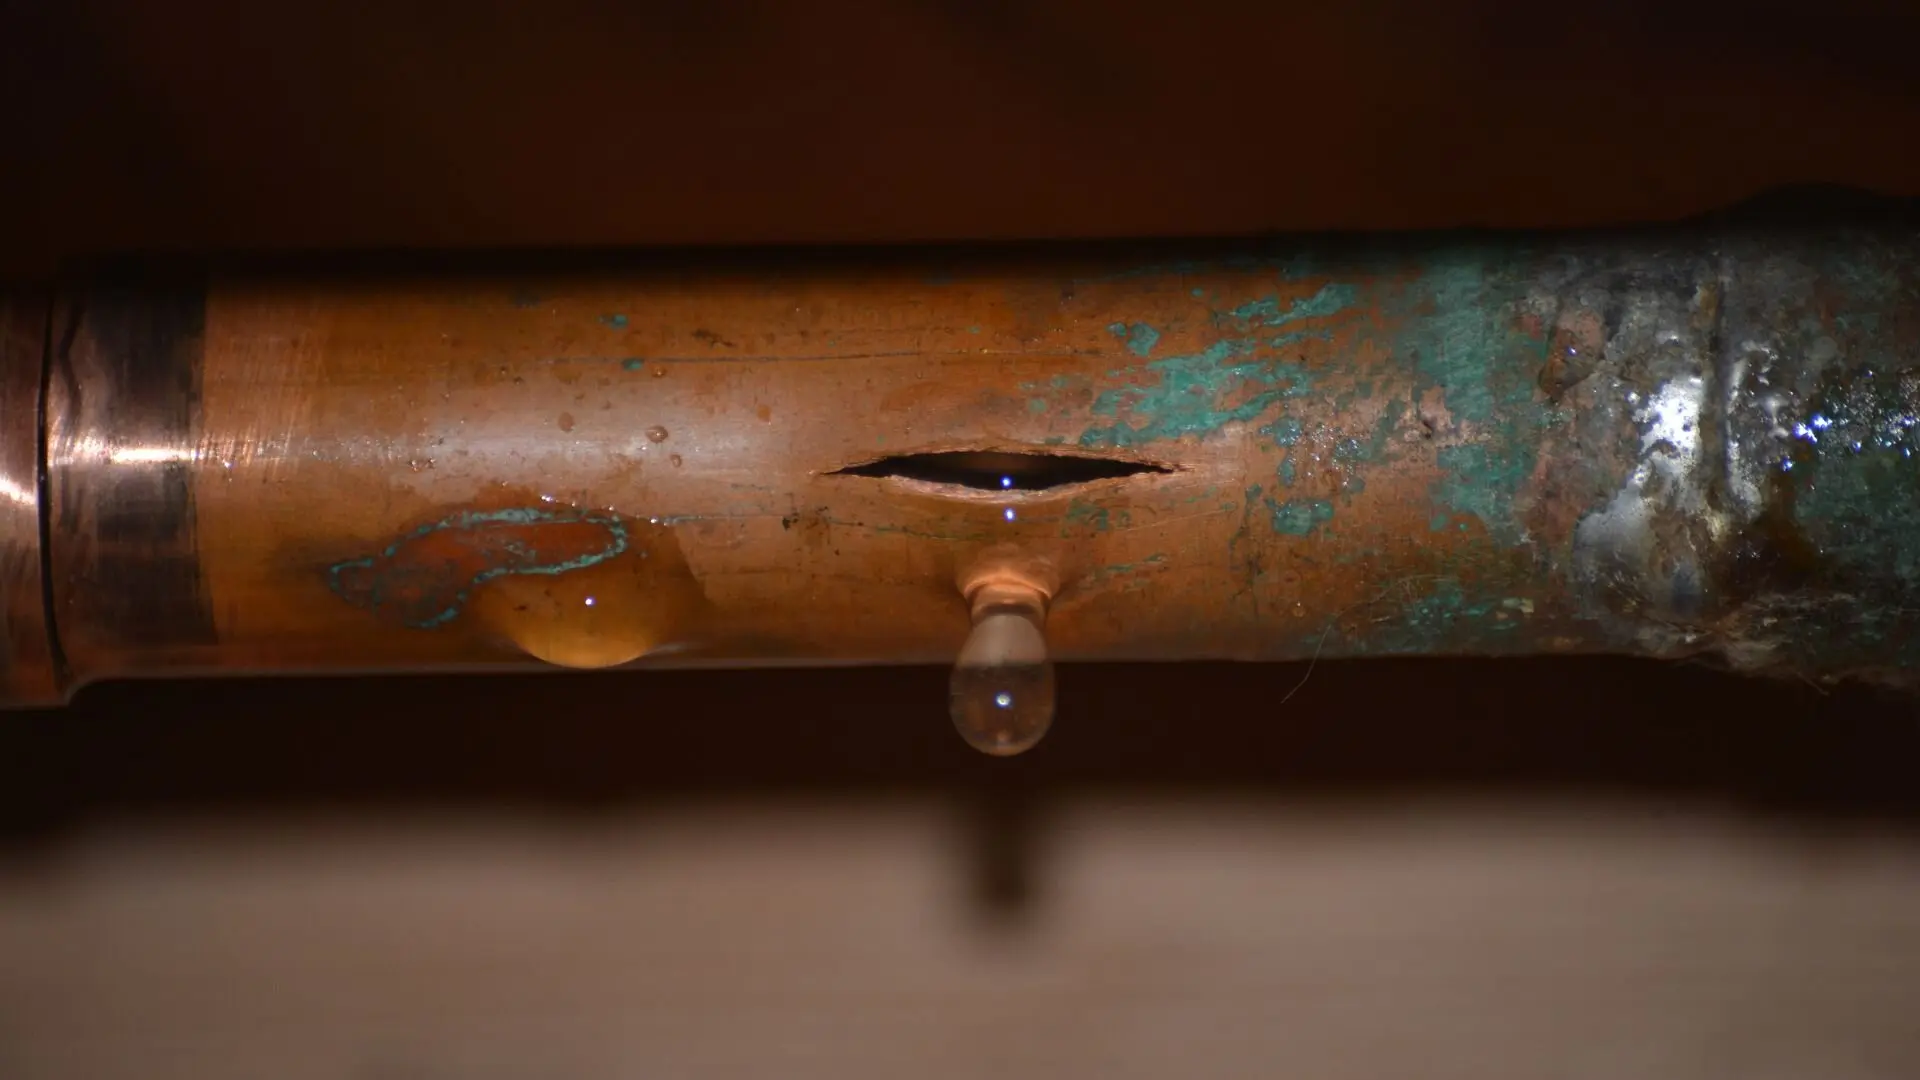
Uh oh! Burst pipe?
A burst pipe isn’t just a major inconvenience; it can also lead to serious mould and mildew growth if left unchecked. Mould spores thrive in damp environments, and a burst pipe creates the perfect breeding ground for them to spread quickly. Mould and mildew can damage your home and belongings, but more importantly, they can pose a health risk.
This comprehensive guide equips you with the knowledge and steps to effectively handle mould and mildew after a burst pipe, protecting your home and health.
What to Do After a Burst Pipe
Dealing with a burst pipe can be a real hassle. To quickly minimise damage and restore order, follow these steps right away:
![]()
1. Stop the Water at the Source
This is critical! Locate your home’s main water valve – it’s usually near the meter or outside tap – and turn it off completely. This cuts the water supply and prevents further flooding. Act quickly to limit the damage.
2. Assess the Situation
After turning off the water, take some time to survey the aftermath. Assess the extent of water damage and try to pinpoint where the pipe burst. This will help the plumber get to the root of the issue faster.
3. Call a Licensed Plumber
Tempted to do the repairs yourself? It’s best to resist! Burst pipes can be complicated, and DIY fixes might make things worse. Give a licensed plumber, like WP Plumbing, a call straight away. They’re trained to sort out burst pipes efficiently and safely get your water flowing again.
Mould and Mildew: Taking Care of Unwanted Guests
Mould and mildew can wreak havoc in your home, not just on your walls, but on your health too. Exposure to these fungal growths can trigger respiratory problems like coughing, wheezing, and even asthma attacks. People with allergies might experience itchy eyes, runny noses, and skin irritation.
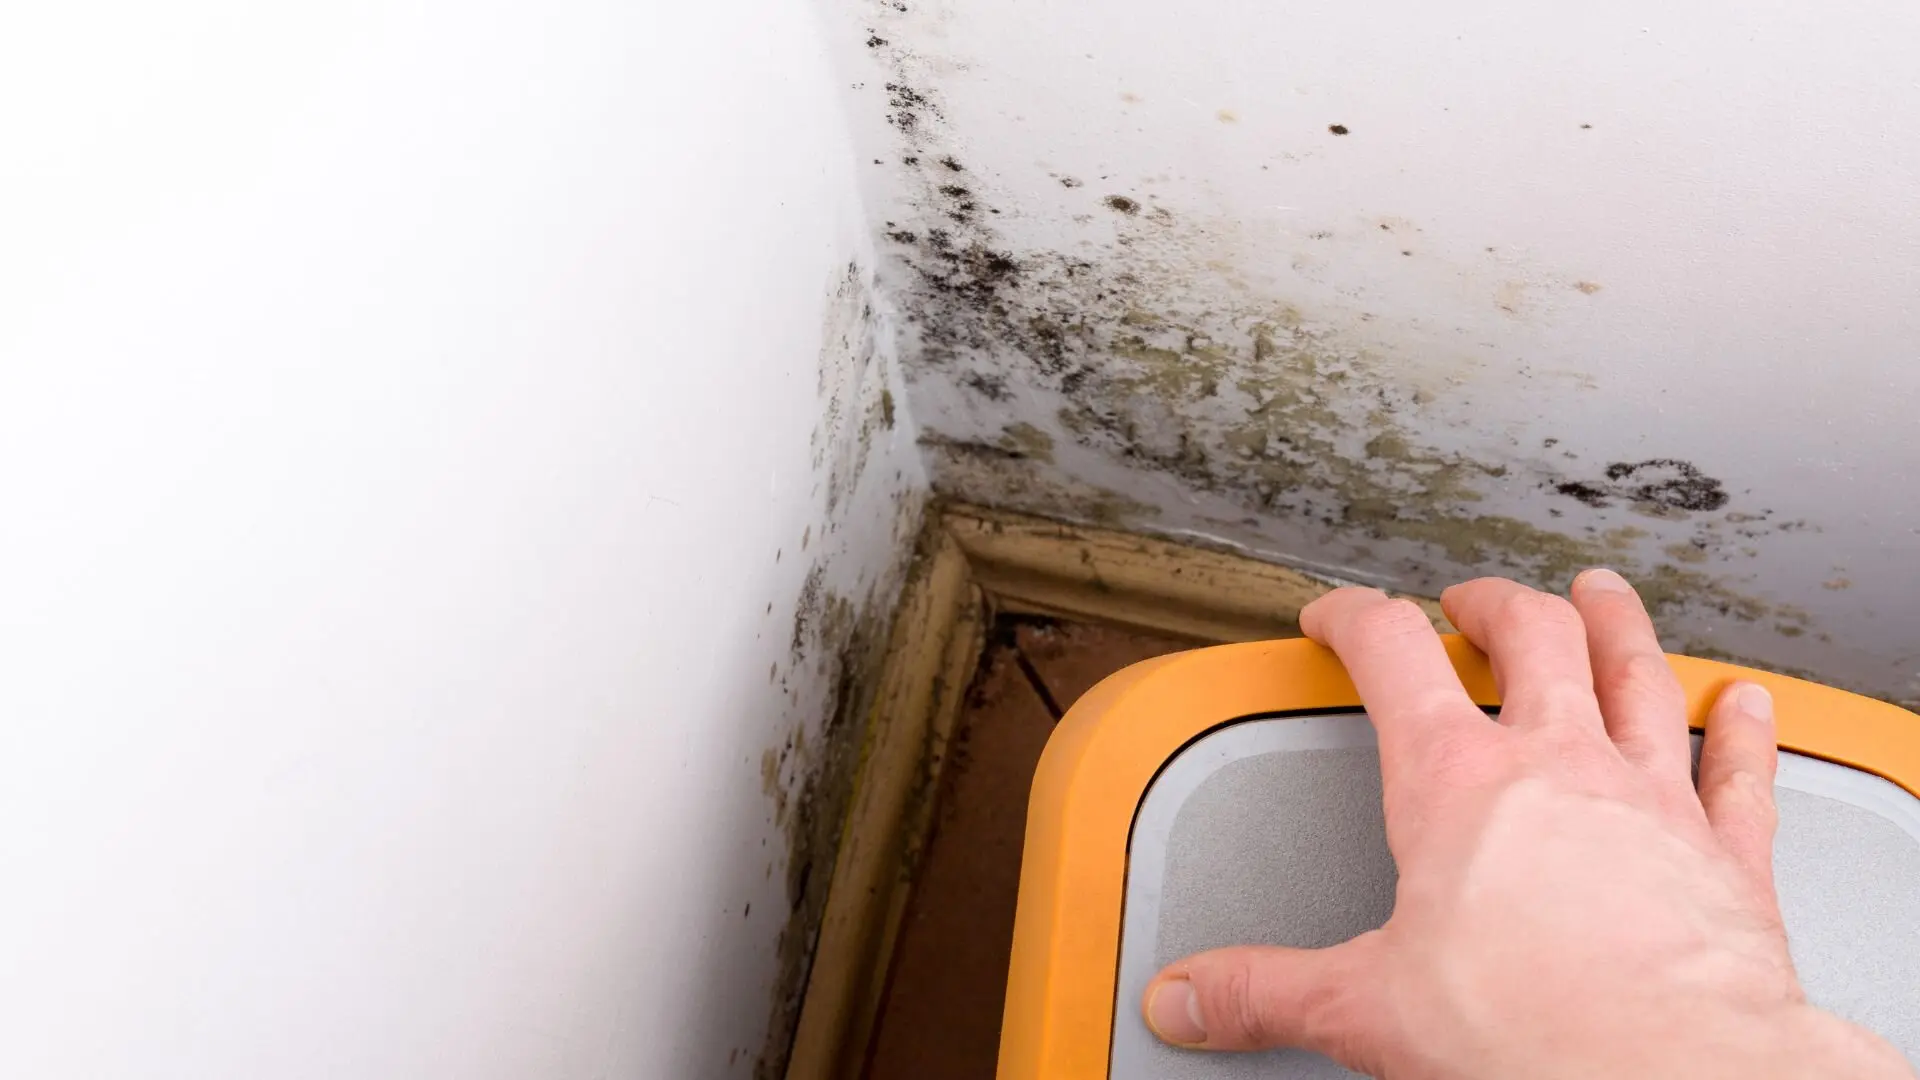
Spotting the Troublemakers
Distinguishing between mould and mildew can be tricky, but here’s a handy guide to help you out:
- Mould: Often appears fuzzy or patchy and comes in various colours - black, green, brown, or white.
- Mildew: Usually flat and grows in a patchy, white, grey, or yellow pattern.
Both love damp environments, so check areas like:
- Walls and ceilings: Especially after water leaks or burst pipes.
- Behind furniture: Particularly in areas with poor air circulation.
- Bathrooms and laundries: Due to the constant moisture.
![]()
Fresh Air is Key
One of the best ways to fight mould and mildew is through proper ventilation. Whenever you can, open windows and doors to create a breeze, letting fresh air sweep away any dampness lingering around.
Dehumidifiers are also quite useful, especially in humid climates. These nifty devices pull excess moisture from the air, making your home less inviting for mould and mildew. Essentially, they draw in damp air, condense the water into a tank, and release drier air back into the room.
Cleaning and Disinfecting Affected Areas
Safety First: Before tackling any cleaning, protect yourself! Wear gloves, a mask, and goggles to minimise exposure to mould spores and cleaning chemicals.
Surface Showdown: Porous vs. Non-Porous
Porous Surfaces (carpets, drywall): Mould loves to burrow into these materials. For extensive mould growth, removal and replacement might be necessary. If the affected area is small, try cleaning with a vinegar solution (1 part vinegar to 4 parts water) or a commercial mould remover. Always check the manufacturer’s instructions. Remember, with porous surfaces, sometimes prevention is the best cure. Ensure proper ventilation to avoid moisture build-up, which is a breeding ground for mould.
Non-Porous Surfaces (tiles, countertops): Here’s where you can fight back! Here’s a step-by-step guide:
- Clean the area: Remove any loose debris with a disposable cloth.
- Disinfect: Prepare a solution of water and a disinfectant (like vinegar or a commercial mould remover). Follow the manufacturer’s dilution instructions.
- Apply and Scrub: Apply the solution liberally to the affected area and scrub with a stiff brush. Pay attention to crevices where mould might hide.
- Rinse and Dry: Rinse the area thoroughly with clean water and allow it to dry completely. Proper ventilation helps speed up drying and prevent mould regrowth.
Keep It Contained: When you’re done, be sure to toss all contaminated cloths, sponges, and cleaning materials in sealed rubbish bags. This stops any pesky spores from escaping and spreading the mould around.
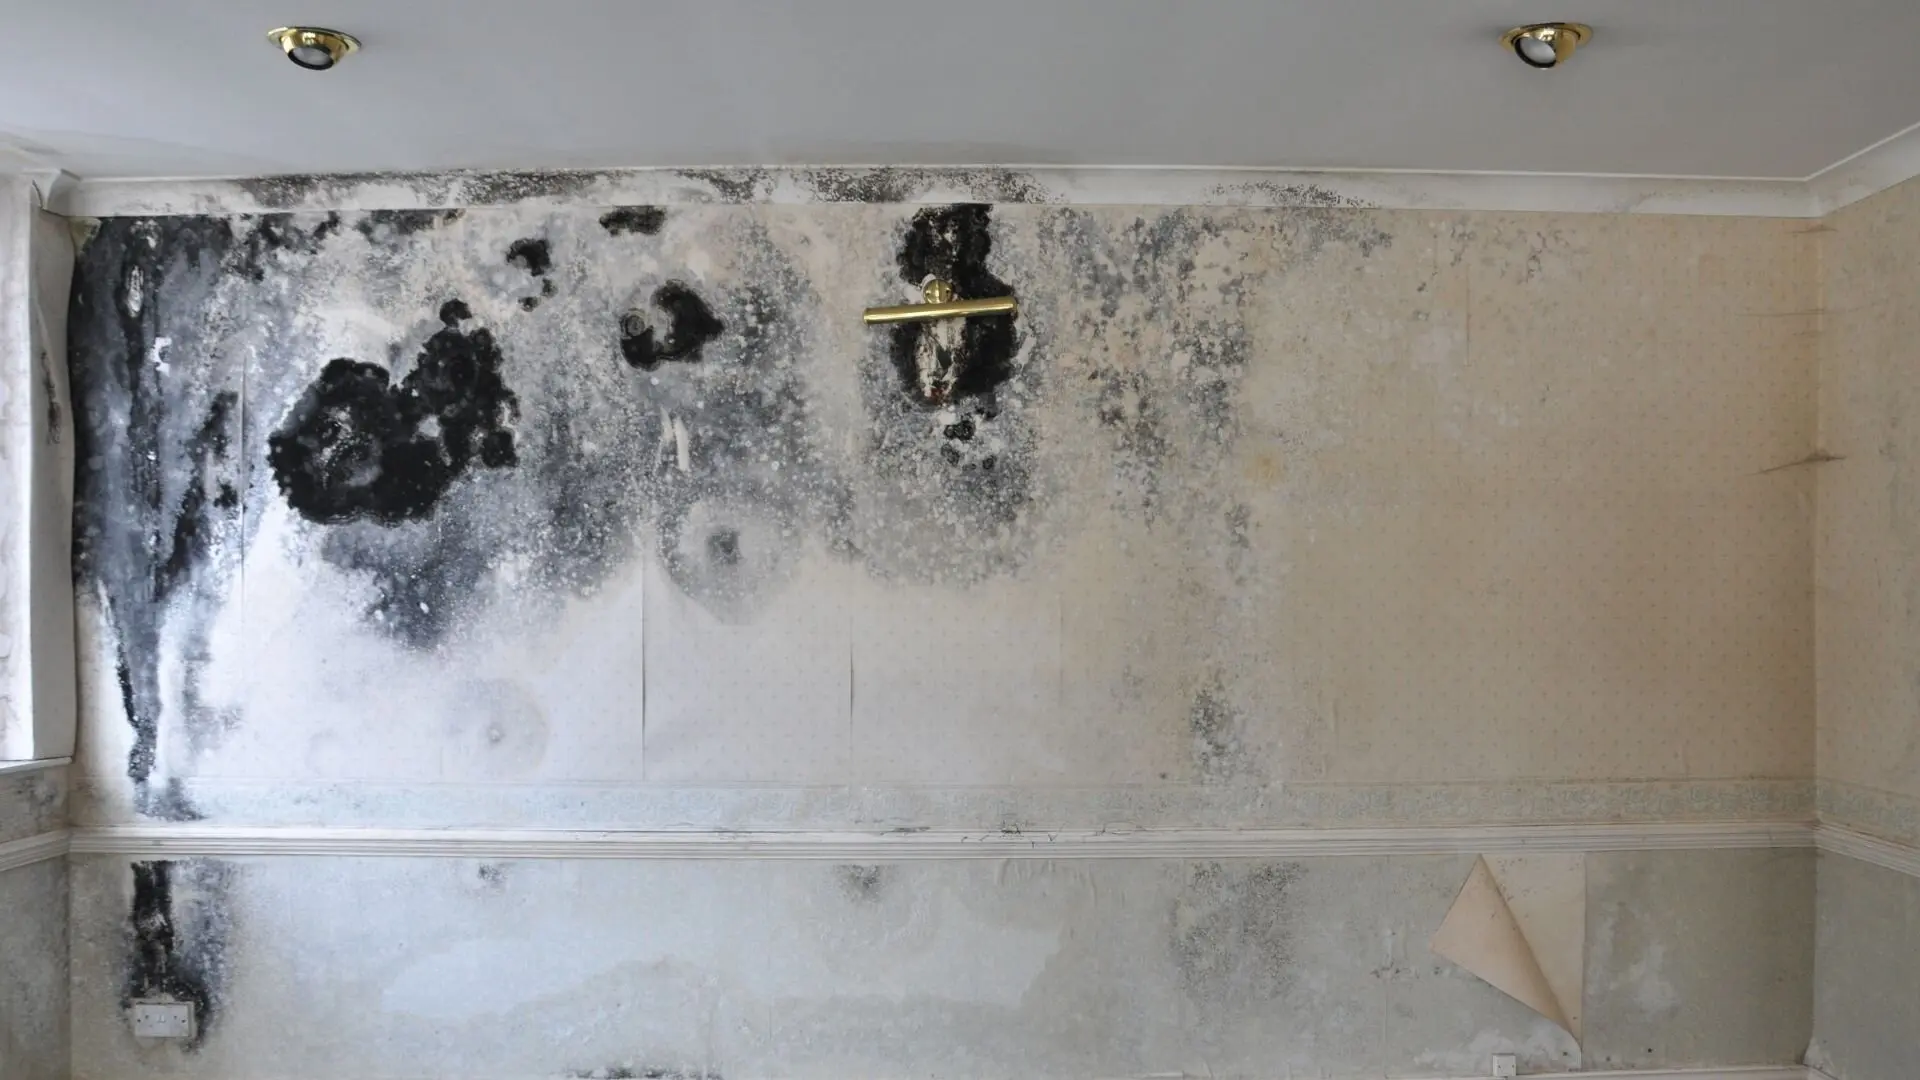
Preventing Mould and Mildew Recurrence
![]()
Stop the source: Fix any leaks or plumbing problems that might cause excess moisture. If you’ve had a burst pipe, ensure a qualified plumber repairs it properly to prevent lingering moisture issues.
Ventilate well: Develop habits that promote good airflow throughout your home. Turn on exhaust fans in bathrooms and kitchens during and after use, and open windows when possible to let moisture escape.
Keep an eye out: Regularly check for signs of leaks or condensation, especially in moisture-prone areas like bathrooms, laundries, kitchens, and around windows. Address any moisture problems you find promptly to prevent mould and mildew growth.
Your Home, Your Health: Taking Charge After a Burst Pipe
Dealing with a burst pipe is stressful, but by acting quickly to dry the area and remove mould, you can prevent further damage and ensure a healthy home environment. Burst pipes can be stressful, but WP Plumbing is here to help.
Based in Melbourne and need an emergency plumber for a burst pipe? Reach out to us for quick and reliable repairs. We’re here to help minimise water damage and stop potential mould issues in their tracks.