![]()
Water damage from leaky pipes is a common plumbing problem that many homeowners face. Finding and fixing the source is essential to prevent further issues, whether a slow drip or a significant leak. One of the most widespread pipe materials used in homes is copper, but over time, copper pipes can develop small cracks or joints that no longer hold tight.
In this blog, we’ll walk you through a few straightforward steps to fix a leaking copper pipe on your own. We’ll look into spotting the leak, getting the area ready, removing any damaged sections, connecting new fittings, and making sure the joints are soldered securely. With just a handful of basic tools and supplies, you can often fix a minor leak in no time, sparing you the expense and inconvenience of calling a plumber.
Common Causes of Copper Pipe Leaks
There are a few main reasons why copper pipes may start developing leaks over time:
- Vibrations and temperature changes can cause fatigue cracks to form in the piping. This is especially true in areas near water heaters, washers/dryers, and anywhere pipes may be rubbing against building structures.
- Improperly installed or tightened fittings are a common source of early leaks. Over-tightening or under-tightening joints during installation can cause them to fail prematurely.
![]()
- Mineral deposits from hard water can accumulate inside pipes and around joints, eventually restricting water flow and creating stress lines.
- Corrosion on the exterior or interior of pipes from acidity in the water or soil. Corrosion eats away the copper from the inside out.
- Damage from freezing weather if pipes are exposed or poorly insulated in unheated areas like attics, crawlspaces or exterior walls. The expanding ice can split pipes open.
Attention to how and where cracks or leaks first appear can help identify the cause.
Identifying a Leaking Copper Pipe
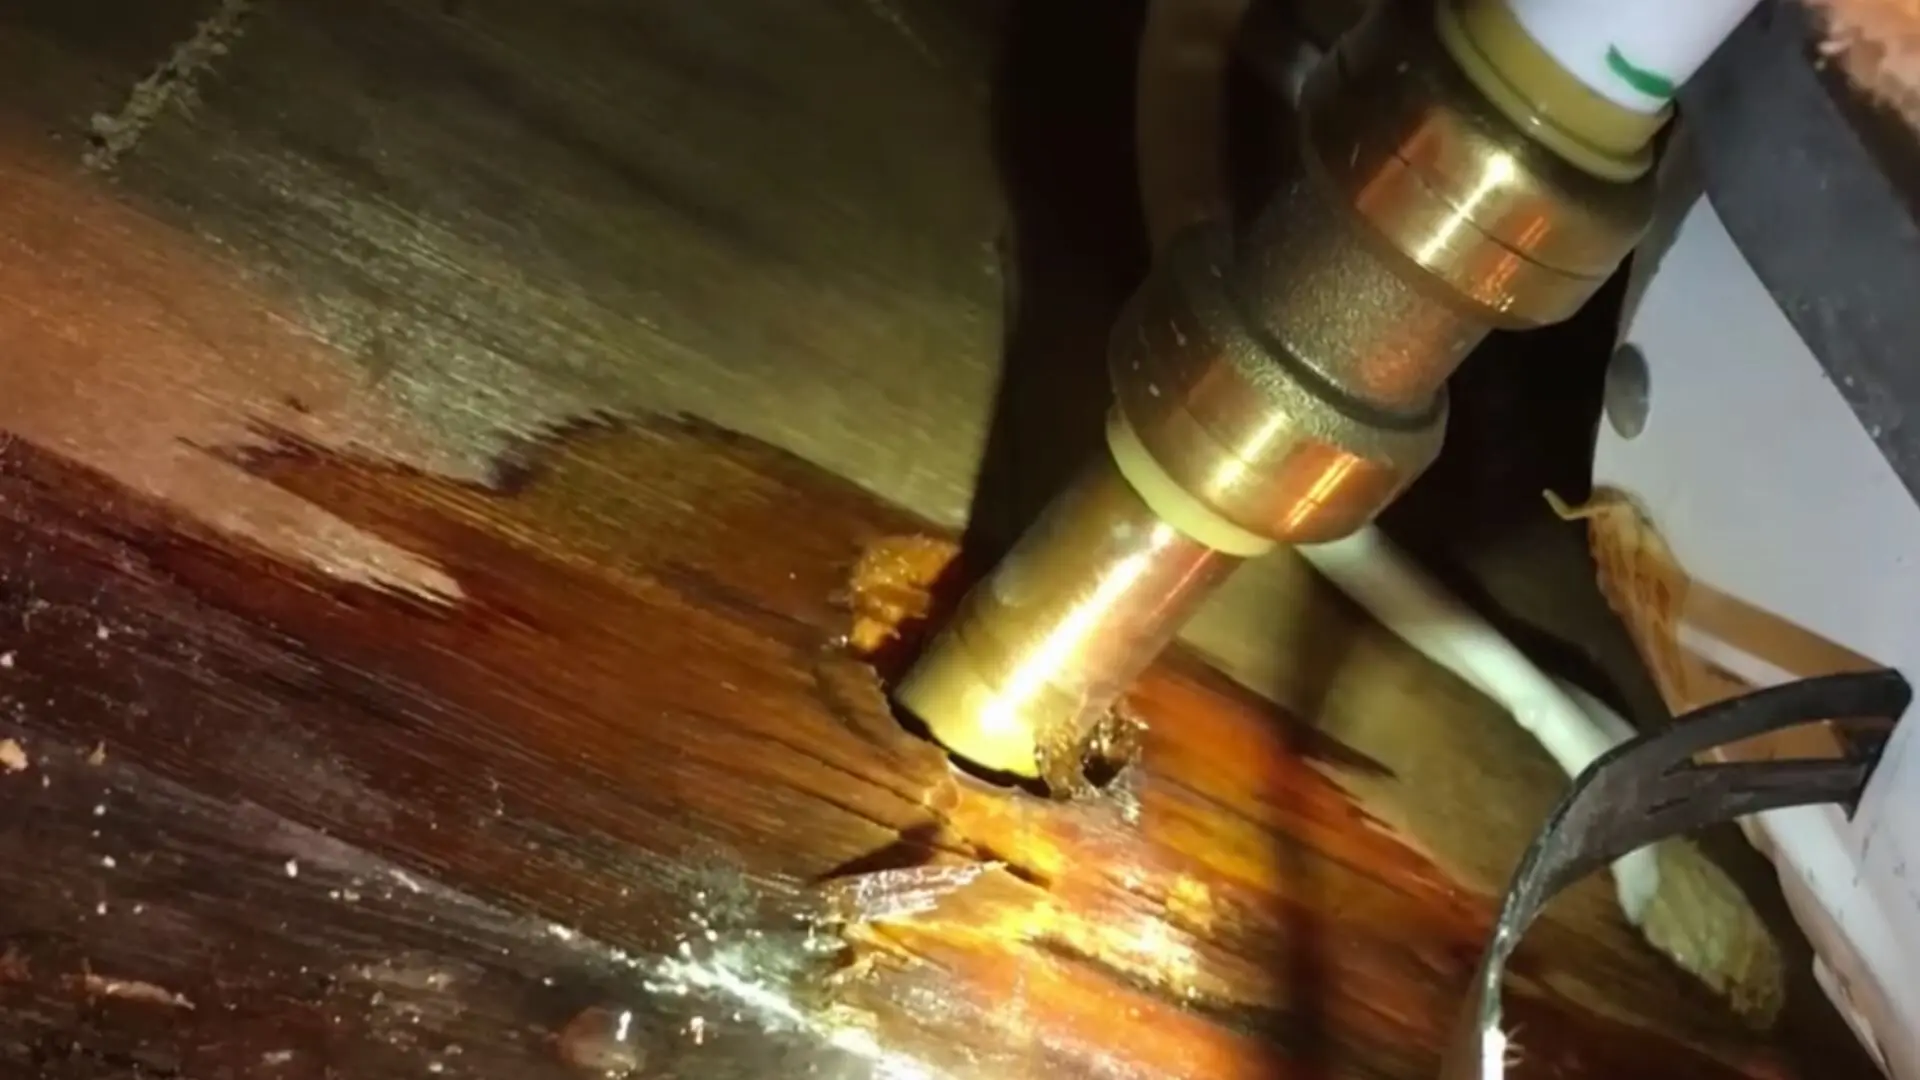
Start by checking all visible parts of your copper plumbing system, including the water heater and any copper pipes. Look for moisture signs—damp spots on walls or ceilings, puddles, or stained areas—that might suggest a leak in the pipes.
Run your drinking water throughout the house and listen closely to pipes that run through walls, floors, and cabinets for any dripping or strange sounds. You may also need to feel along pipes, as copper leaks sometimes present as a slow drip that is hard to detect visually.
Suppose you find a damp area; carefully cut into the drywall or wood with a utility knife to inspect behind. Use a mirror on a stick to examine pipes in tight spaces. Once located, wipe away any moisture and examine the pipe closely under good lighting for pinhole leaks, hairline cracks, corroded spots, or fittings that no longer appear fully sealed. Have a rag handy to wipe as needed.
![]()
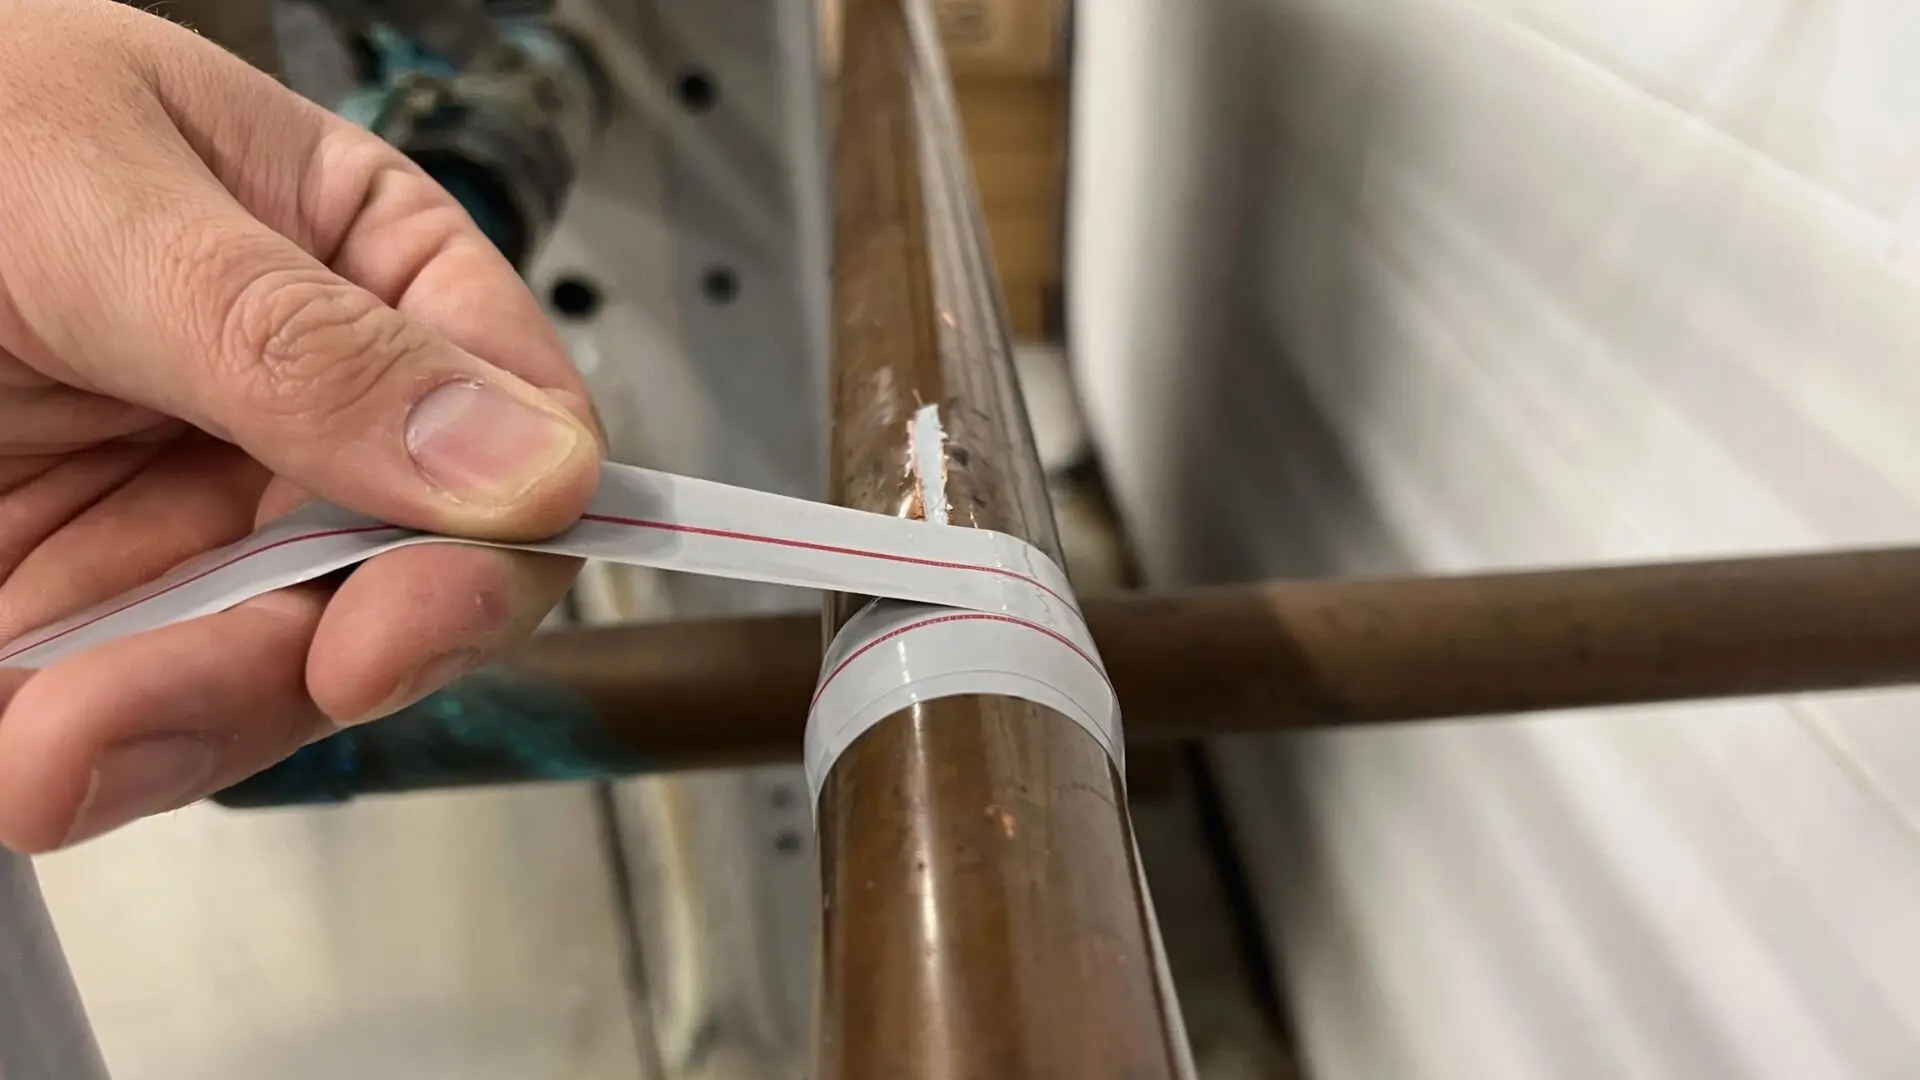
If you locate a leak, you may be able to apply a temporary fix using pipe repair tape or a pipe repair clamp from your local hardware store. However, for a permanent repair, you will likely need to cut out the damaged section of the copper line and replace it with a new copper pipe.
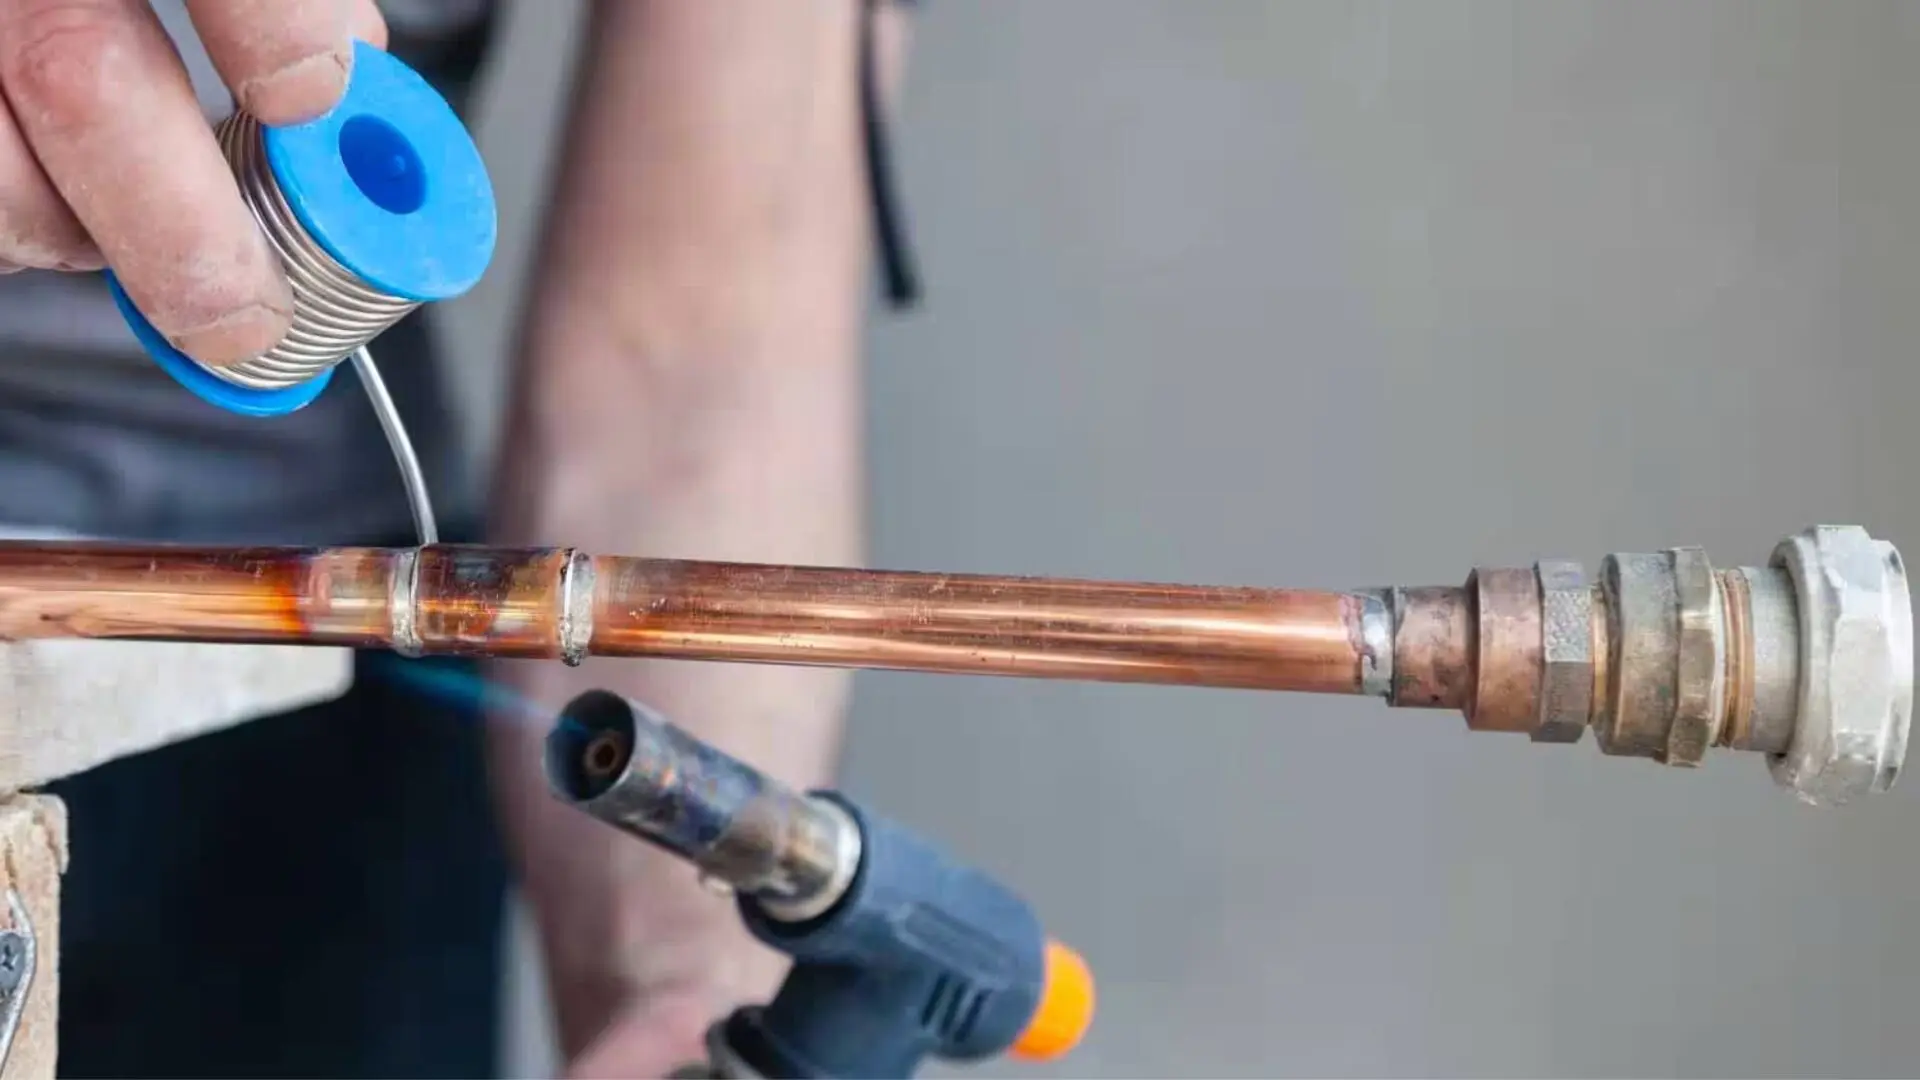
To do this, turn off the water supply, drain the affected line, and then use a pipe cutter to remove the damaged section. Then, clean the ends of the existing pipe with emery cloth, apply plumbing flux, and solder on a new pipe using a propane torch, solder, and pipe dope.
Alternatively, using a compression or push-fit fitting, you could connect the new pipe without soldering. Another option is to transition to PEX pipe using a unique coupling. Be sure to insulate the repaired pipe to prevent future leaks.
DIY Methods for Fixing Leaking Copper Pipes
If you’re looking to tackle minor leaks yourself, there are a few DIY methods you can try. One option is using a slip fitting, a rubber sleeve that fits over a hairline crack in a straight pipe section. Once it’s in place, secure it with hose clamps tightened on both sides to compress and seal the leak. Use an adjustable wrench to ensure everything is tight.
Another standard repair method involves using compression fittings. This requires cutting out the damaged section of the pipe with a sharp utility knife and installing a compression fitting in its place. When tightening these fittings, it’s important not to over-tighten, as that can cause cracks to form. Use an adjustable wrench to tighten the retainer nut on each side of the fitting, but be careful not to apply too much force.
![]()
Soldering is usually the best repair approach involving elbows, T-joints, or replacing larger damaged pipe sections. This involves cutting out the old fitting, cleaning and fluxing the pipe ends with an abrasive pad, adding the new fitting, and applying solder with a propane torch to seal the joint. SharkBite push-to-connect fittings that don’t require soldering can also replace short pipe sections for a permanent solution without using harsh chemicals or a blowtorch.
Whichever DIY method is used, thoroughly cleaning pipe ends and properly installing fittings is essential for successfully repairing copper pipe leaks. Taking the time to do the job right will ensure a long-lasting, leak-free repair without causing further damage to the pipes.
Preventing Future Copper Pipe Leaks
Once you’ve fixed the leak, it’s wise to tackle any underlying causes to prevent future problems. One crucial step is insulating pipes that are exposed to freezing temperatures, like those in unheated spaces such as attics or crawlspaces. Proper insulation prevents bursts from expanding ice. Additionally, consider flushing your pipes and using a water softener or filter to combat mineral buildup that can speed up corrosion.
![]()
Carefully mounting pipes can also help reduce vibrations and physical stress. It is wise to add flexible connectors or bracing where pipes connect appliances. Routine maintenance, like annually checking pipe joints and fittings for signs of leakage, corrosion, or loose fittings, will cause minor problems before they worsen.
These preventative measures will help ensure the copper plumbing system continues functioning smoothly with minimal risk of further leaks.
Taking Action to Protect Your Plumbing System
With the right tools and materials, repairing minor leaks in copper piping is a job most homeowners can do themselves. Simple steps like properly locating the leak, cutting out damaged sections, preparing pipe ends, and securing new fittings can get you back up and running quickly without a costly service call.
If you’re not confident about any part of the repair, feel free to reach out to the professionals. WP Plumbing is here to assist with any leaks that require more than just basic repairs or to answer any plumbing queries you might have. Our team boasts decades of experience in handling all sorts of plumbing challenges. Call us today to chat about your project and get a quote for further maintenance or installations.