How To Pressure Test Your Plumbing
Are you facing water pressure drops or suspecting leaks? A pressure test can help you confirm the source of your plumbing problems. Learn how to test your plumbing!
Every so often, plumbing systems require maintenance, and conducting a pressure test is a straightforward way to spot potential issues.
Pressure tests typically use pressurised air pumped into the plumbing to detect leaks. This step is critical for new fixtures and drain-waste-vent (DWV) systems, ensuring they are checked before replacement becomes difficult.
But, if the need to pressure-test your plumbing arises well after installation, you may have to approach the process differently. Following is a compilation of all the information you need to perform pressure tests on your drain systems.
Pressure testing is a straightforward process that involves the use of several tools, including:
While pressure testing might require a bit of effort, it’s generally quite straightforward. By filling your plumbing with pressurised air, you can check for leaks and assess if there’s any structural damage in the pipes.
However, for DWV systems, you must follow a procedure different from what you’d do with ordinary plumbing. Let’s explore each type of plumbing.
Follow these steps to correctly pressure-test your plumbing and ensure it’s in good working order.
Every single valve in your home must be closed before you proceed, including the main water supply to your home. Water can interfere with your pressure test plumbing, making it essential to cut off its supply.
Except for shower faucets, you should place caps on every supply line in your house. If you have threaded fittings, use plumbers’ tape to seal them.
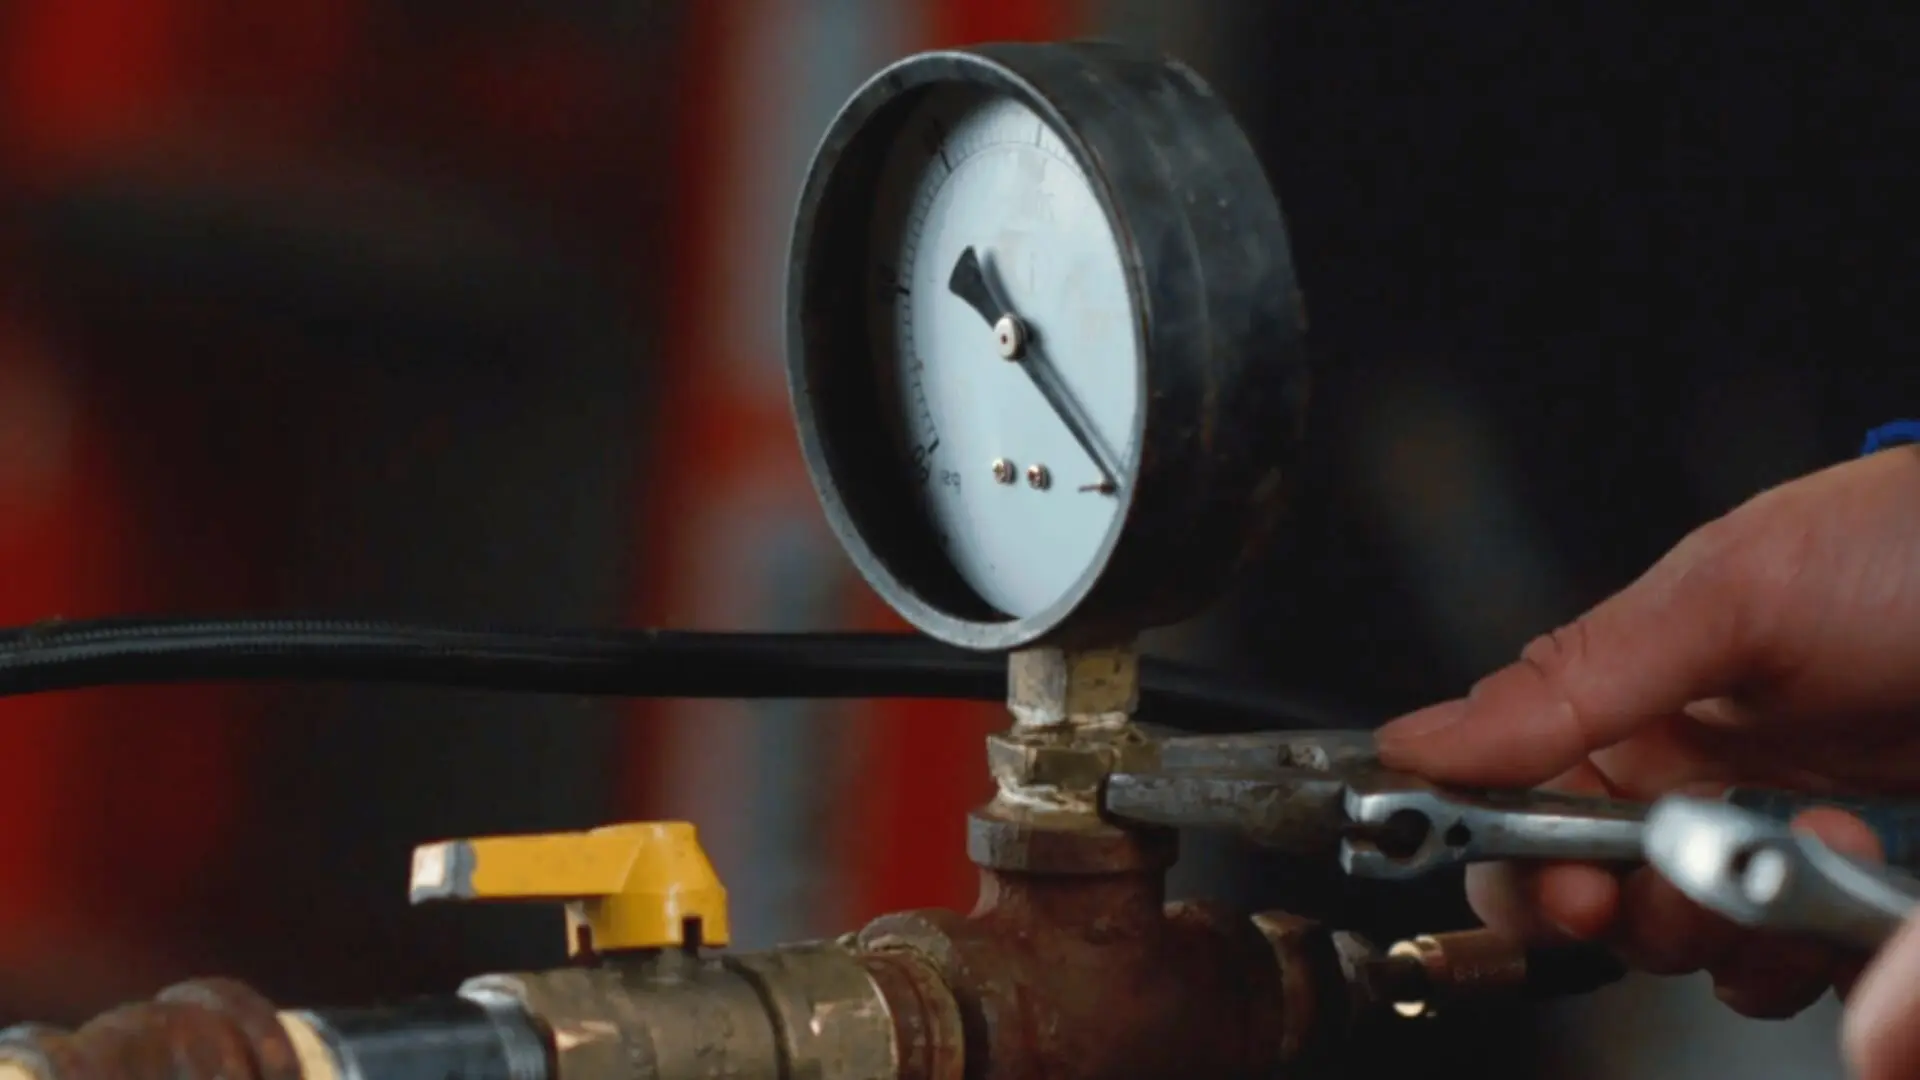
Assemble the pressure gauge, ¾-inch nipple, reducer and ½-inch nipple with the help of plumber tape and ready the gauge assembly.
Tighten the water pressure gauge assembly around the shower faucet to let you view the gauge and turn the compressor on. You can use the shower control valve to increase the pressure in your system by two to three times the usual, ranging from 80 to 120 PSI.
Let the assembly do its job for up to an hour, ensuring the pressure remains steady. If you notice fluctuations, it might indicate a plumbing leak. In such cases, it’s a good idea to contact a professional for assistance.
If your plumbing system is new, you can perform this pressure test to check if your plumbing can withstand long years of function. Here are the steps to completing the pressure test for DWV plumbing.
Use plastic pipe cement to stick a cap to each stub-out connected to your plumbing system. Not to worry; once the test is done, you can remove them.
Install a tee and screw an adapter onto a cleanout fitting. This will allow you to connect the compressor hose to your pipe system.
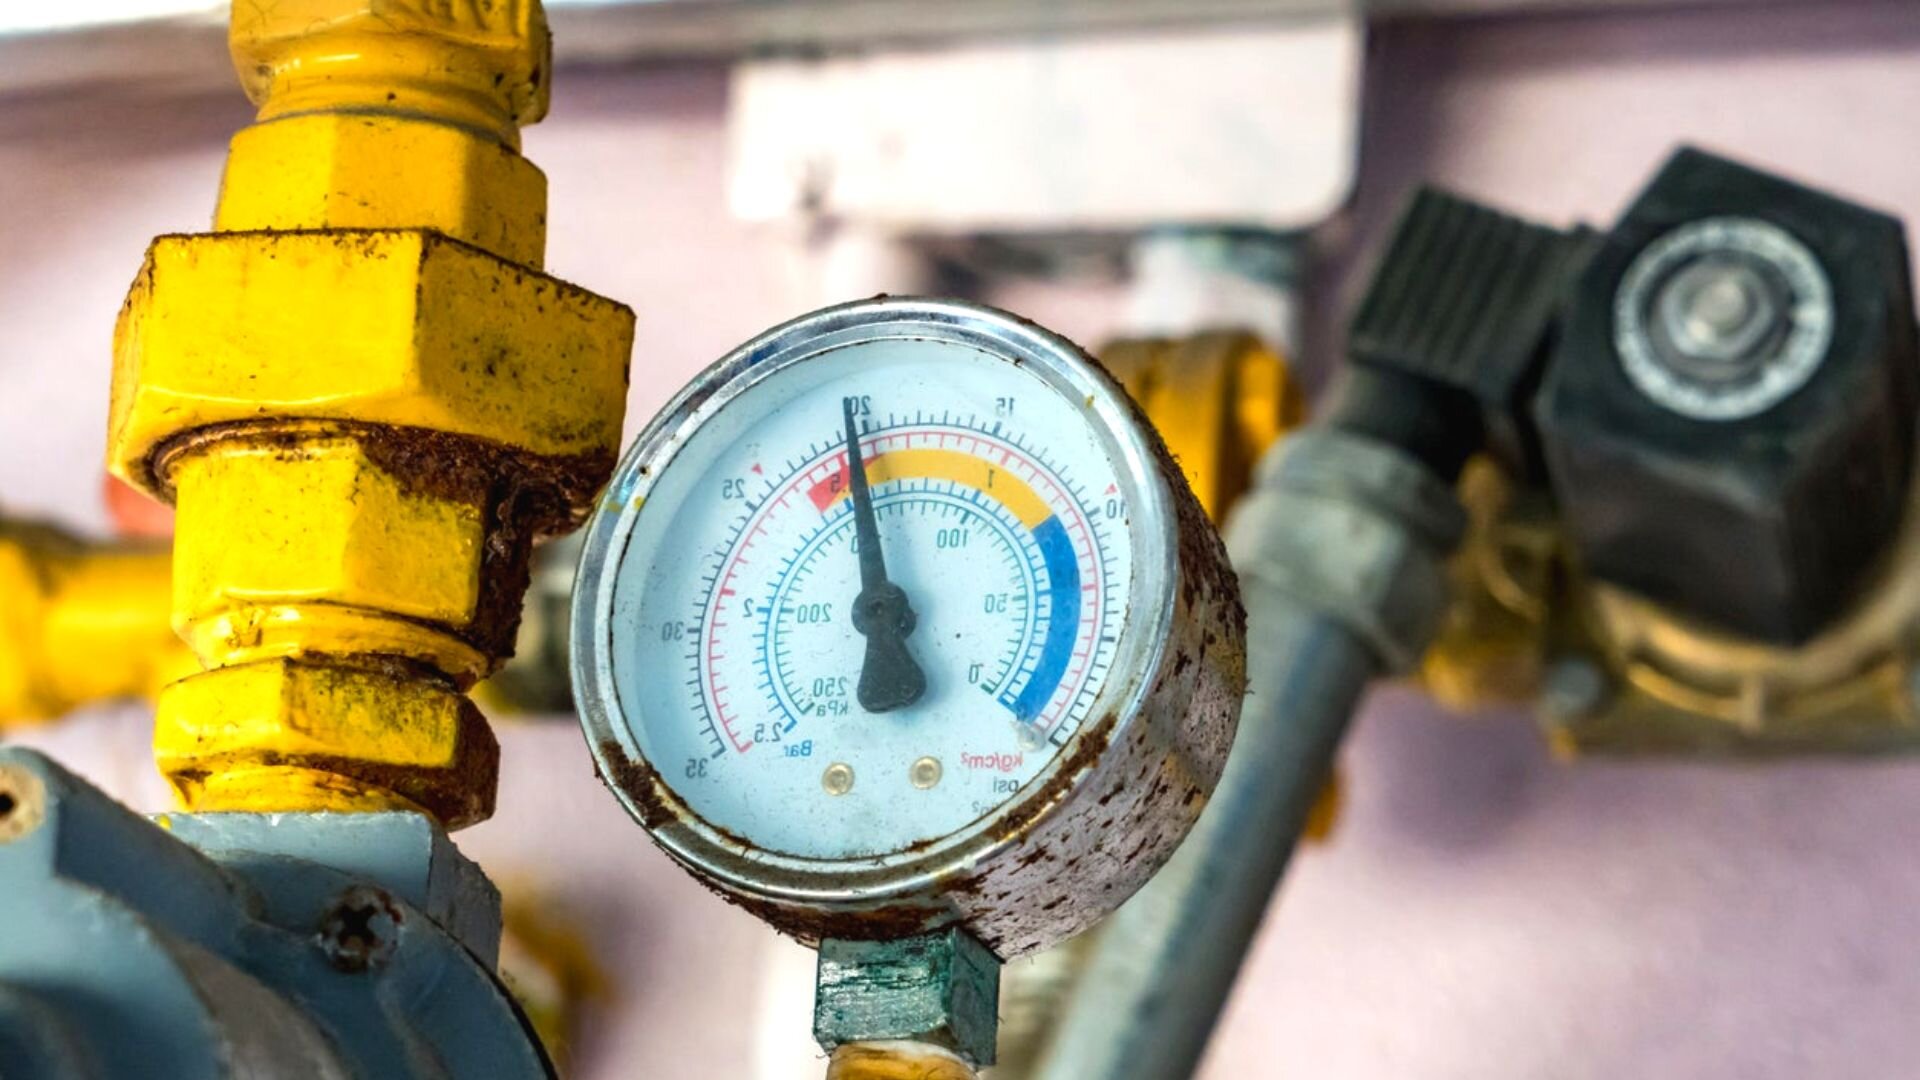
Turn the compressor on and allow the pipes to fill with air until the pressure reaches around 5 PSI. Let the system run for a few minutes to check for pressure differences.
After turning the compressor off, you should let the system be for about 15 minutes to check for water pressure drops. If the pressure reduces, you may be facing a plumbing leak.
A pressure test is rare and only performed once in a blue moon. But you should know when to perform it to discover any undetected leaks in your plumbing. These are a few occurrences when you can perform a plumbing pressure test.

A builder assures that every portion of the home they build is free of issues, leading them to have pressure tests performed. If you’re buying a new house, you can rest easy knowing that the plumbing has been checked for leaks and issues.
Renovations are often the perfect time to pressure test your plumbing, as renovating kitchens and bathrooms generally involve plumbing work.
DWV plumbing systems are only checked during newly completed construction or renovations, as they require a pressure test before being fitted.
The primary purpose of a pressure test is to check for any pressure drops, bad smells or leaks. If caught during an inspection, these can be stopped from causing catastrophic losses to the plumbing system of your building.
In extreme cases, plumbing faults have caused structural damage, making it crucial to identify these issues early on.
With the right gear and knowledge, pressure tests are invaluable during renovations. They provide crucial information about potential plumbing issues, enabling you to address them promptly.
While some of the issues revealed by these tests are simple enough to DIY, with systems like DWV, you’re better off contacting a plumber instead. They may use smoke to test plumbing systems to detect faults and provide you with solutions to any complex problems you may have.
Is water running out of a tap at high speed? When left unchecked, high water pressure can lead to serious plumbing issues. Check out our guide to learn more!
Are you having a low water pressure problem at home? Don’t worry! We have curated this article on low water pressure so that you can find the right solution.
Is a strange whistling or squealing sound coming from your shower? Find out what causes it and how to fix whistling shower in our guide!


