How To Replace A Toilet Cistern?
Has your leaky toilet cistern caused you enough frustration? Follow our easy step-by-step guide to learn how to replace your toilet cistern DIY!
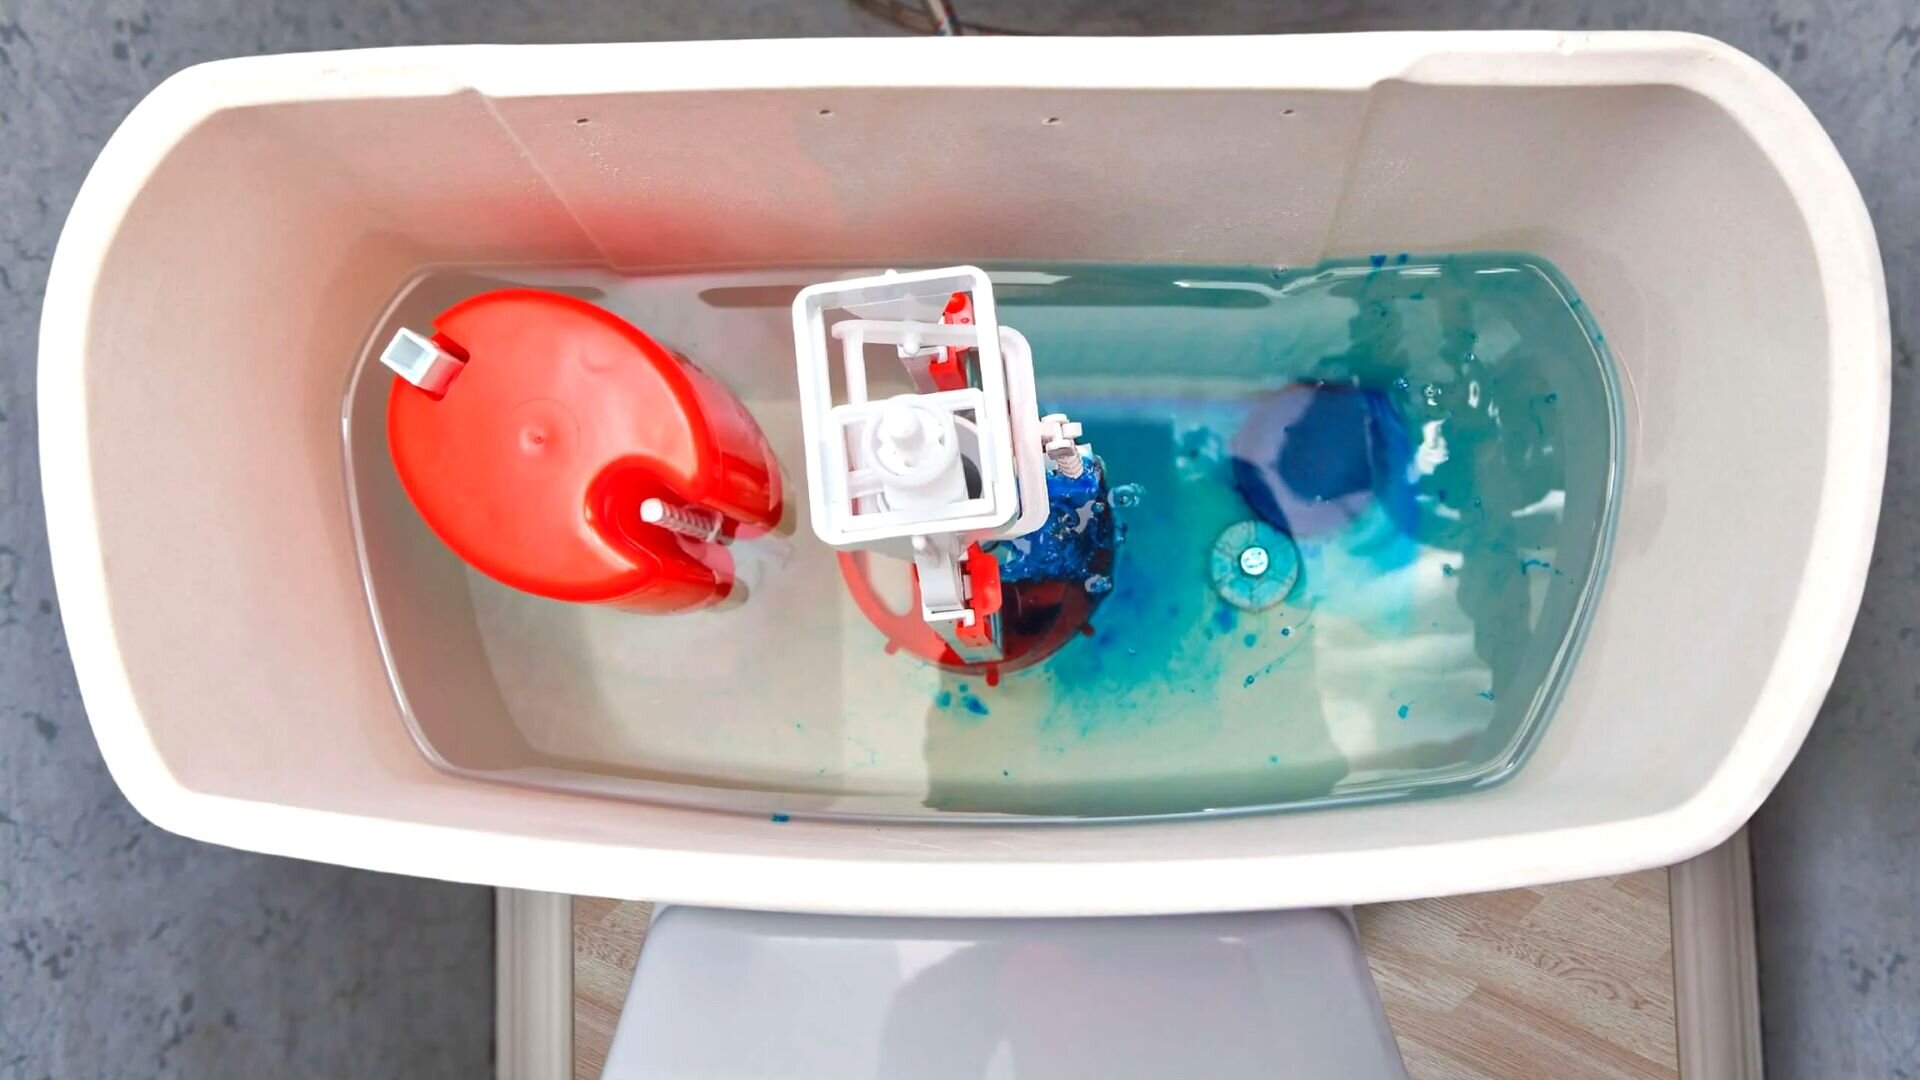
Toilet cisterns are essential components that relay water into your toilet bowl when you pull the flush lever.
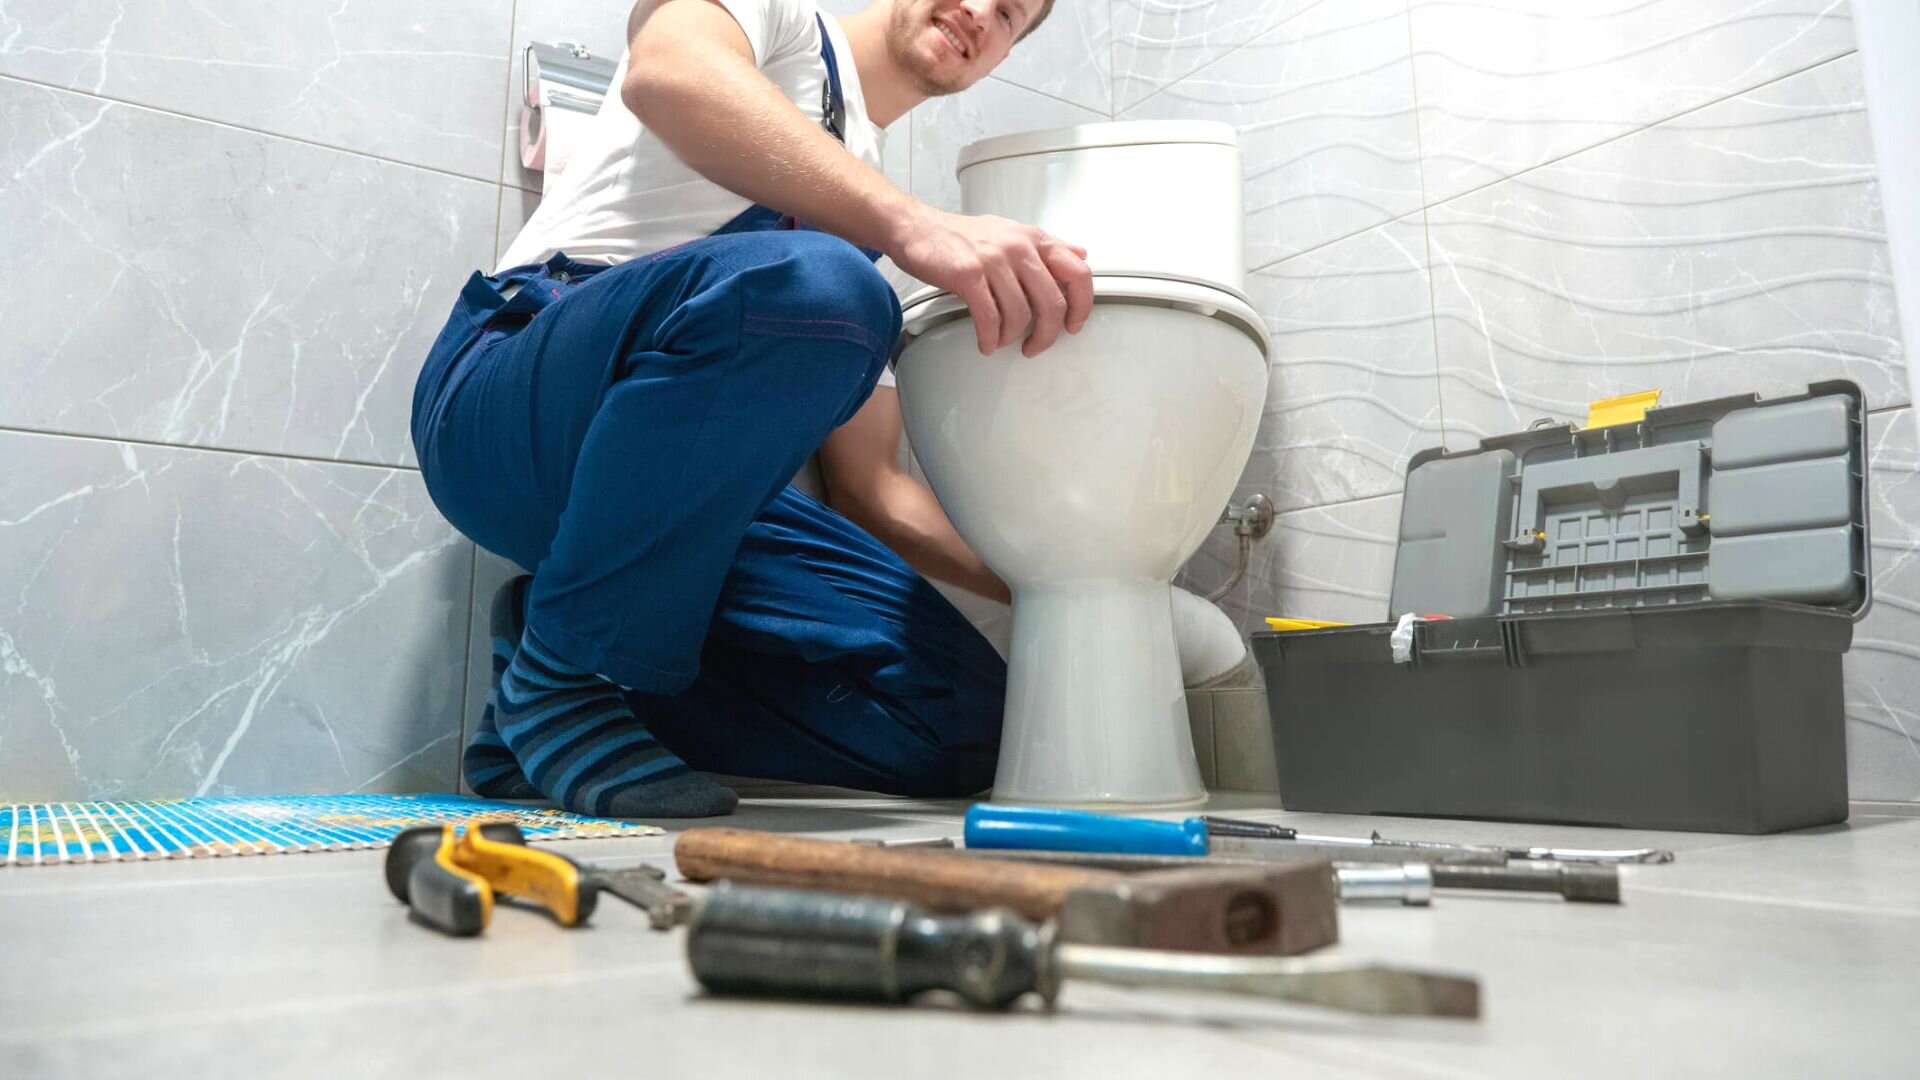
If your toilet cistern starts acting up with issues like leaks or damage, you might consider swapping it out completely. Luckily, replacing a toilet cistern isn’t too tough. With a bit of effort, an hour or so, and perhaps some assistance, you’ll have it sorted.
Keen to tackle this plumbing task yourself? This guide will walk you through the whole process, making it straightforward and stress-free. Let’s dive in!
Gather these basic tools for replacing a toilet cistern without any fuss. These are staple tools every DIY plumber should have, crucial for your plumbing projects.
Wrenches are an essential part of any plumbing kit, and adjustable wrenches are the go-to tool for plumbers. Their adjustable jaws give them a versatile edge, making them extremely useful when removing the cistern and installing the replacement toilet cistern.
In addition to an adjustable wrench, the plumber’s tape will assist you in connecting the replacement cistern back to the water inlet pipe. Its usefulness isn’t limited to simply tightening joints; it can also help seal the pipe and prevent leaks.
You’ll need a new cistern to replace the old toilet. You may ensure no cracks or blemishes on the new one to eliminate the need to replace it shortly.
You should first diagnose the problem before replacing your cistern, as sometimes repairs are possible, or there’s another plumbing problem altogether. Is the toilet cistern leaking? Does the toilet not flush? Does the toilet keep running? Is the toilet blocked? The answers to these questions will help you narrow down the cause and decide whether to DIY or call a local plumber near you.
Now that you’ve arranged the tools, it’s time to remove the old toilet cistern and install the new one. The process is simple and will take you mere minutes to finish.
Here are the steps to replacing your cistern.
Firstly, cut off the water supply to your water inlet hose by turning the stop tap on the side of your cistern. This will allow you to remove the old cistern without spilling water everywhere. You can also opt to shut off the main supply, though that is generally not needed.
Next, pull on the flush lever to empty the cistern. It’s important to completely remove all the water from the cistern, especially if it is made of ceramic, to make lifting it easier and prevent spills.
Toilet cistern units and the water inlet hose are typically connected to the wall in two places. To remove your cistern, you’ll have to remove the nuts and bolts holding the cistern to the wall and the inner pipe.
Pick up your trusty wrench and loosen all the nuts, bolts, and inlet hose. Then, you can proceed to lift it away from the toilet.
Affix the inlet pipe at the bottom of your new unit and seal the joint properly with plumber tape.
Next, align the cistern to the wall and tighten the nuts and bolts. You may want to ensure they are held together correctly so they don’t fall apart later during use.
Once you’ve checked everything, restart the water supply and allow the new cistern to fill up. Flush the toilet pan several times to test it, check for leaks, and you’re done.
You may need to replace your cistern if you run into issues that can’t be solved with repairs or by tightening the pipes. These can include:
Occasionally, a glitch in your cistern’s inlets might cause leaks that aren’t fixed by seals. These could pop up at the joints or be due to a rupture. For more insights, check here.
If you can’t stop the leakage after attempting sealing methods, it may be time to replace the cistern.
Is your toilet not flushing correctly? It may be due to a clog or faulty flushing mechanism.
In the case of the former, clear out any clogs using baking soda and vinegar. If they are the latter, you may have to retire the old toilet cistern units.
If you’re facing a constant inlet of water in your toilet bowl through the cistern, the cistern pipe may have come loose or been damaged. If the pipe loosens, you can quickly tighten it with a wrench.
However, some kinds of damage are difficult to repair, signalling a need for replacement.
Is your toilet cistern no longer matching the aesthetic you’ve aimed for? You can easily find toilet cistern replacements on the market that will suit your fancy and elevate the look of your bathroom.
Whether for function or style, replacing your toilet cistern might be on the cards. DIYing the cistern replacement isn’t just convenient—it’s a lot cheaper than getting a licensed plumber to handle it.
Swapping out a toilet cistern should be your last resort when problems arise. Even though it’s pretty straightforward, checking other solutions first can extend the life of your old cistern.
Contact our Melbourne plumbers if you face an emergency while performing a replacement. WP Plumbing has established a trusted reputation for rapid, affordable toilet repairs and replacements, and changing toilet cistern components is one of the simplest jobs for our experienced guys. It’s always wise to ask for assistance when you have difficulty solving plumbing problems. With our diverse range of plumbing services, we can help solve your issue in no time!
If you need more tips about toilet issues, browse our blog section. We have several expert-written posts about everything from fixing a clogged toilet to dealing with a sewage backup.
Are you not sure what a toilet cistern is or how it works? This guide will help you learn all you need to know about toilet cisterns and how they function.
Need to know how to install a toilet seat? This comprehensive guide will provide you with easy to follow steps to install a DIY for your new toilet seat at home.
Learn how choosing the perfect toilet cistern can improve your bathroom’s functionality and efficiency. Our comprehensive guide discusses the different options and factors that can help you make an informed decision.


