Do you know why more and more Australian households prefer mixer taps for their kitchens and bathrooms? Mixer taps have rapidly gained popularity due to their sleek, modern design and unmatched convenience, making them a favourite choice for both renovations and new builds. With just one lever to control both the temperature and flow of water, they combine functionality with style, perfectly suiting today’s fast-paced lifestyle.
This guide aims to give you the confidence and know-how to install a mixer tap yourself. Whether you’re upgrading your taps or fitting one for the first time, it’s easier than it seems. Follow our step-by-step instructions, save money on plumber fees, and put your own spin on home improvements.
Tools and Materials Required
Before starting the installation, gather all the essential tools and materials to ensure a smooth process. You will need:
- Spanner
- Plumber’s tape
- Adjustable wrench
- Bucket
- Cloth
- Mixer tap
Making sure you have these items ready will make installation smoother and prevent delays. You’ll need a spanner and adjustable wrench to loosen and tighten nuts, and plumber’s tape to keep connections leak-free. A bucket and cloth are handy for any spills. Get everything set up before you dive in because good prep makes all the difference.
![]()
Preparing for Installation
First things first, turn off the water supply to avoid any surprise leaks or floods. You can usually do this by closing the shut-off valves under the sink. With the water off, open the tap to drain any leftover water from the pipes. Clear out the space under the sink for easy access to the plumbing connections.
Safety is crucial, so take the time to inspect the area for any leaks or existing plumbing issues that may need attention before installing the new mixer tap. Addressing these problems beforehand will ensure a smoother installation process. Additionally, make sure to have a towel or cloth handy to clean up any spills that may occur.
Finally, read the mixer tap’s manual carefully for specific instructions, as each model may have slight variations in the installation process. Familiarising yourself with the manufacturer’s guidelines will help avoid mistakes and ensure a proper installation.
Removing the Old Tap
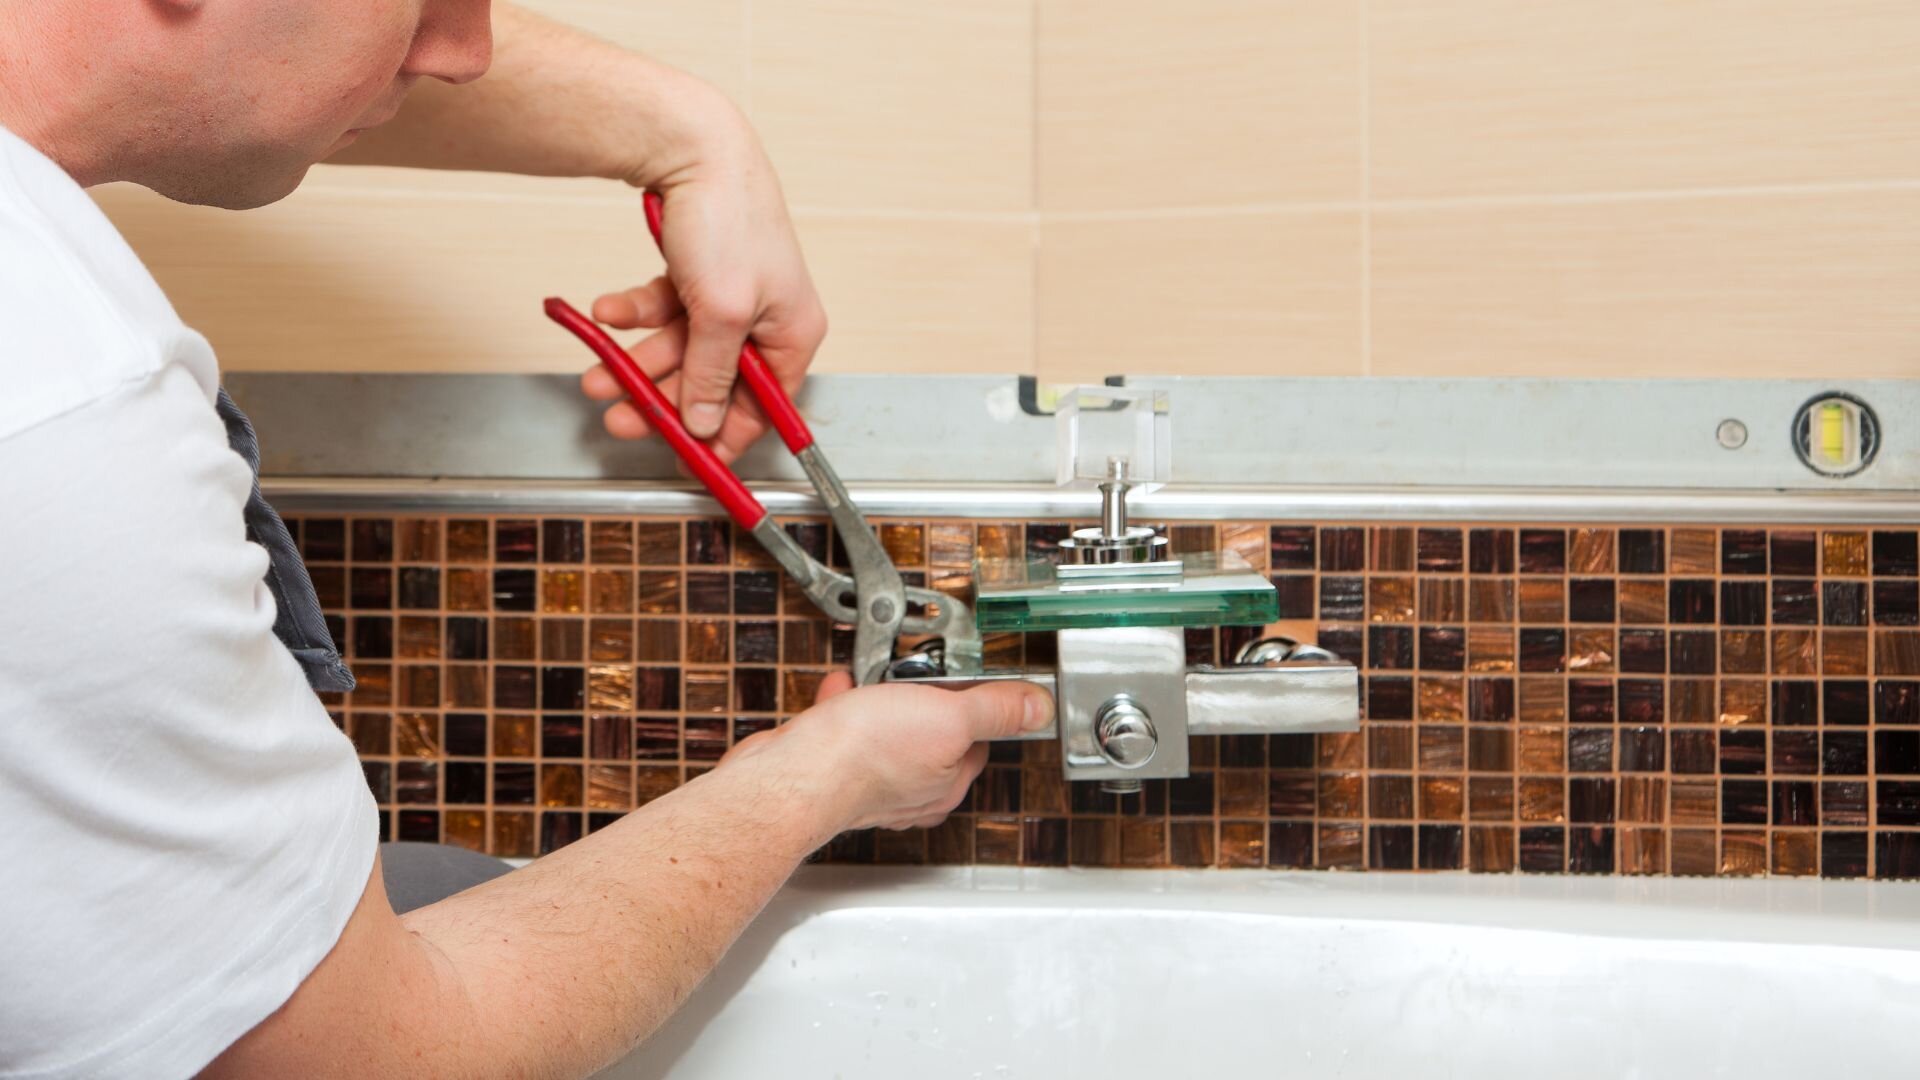
Start by using a spanner to loosen the nuts holding the old tap to the sink. Disconnect the water supply lines, commonly attached with compression fittings. Once the nuts are loose, gently remove the connections, keeping a bucket underneath to catch any leftover water.
If some parts are tough to budge, try using penetrating lubricant on the joints. Give it a few minutes to work its magic before trying again. Patience is key here, as using too much force could damage the plumbing.
With all connections undone, lift the old tap away from the sink. Clean the area thoroughly to remove any old sealant or debris before installing the new mixer tap.
Installing the New Mixer Tap
![]()
Positioning the Tap
Place the new mixer tap into the hole on the sink. Ensure the tap is correctly aligned and sits flush with the surface of the sink. Most mixer taps come with a rubber gasket or seal that should be positioned between the tap base and the sink to prevent leaks.
Connecting the Pipes
Attach the hot and cold water supply lines to the corresponding inlets on the mixer tap. Make sure the connections are secure, but avoid over-tightening, as this could damage the fittings. Use the plumber’s tape on the threads to help create a watertight seal.
Securing the Tap
From underneath the sink, fasten the tap in place using the mounting nuts provided. Use a spanner to tighten the nuts, ensuring the tap is stable and does not move when operated. It is essential to check that the tap remains correctly aligned during this process.
Testing for Leaks
Once the tap is secured, turn the water supply back on slowly. Check for any leaks around the connections. If you notice any leaks, turn off the water supply and tighten the fittings or add more plumber’s tape as needed. Test the tap by running both hot and cold water to ensure it functions properly.
Troubleshooting Common Issues
If you encounter leaks, the most common cause is a loose connection. Check all fittings and tighten them as necessary, ensuring the plumber’s tape is used where needed. If the leak persists, consider disassembling the connection, applying more plumber’s tape, and reattaching it.
If the tap feels loose, double-check the mounting nuts under the sink. Tighten them with a spanner until the tap is securely in place. Be cautious not to overtighten, as this could damage the sink or tap.
In cases where issues cannot be resolved, it may be necessary to consult a professional plumber. It is better to seek help than risk causing damage to your plumbing system.
Maintenance Tips for Longevity
![]()
Keep your mixer tap in great shape with regular maintenance. Use a soft cloth and a mild detergent for cleaning, steering clear of harsh chemicals that could harm the finish. Dry the tap afterwards to avoid water spots and mineral build-up.
Inspect the tap periodically for any signs of wear, such as leaks or reduced water flow. If you notice any issues, address them promptly to prevent further damage. Applying a small amount of lubricant to the lever mechanism can help keep it operating smoothly.
Consider scheduling periodic checks of the tap and plumbing connections to ensure everything remains in good working order. Taking these steps will help extend the lifespan of your mixer tap and keep it looking and functioning like new.
Enjoy the Benefits of Your New Mixer Tap
Congratulations on successfully installing your new mixer tap! With its modern aesthetics and ease of use, your kitchen or bathroom now has an upgraded look that combines style with practicality. Enjoy the convenience of easily adjustable water temperature and flow at your fingertips.
If you need further assistance or run into any issues, consider reaching out to WP Plumbing. Our team of experts is committed to providing reliable mixer tap solutions and support.


