Rainwater Tank is Leaking From the Tap
Struggling with a leaky rainwater tank tap? Our guide provides a practical approach to diagnosing and sealing the leak efficiently, ensuring your rainwater collection system remains intact.
![]()
Rainwater tanks are an excellent addition to any eco-savvy household or business, helping to conserve water and reduce utility bills. However, even the most robust systems can encounter issues, a common problem being leaks from the tank tap.
A leaking tap can waste a lot of water and reduce your rainwater system’s efficiency. Let’s delve into how you can pinpoint the problem, find solutions, and repair a leaky rainwater tank tap effectively.
Before you can fix a leak, you need to understand where it’s coming from. There are typically three main areas that could cause your tap to leak:
If you notice leaks from the spout or handle, it’s usually down to worn washers or seals. On the other hand, leaks from the connection area might come from old thread tape or a dodgy gasket.
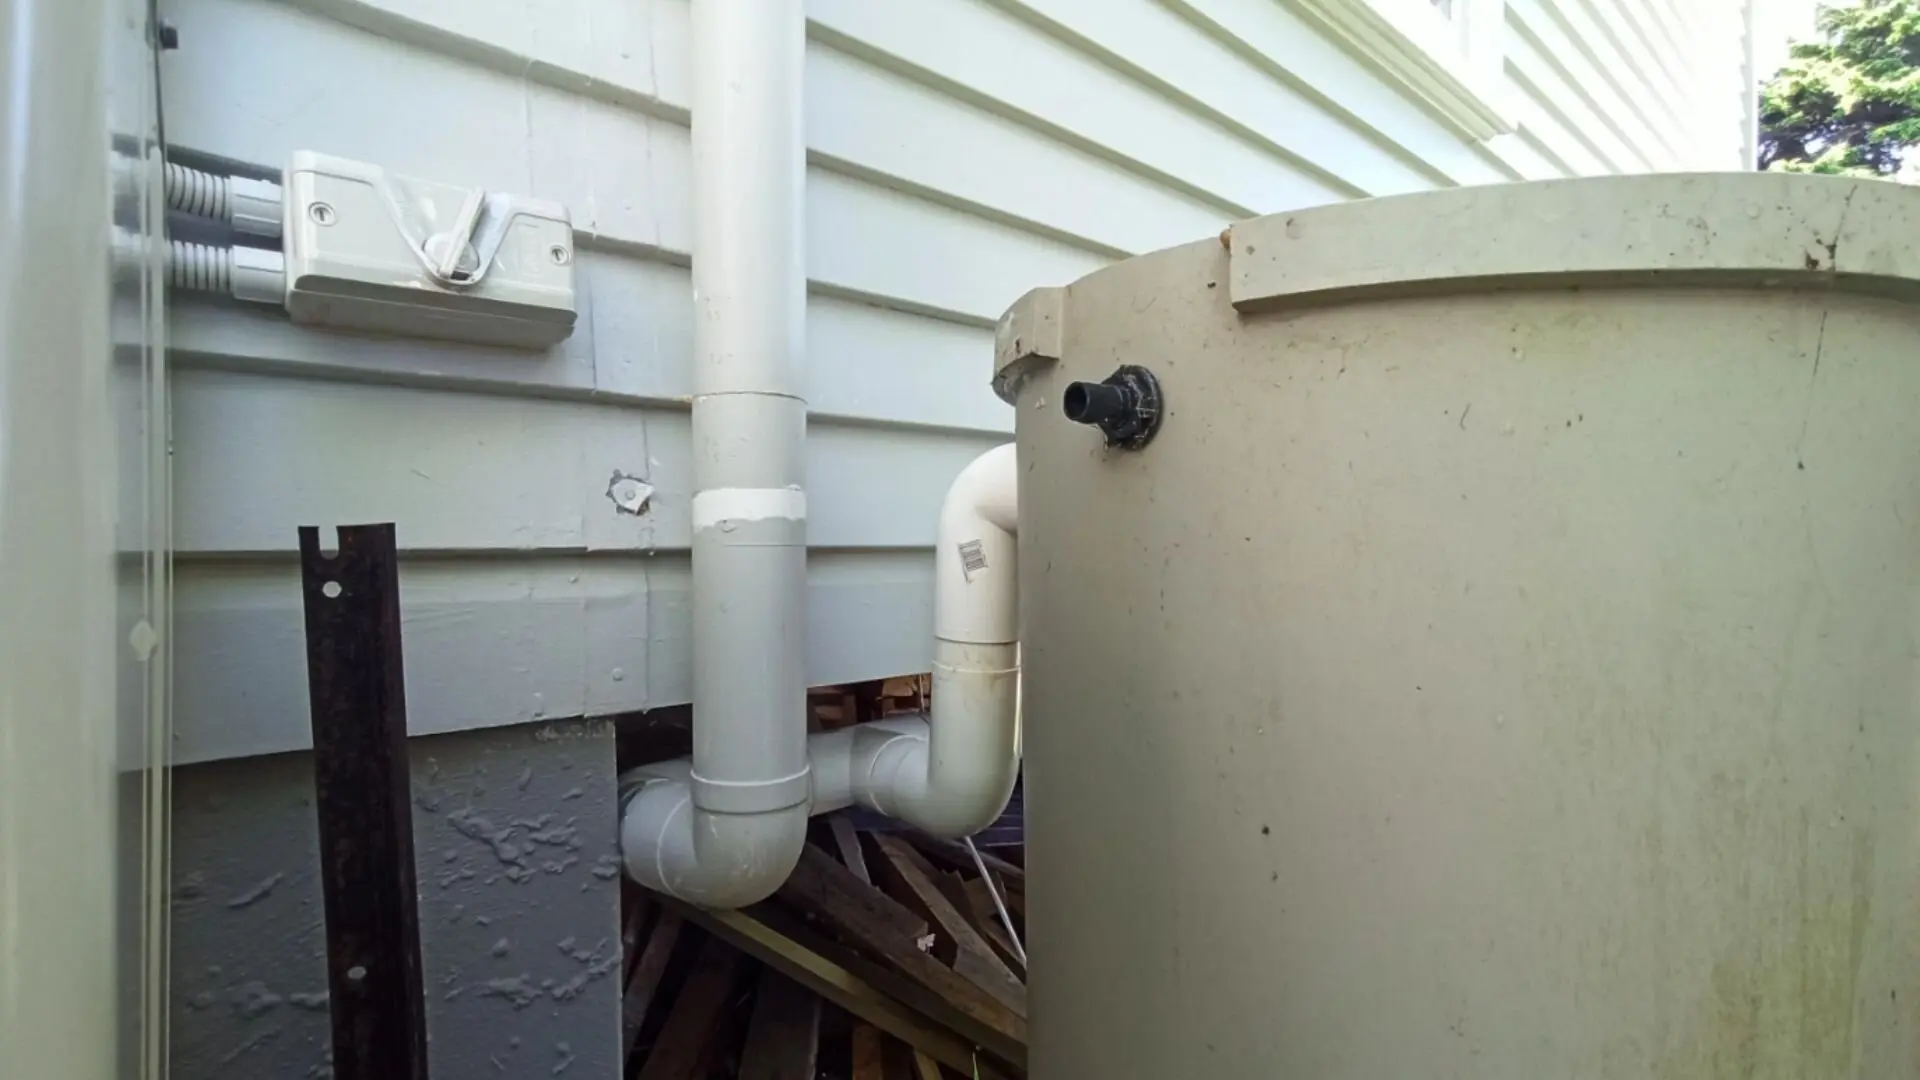
Start by checking where the leak is coming from. Turn the tap on and off, and watch closely for any drips. If you see water around the handle when it’s on, you probably need a new washer. If it’s leaking at the connection to the tank, the seal might be at fault.
Make sure to stop the water flow before fixing the tap. If there’s a valve above the tap, turn it off to cut the supply. If not, you might have to either empty the tank or wait for it to run out first.
Using the adjustable wrench, carefully dismantle the tap. For taps with a screw-on design, unscrew the tap from the tank. If nuts are securing the tap, loosen them gently. Once removed, inspect the washer and O-ring inside the tap for any signs of wear or damage.
Remove the old washer and O-ring and replace them with new ones. Choosing the correct size and shape is essential to ensure a perfect fit. If needed, apply a thin layer of gasket sealant to enhance the waterproof seal.
Clean the threads on both the tap and the tank when dealing with connection leaks. Wrap Teflon tape around the tap’s threads clockwise to ensure a more secure and watertight connection when reattaching.
Once the new washers are in place and the Teflon tape is applied, reattach the tap to the tank. Tighten it by hand first, then use the wrench to ensure it’s snug. Be careful not to overtighten, as this can damage the threads or the new seal.
Turn the water supply back on or fill the tank to test the tap. Look for any signs of leaking and ensure the tap turns smoothly without resistance. If there are still leaks, you may need to repeat some steps or consider if there’s a crack in the tank itself.
Regular maintenance is crucial for preventing leaks. Check your rainwater tank tap periodically for signs of wear and tear, and consider the following tips:
Common causes include worn washers, damaged valve seats, loose tap fittings, or a faulty tap. Over time, washers deteriorate, allowing water to leak past the valve seal.
Determine if the leak comes from the tap handle, head, or body. This can help diagnose the problem. Leaks from the tap head indicate worn washers, and leaks from fittings suggest loose connections.
First, try tightening the gland nut or fitting that is causing the leak. If this doesn’t work, you must replace washers, valve seats, or the entire tap. Know how to turn off the tank water supply first.
Washers are rubber or plastic discs that prevent water from leaking past the valve seat. Replacing washers involves shutting off the tank valve, disassembling the tap and fitting new washers of the correct size.
Should the leak continue after tightening fittings and changing washers, it might mean the valve needs reseating or parts need replacing. At this stage, it’s wise to get a plumber in to handle it properly.
Leaky rainwater tank taps can be more than just an annoyance; they can disrupt the efficiency of your water-saving efforts. By following the steps outlined above, you can tackle this common issue promptly and maintain the integrity of your rainwater collection system.
However, if you’re uncomfortable tackling this repair yourself or if the problem persists, it’s time to call the professionals. WP Plumbing has a wealth of experience managing various plumbing challenges, including rainwater tank tap leak repairs. We’re committed to providing high-quality service and ensuring your plumbing issues are resolved with minimal hassle.
Leaking pipes can cause significant damage to your home if left unaddressed. In this guide, we will answer your top FAQs and provide you with everything you need to know to detect and repair a leaking pipe.
Not sure how to detect a gas leak from your stove at home? Don’t worry; we’ve got you covered with our comprehensive and straightforward to follow guide on how to identify a gas leak from your kitchen.
Keep your rainwater collection efforts thriving with key maintenance insights. Our expert guide helps you understand the common causes of tank leaks and the best preventative measures to take. Strengthen your rainwater tank’s durability and contribute to water conservation with ease.


