A leaking tap can be frustrating, causing water waste and an annoying dripping sound. In most cases, a leaking tap is caused by a worn tap washer that no longer provides a watertight seal.
Luckily, swapping out a tap washer is an easy DIY job that could help you avoid paying for a plumber. In this guide, we’ll show you how to fix that annoying drip. With our straightforward tips and instructions, you’ll pick up some handy skills for future home repairs.
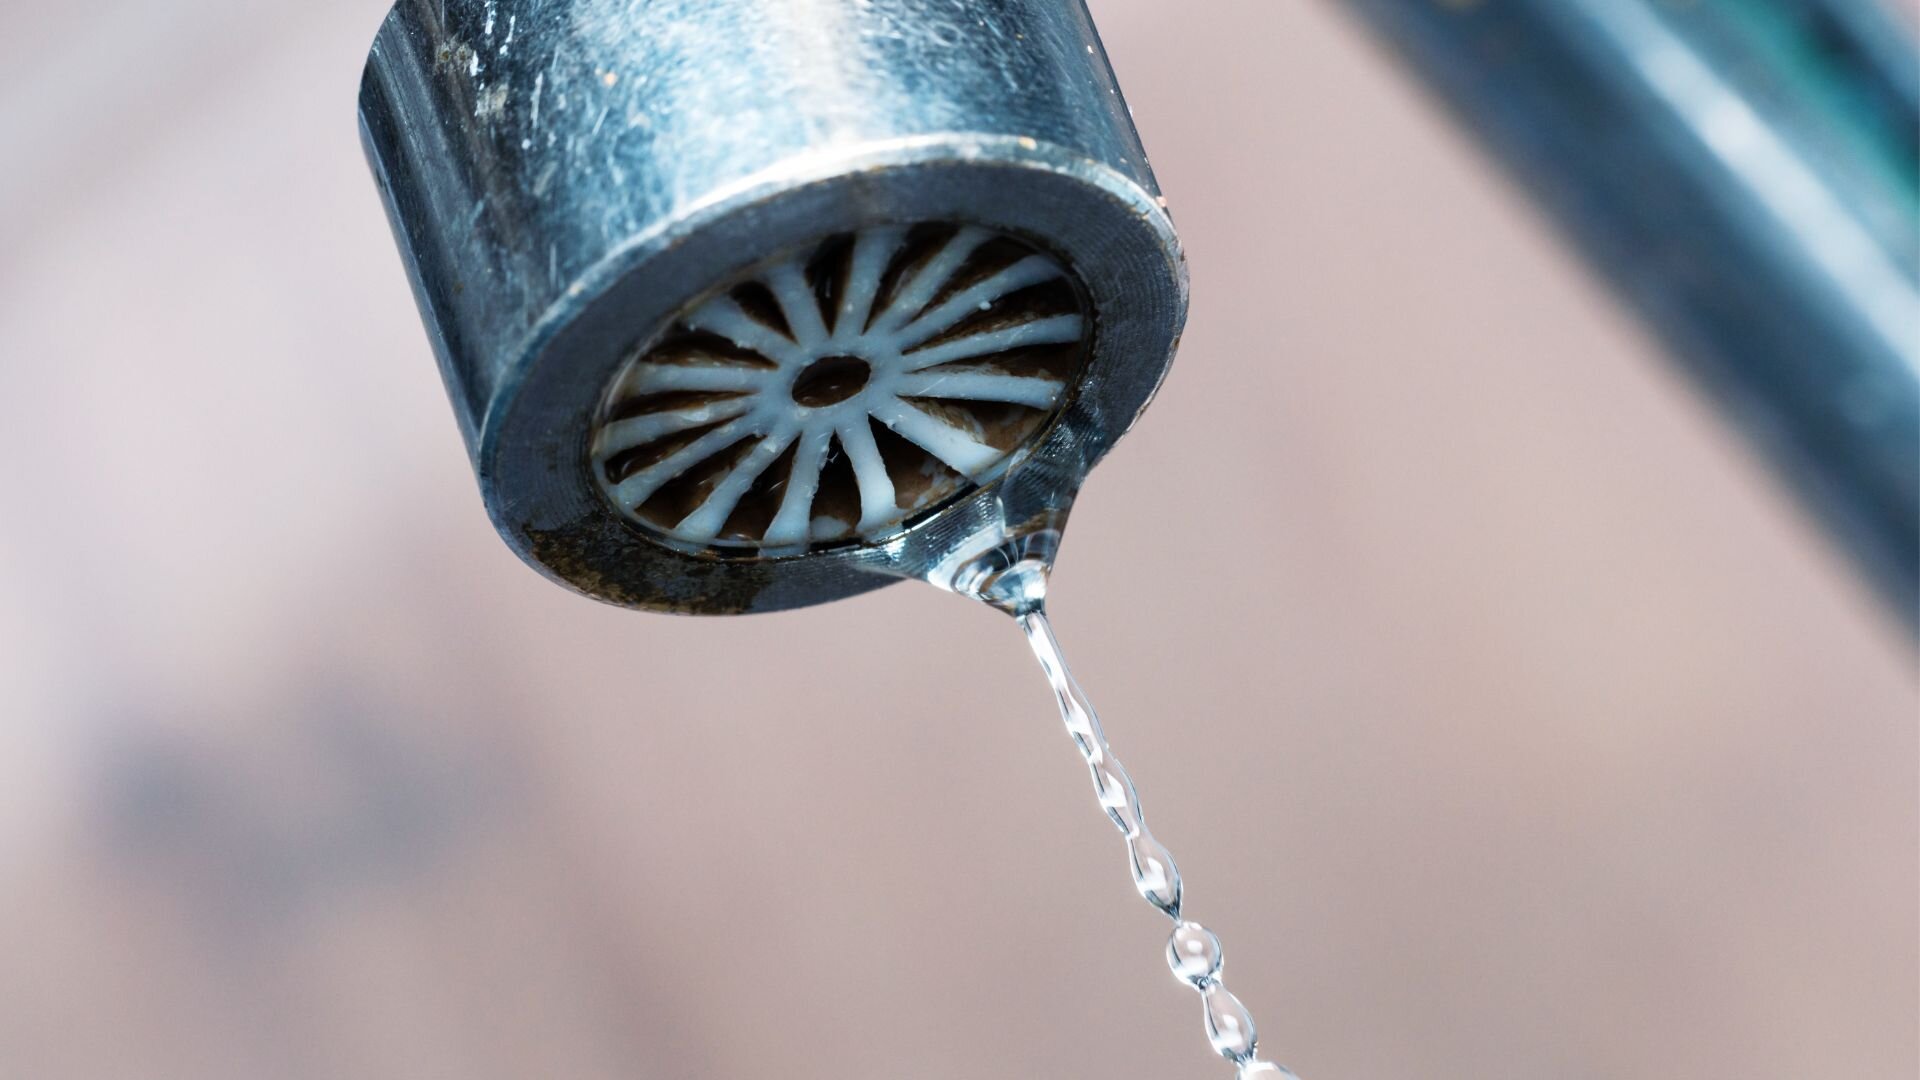
What Causes A Tap To Leak?
![]()
In more modern tapware, tap washers are small rubber discs that sit inside the tap stem, held by a small nut or jumper valve. These washers create a watertight seal when the tap is turned off, preventing water from flowing through the faucet. However, a rubber washer can become worn, damaged, or compressed over time, leading to a leaking tap or a constant drip.
You might notice a few tell-tale signs of a worn tap washer. These include persistent dripping even when the tap’s off, a leak that just won’t stop, or visible wear and tear on the washer itself.
When a tap washer deteriorates, it can no longer form a proper seal against the valve seat, allowing water to escape and cause a leak. By replacing the old, worn washer with a new tap washer of the same size and style, you can restore the watertight seal and stop the leak, saving water and preventing potential damage to your plumbing fixtures and home.
It’s important to note that while tap washers are a common cause of leaks in older taps, more modern tapware may utilise different sealing mechanisms, such as ceramic cartridges or O-rings. However, the general principle of replacing worn components to restore a watertight seal remains the same.
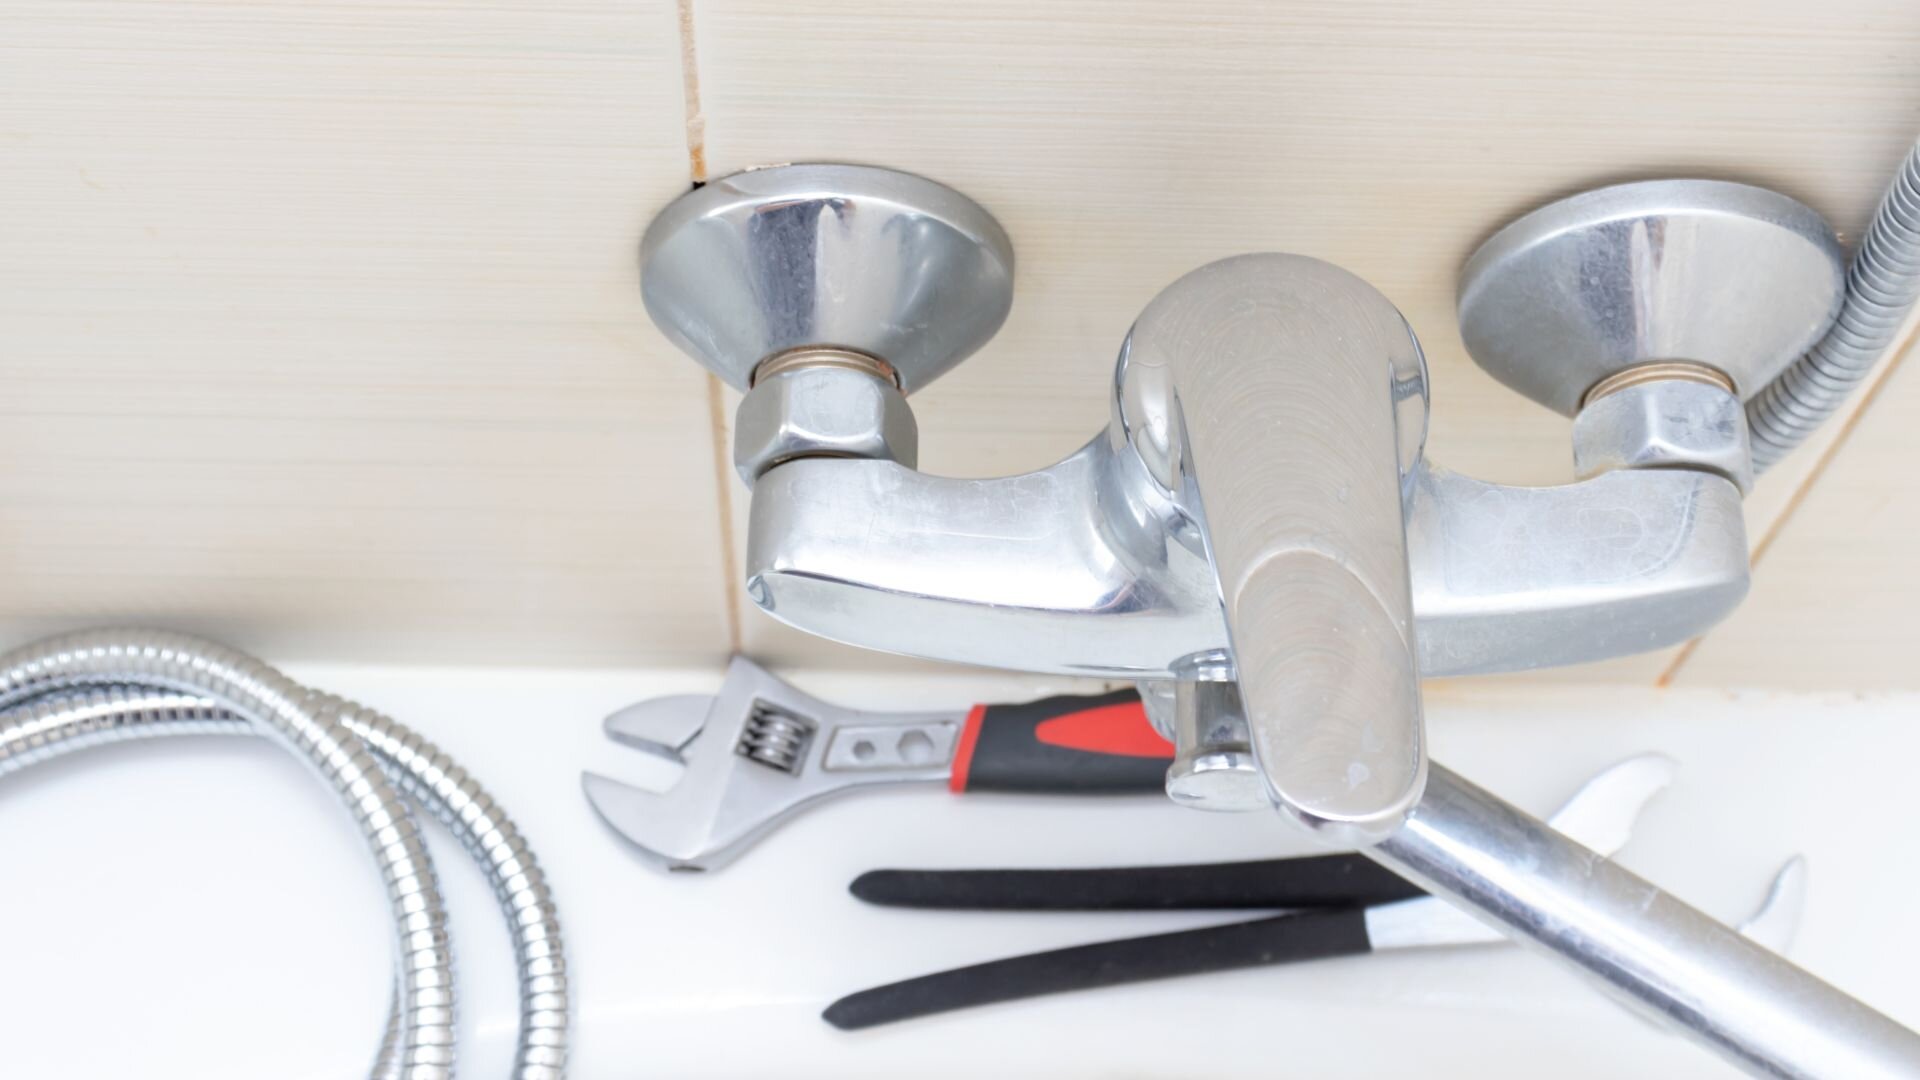
Tools and Materials Required
![]()
Before you begin, gather the necessary tools and materials:
- Adjustable wrench or spanner
- Flathead screwdriver and Phillips screwdriver
- Needle nose pliers
- Replacement tap washers (ensure you have the correct size)
- O-rings (if needed)
- Plumber’s grease or silicone grease
Getting the right size and type of washer is key to a successful fix. If you’re not sure what you need, take the old one to the local hardware shop and use it as a reference.
Step-by-Step Guide to Replacing a Washer
![]()
Preparation
- Turn off the water supply to the leaking tap. Locate the isolation valve beneath the sink or the main water meter and turn it clockwise to shut off the water flow.
- Cover the drain opening with a cloth or stopper to prevent small parts from falling in.
- Prepare a clean workspace to keep track of the tap components.
Disassembling the Tap
- Remove the tap handle by unscrewing the retaining screw, usually located at the base of the handle or beneath a plastic cap. Use a flathead screwdriver or Phillips screwdriver, depending on the screw type.
- Unscrew the tap bonnet using an adjustable wrench or spanner. The tap bonnet is the outer casing holding the tap stem.
- Remove the tap skirt (if present) and the tap button.
- Using pliers, grip the tap stem and gently pull it out from the tap body. The old washer will be located at the base of the tap stem.
Removing the Old Washer
- Check out the old washer for any signs of wear like cracks or flattening.
- Use pliers or a flathead screwdriver to take off the worn washer from the tap stem. Make sure you remember how it’s positioned for when you put it back.
- Give the valve seat a good clean and clear away any dirt or mineral build-up around it.
Installing the New Washer
- Based on the old washer or your tap’s specifications, select the correct size and type of replacement washer.
- Place the new tap washer onto the stem, ensuring it sits flush against the valve seat.
- Apply a small amount of plumber’s grease or silicone grease to the new washer and the tap stem to help create a better seal and ease future removal.
Reassembling the Tap
- Reinsert the tap stem into the tap body, ensuring it’s properly aligned.
- Replace the tap button and tap skirt (if applicable).
- Screw the tap bonnet back onto the tap body, tightening it with an adjustable wrench or spanner. Be careful not to over-tighten, as this may damage the components.
- Reattach the tap handle and secure it with the retaining screw.
Testing and Troubleshooting
- Switch the water back on and look for any leaks around the tap or under the sink.
- Turn the tap on and off a few times to make sure it’s working properly and that the seal’s holding up.
- If you still see leaks, have another look to ensure everything’s fitted right. You might need to swap out other parts like O-rings or even the valve seat.
Preventive Maintenance
To extend the life of your tap washers and prevent future leaks, it’s essential to use taps gently and avoid overtightening them, as excessive force can cause damage to the washers and other components.
Regularly inspecting your taps for signs of wear or dripping is also crucial in identifying potential issues before they escalate into more severe leaking taps.
As part of your home improvement projects, consider replacing washers proactively every few years, even if no leaks exist. This preventive measure can help ensure a watertight seal and minimise the risk of leaks occurring in the future. By addressing any leaks promptly, you can prevent water waste and potential damage to your home, including the pipes underneath your sink or basin.
Remember, while replacing a tap washer is a simple DIY task, some leaks may indicate a more complex issue within your plumbing system. If you encounter persistent leaks or feel unsure about any aspect of the repair process, don’t hesitate to contact a professional plumbing company for assistance. Their expertise can help diagnose and resolve the issue effectively, ensuring your taps’ longevity and proper function.
DIY Plumbing Made Simple!
Changing a worn tap washer is a pretty simple task that can sort out that leak. By following the guide we’ve laid out, you should be able to swap out a tap washer and get things working again.
You’ll not only save on plumber bills but also pick up some useful DIY skills and feel a sense of achievement. Keep in mind, fixing things swiftly helps prevent water waste and keeps your plumbing lasting longer.
If after you have tried our step-by-step guide and you are still experiencing issues with your affected basin or tap, speak with us at WP Plumbing! Our Melbourne plumbers understand the inner workings of your plumbing and can fix your leaking tap in no time!
Leaking Tap FAQs
Can I replace a tap washer myself, or do I need a professional plumber?
In most cases, you can change a tap washer yourself with basic tools like a flat-head screwdriver, adjustable wrench, and needle-nose pliers. However, if you need clarification on the process or encounter complications, it’s best to consult a professional plumber to avoid damaging your water supply or plumbing system.
How often should I replace my tap washers?
To prevent leaky taps and extend the life of your plumbing fixtures, it’s a good idea to replace rubber washers proactively every 2-3 years. This simple maintenance task can save you money on your water bill and prevent the need for more extensive repairs.
What if I can’t find the right size replacement washer?
If you’re having trouble finding the correct size tap washer, take the old rubber washer to your local hardware store. The staff can assist you in finding a suitable replacement, ensuring a proper fit for your tap. Don’t hesitate to ask for help, as using the wrong size washer can lead to a persistently dripping tap.
Can a leaking tap cause damage to my home?
Yes, a leaky tap can waste significant water over time, leading to higher water bills and potential damage to your home. The constant moisture from a dripping tap can cause rust, corrosion, and even water damage to the surrounding area. It’s crucial to address leaky taps promptly to avoid these costly consequences.
What if replacing the washer doesn’t stop the leak?
If your tap leaks after replacing the rubber washer, additional issues may be at play. A damaged valve seat, worn O-rings, or corroded components can all contribute to a persistent leak. In these cases, it’s best to consult a professional plumber who can diagnose the problem and recommend the appropriate course of action. They may need to replace additional parts or even suggest upgrading to a more modern tap fixture. Remember, attempting complex repairs without proper knowledge or tools can lead to further damage, so don’t hesitate to seek expert help when needed.