How To Repair A Leaking Tap Handle
Take control of your home maintenance with our ultimate guide to repairing leaking tap handles. We cover everything from identifying the tap type to a step-by-step guide for DIY repair. Save on your water bills!
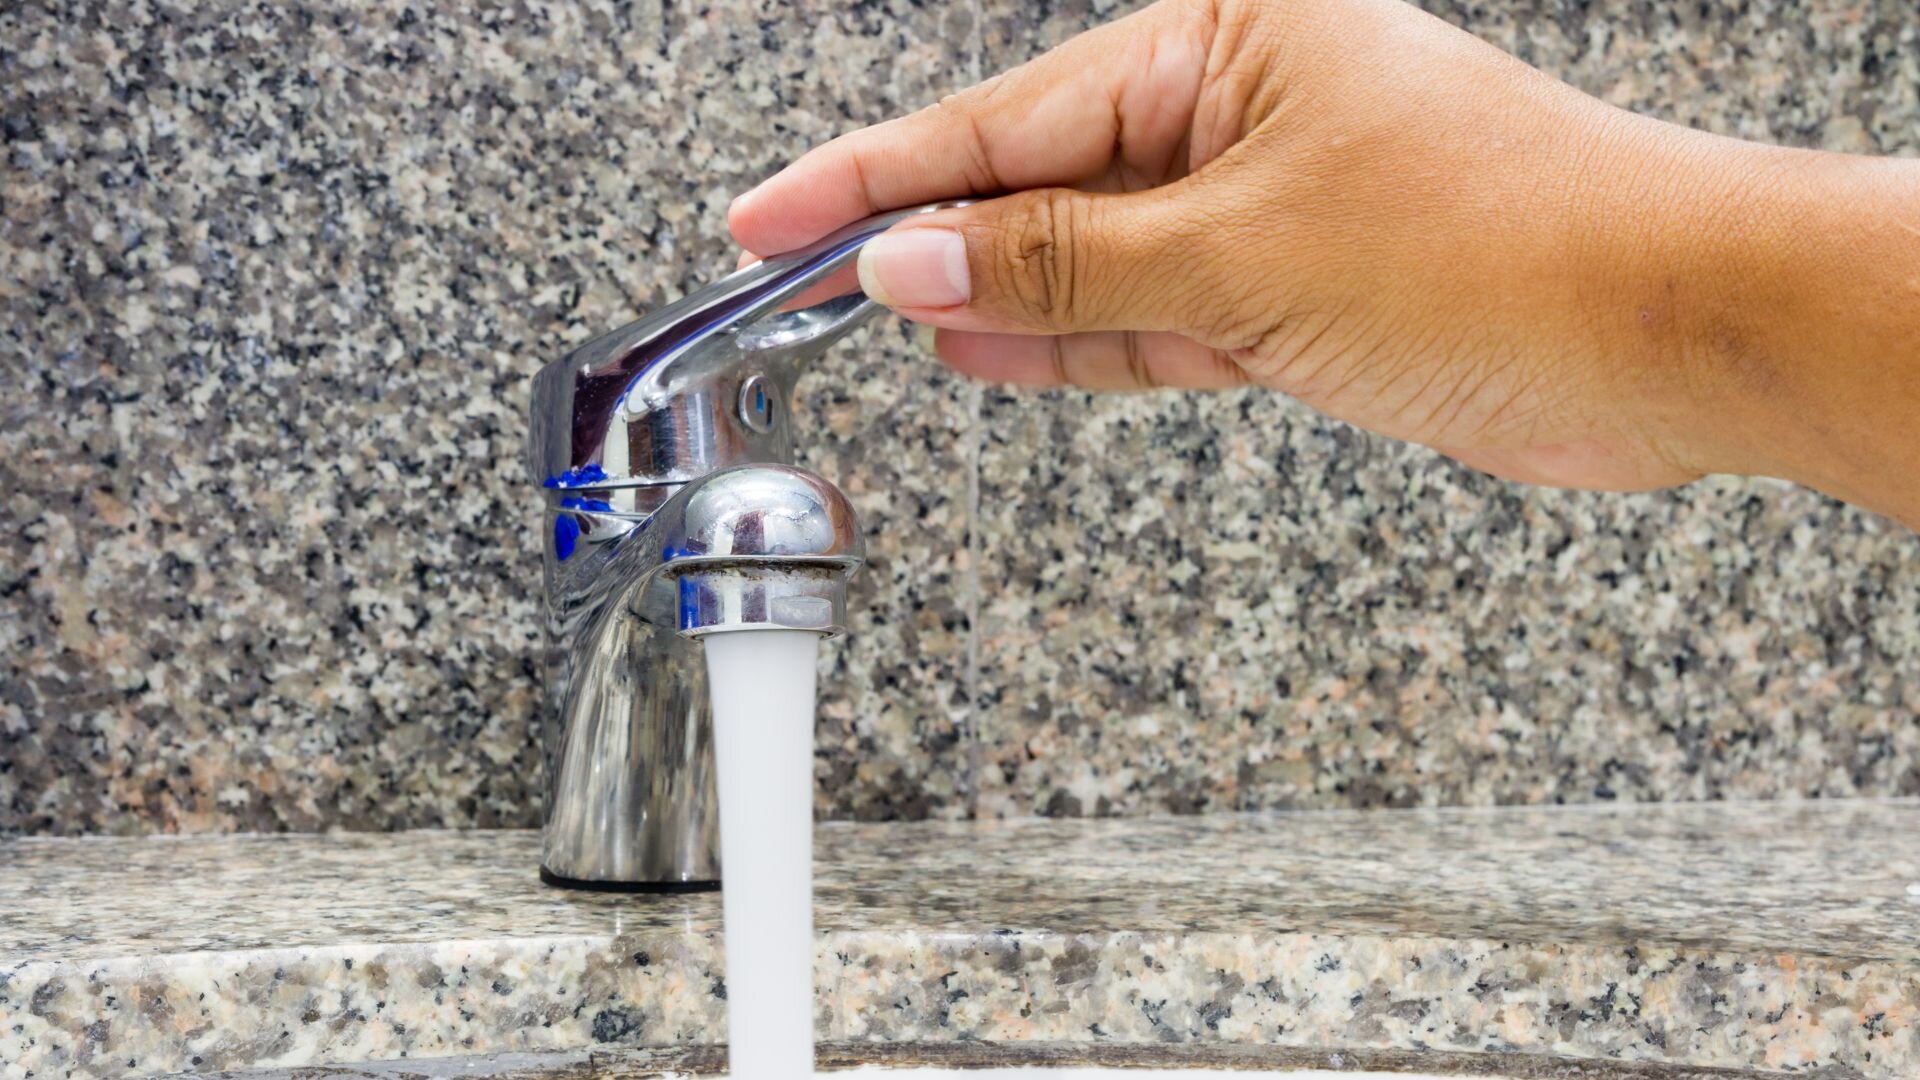
Dealing with a leaking tap handle is a common household issue that can lead to water waste and even damage if ignored. The incessant dripping can be quite a nuisance too. Luckily, fixing it is usually straightforward and manageable for those with basic DIY skills.
In this guide, we’ll walk you through how to pinpoint the cause of the leak and repair your tap handle efficiently. With the right tools and materials, following our steps can help you save on plumbing costs and get your tap working perfectly again.
Don’t let a dripping tap handle rack up water bills or ruin your home. With some patience and the right guidance, you can tackle this fix head-on and enjoy a drip-free tap.
Before diving into a tap repair, it’s crucial to get all your tools and materials ready. Having everything at hand will make the job much easier and faster. Here’s what you’ll need:
It’s a good idea to have a few different sizes of washers and O-rings on hand, as the exact size needed may vary depending on your tap model. If you’re unsure about the specific parts required for your tap, it’s helpful to bring the old components to a hardware store for comparison or consult your tap manufacturer’s website for guidance.
By having these tools and materials ready to go, you’ll dodge any unnecessary interruptions and make sure the repair goes as smoothly as possible.
Before you start the repair process, you need to identify your tap type, as the repair steps may vary slightly depending on the tap design. There are three main types of taps: compression, ceramic disc, and ball.
Compression taps are the most common type, particularly in older homes. They have separate hot and cold handles that control water flow by compressing a rubber washer against a valve seat. A hexagonal nut is directly below the handle, which can be unscrewed to access the inner components.
Ceramic disc taps are a more modern design that uses two ceramic discs to control water flow. They are known for their durability and smooth operation. Ceramic disc taps often have a vast, cylindrical body and a single lever handle that controls temperature and flow.
Ball or basin mixer taps use a ball-shaped mechanism to control water flow and temperature. They are commonly found in kitchen and bathroom sinks. Ball taps have a single handle that moves over a rounded cap, which houses the ball mechanism.
To identify the type of tap you have, follow these steps:
After figuring out your tap type, you’re all set to dive into the specific repair steps for that design.
Before starting the repair process, it’s essential to take some preparatory steps. First, locate the water supply valves beneath the sink or basin and turn them off completely. This will prevent any water from flowing through the tap during the repair. If your sink doesn’t have individual supply valves, you may need to turn off the main water supply to your home.
Next, place a cloth or a small container over the drain opening to prevent any small parts, like screws or washers, from falling in and getting lost. This simple step can save you a lot of frustration and time.
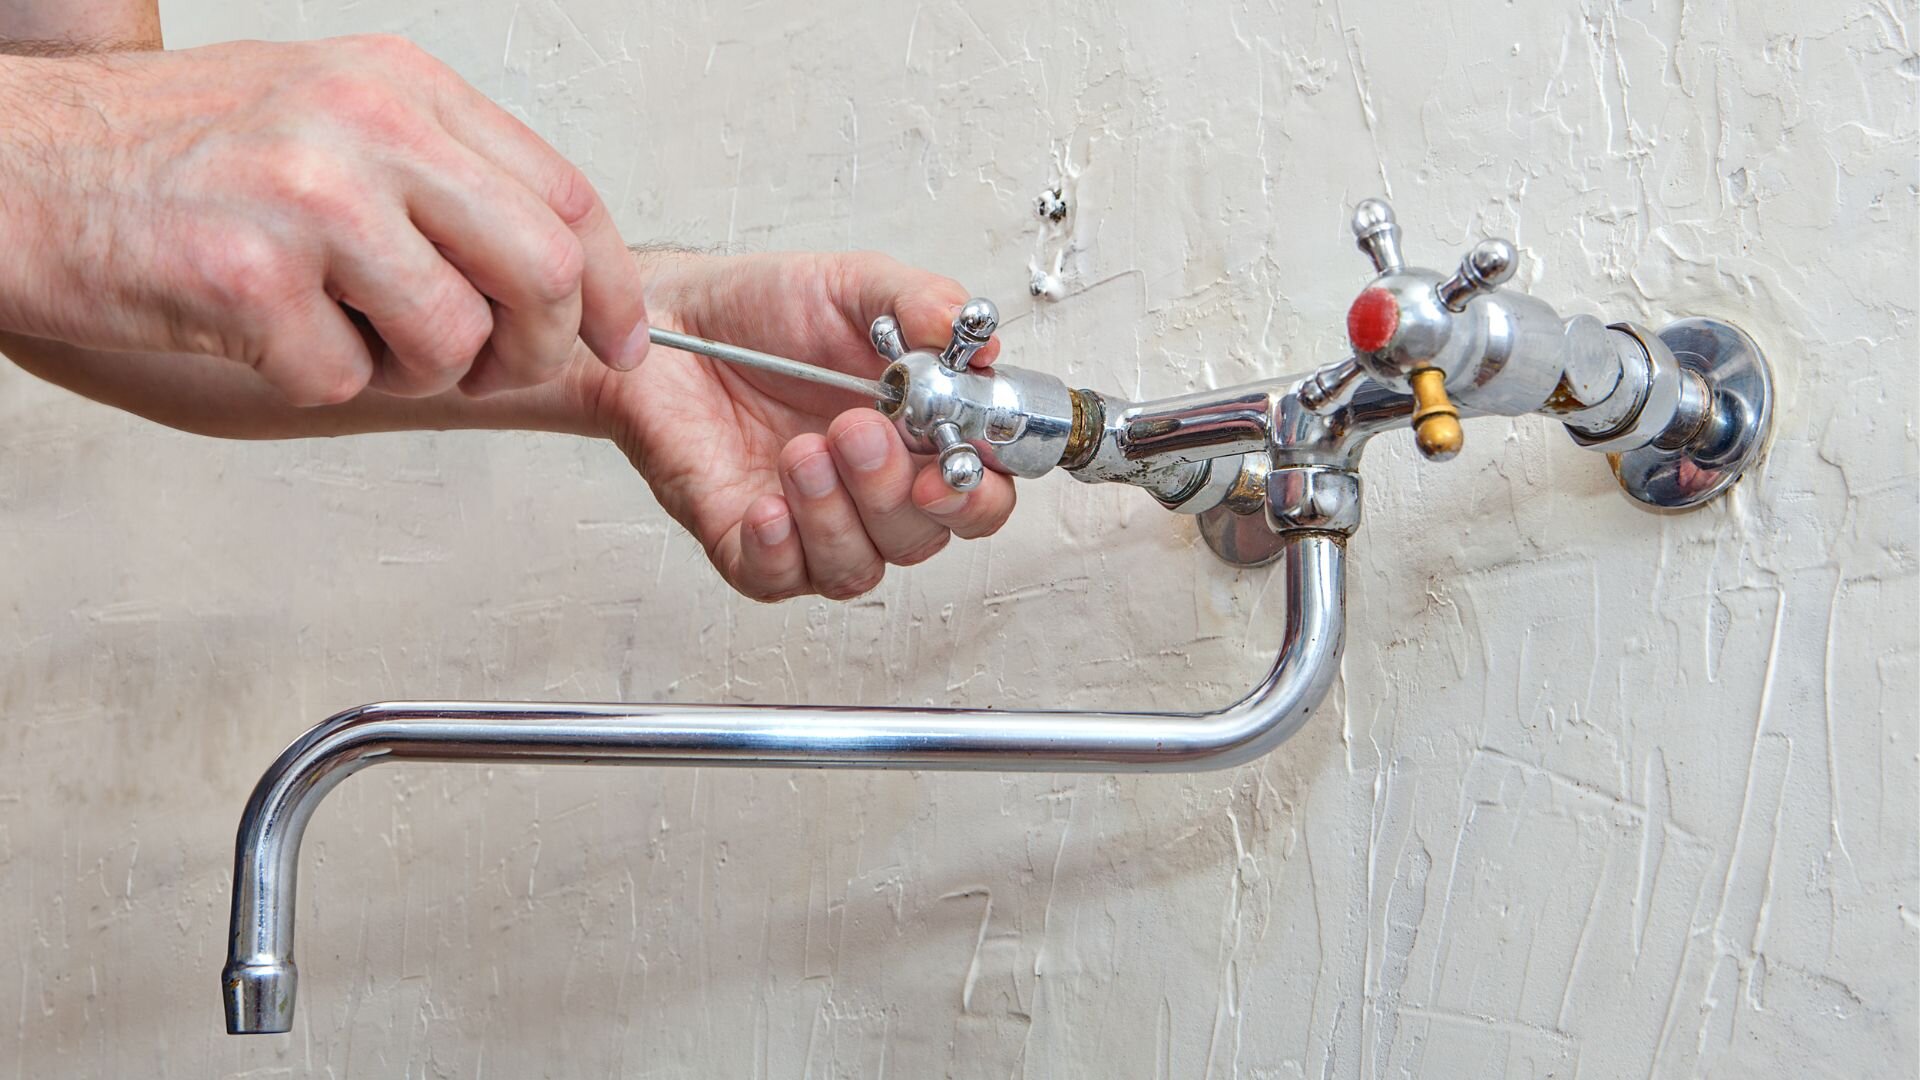
You can begin disassembling the tap with the water supply turned off and the drain covered. Start by removing the handle, which is usually held in place by a small screw at the base or under a decorative cap. Once the screw is removed, gently pull the handle off the tap.
Beneath the handle, you’ll find a cover or shroud, which can be unscrewed or pried off with a flathead screwdriver. Removing the cover will expose the retaining nut, which holds the valve or cartridge in place. Use an adjustable wrench or spanner to loosen and remove the retaining nut.
With the retaining nut removed, you can extract the valve or cartridge from the tap body. Be careful not to damage any parts as you remove them, and keep track of their order and orientation for reassembly.
Once the valve or cartridge is removed, inspect its components for signs of wear or damage. Check the rubber washers and O-rings for cracks, fraying, or flattening. Look for any mineral build-up or corrosion on metal parts.
In most cases, a leaking tap handle is caused by a worn-out rubber washer or O-ring, which can no longer create a watertight seal. However, if you notice damage to other components, like the valve seat or cartridge, you may need to replace those parts.
After identifying the worn or damaged parts, replace them with new components. Take the old washers, O-rings, or other parts to a hardware store to ensure you get the correct replacements for your tap model.
When replacing washers and O-rings, coat them lightly with the plumber’s grease or silicone grease. This will help them create a better seal and prevent them from sticking or twisting during reassembly.
With the new parts in place, you can start reassembling the tap. Begin by reinserting the valve or cartridge into the tap body, making sure it’s oriented correctly. Replace the retaining nut and tighten it securely with an adjustable wrench or spanner.
Next, replace the cover or shroud and screw it back into place. Finally, reattach the handle, making sure it’s properly aligned, and secure it with the small screw.
It’s time to test your repair work with the tap fully reassembled. Turn the water supply valves back on and check for any leaks around the base of the tap or beneath the sink. Open and close the tap handle a few times to ensure it moves smoothly and the water flow is consistent.
If you notice any leaks or issues with the tap’s function, double-check that all parts are installed correctly and tightened securely. If the problem persists, you may need to disassemble the tap again and recheck the components or consider seeking the help of a professional plumber.
No matter how carefully you follow the steps, some common hiccups might pop up. Here are a few issues you might face, along with their solutions.
If the retaining nut is stuck or difficult to remove, it may be due to mineral build-up or corrosion. To address this issue, apply a penetrating oil like WD-40 to the nut and let it sit for a few minutes. This will help loosen the nut and make it easier to remove. If the nut remains stubborn, try gently tapping it with a hammer to break up any corrosion before unscrewing it again.
Using the wrong size washers or O-rings can result in a persistent leak or difficulty reassembling the tap. To avoid this problem, bring the old components with you when purchasing replacements. Compare the sizes carefully or consult the tap manufacturer’s specifications to ensure you get the correct fit.
If your tap leaks after you’ve completed the repair, there are a few potential causes. First, double-check that all components are installed correctly and tightened securely. Ensure the new washers and O-rings are appropriately seated and not twisted or pinched.
If the leak persists, there may be damage to other components, such as the valve seat or the tap body itself. Inspect these parts closely for cracks, chips, or wear. If you find damage, you may need to replace these components or consider installing a new tap altogether.
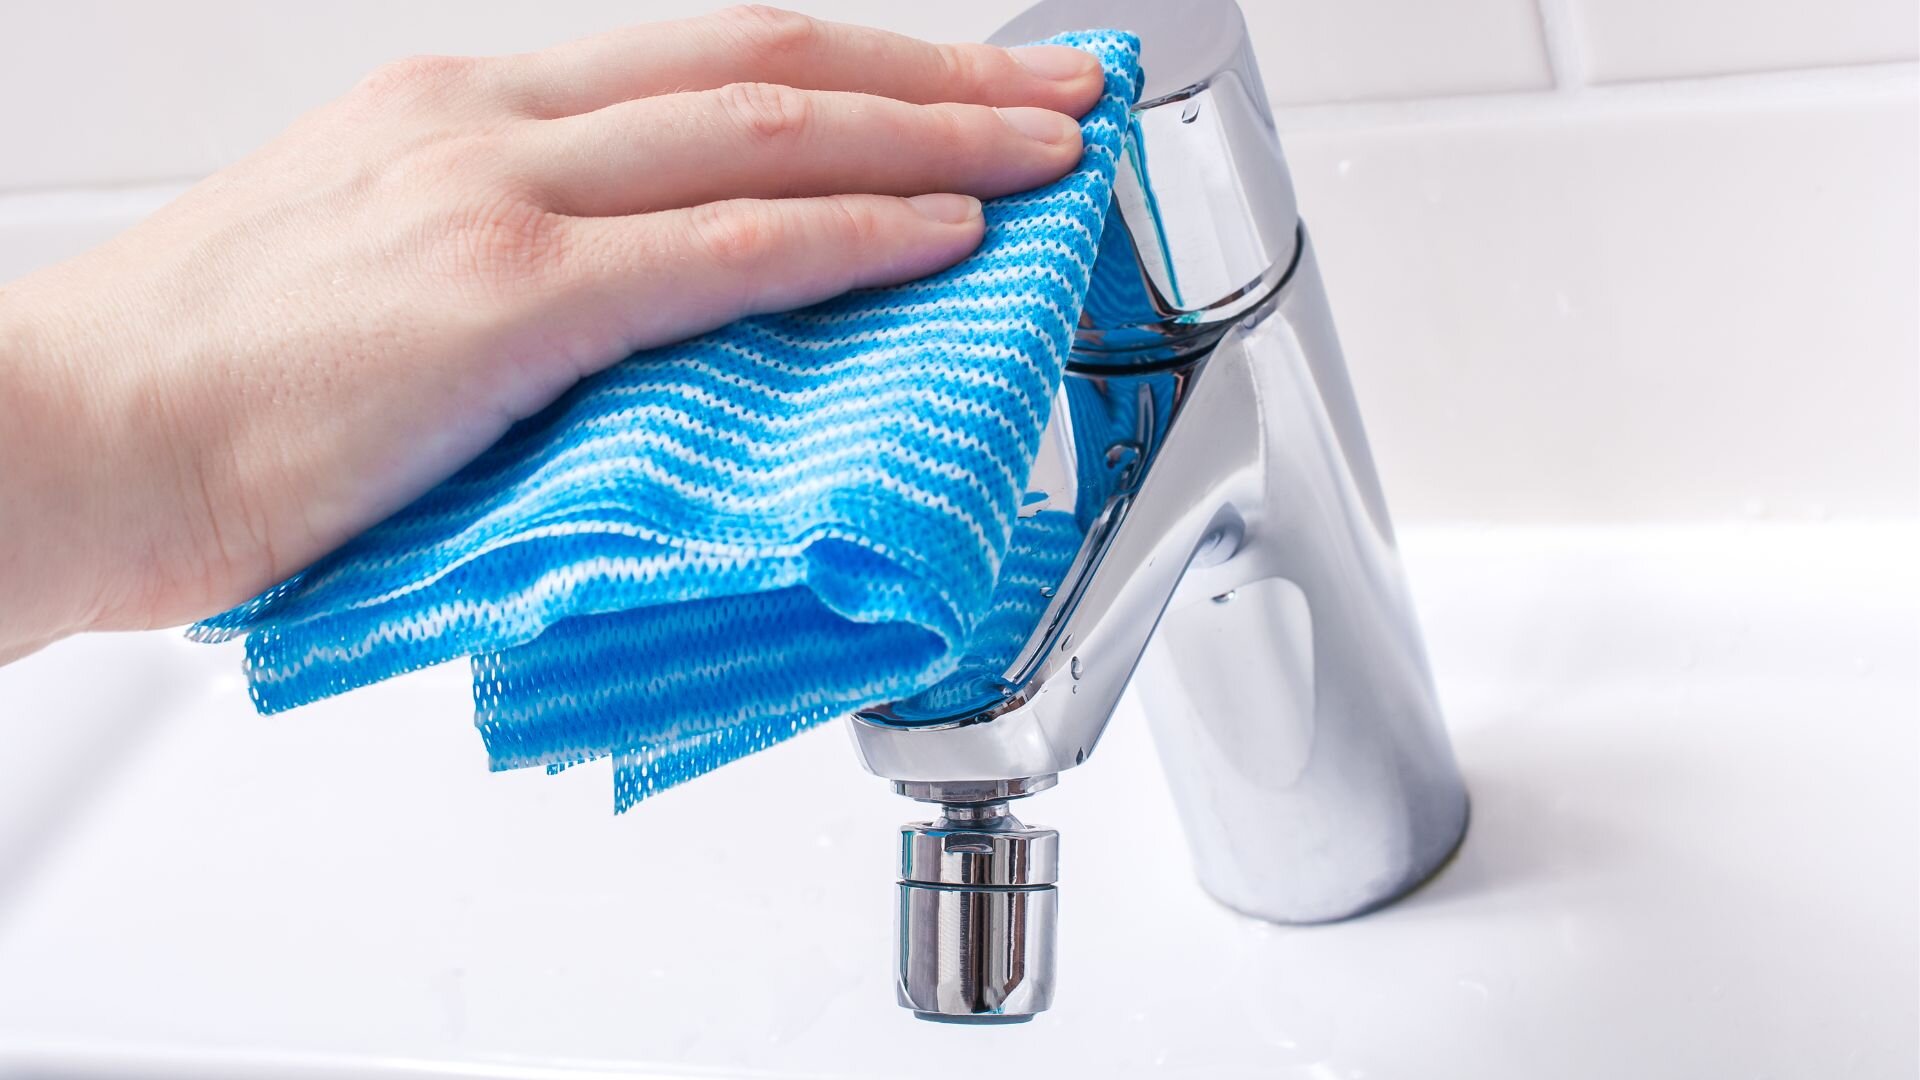
If you experience low water pressure after reassembling your tap, there may be an obstruction in the water flow. Check that the aerator, located at the tip of the spout, is not clogged with debris or mineral build-up. Unscrew the aerator and clean it thoroughly, then reattach it to the spout.
If cleaning the aerator doesn’t resolve the low water pressure, there may be an issue with the water supply lines or valves. Ensure the supply valves are fully open and check for any kinks or damage to the supply lines.
To keep your taps functioning properly and prevent future leaks, it’s important to practice regular preventive maintenance. Here are some tips to help you maintain your tap handles:
Regular inspections and timely repairs are crucial for maintaining the longevity and efficiency of your taps. Check your taps for signs of wear, corrosion, or leaks every few months. If you notice any issues, address them promptly to avoid water waste and potential damage to your home.
Repairing a leaking tap handle is straightforward and can be accomplished by most homeowners with the right tools, materials, and guidance. By following the step-by-step instructions outlined in this article, you can successfully identify the cause of the leak, disassemble your tap, replace worn components, and reassemble the tap for proper function.
We encourage you to tackle this repair yourself and take pride in your DIY skills. Not only will you save money on professional plumbing services, but you’ll also gain valuable knowledge and experience in home maintenance.
However, if you encounter persistent issues or feel unsure about any aspect of the repair process, don’t hesitate to call our Melbourne plumbers at WP Plumbing. They have the expertise and tools to effectively diagnose and resolve more complex problems like leaking tap issues.
In most cases, replacing the washer will resolve a leaking tap handle. However, if you notice damage to other components, like the valve seat or cartridge, you may need to replace those parts.
It’s a good idea to replace washers and O-rings every few years, even if there are no apparent leaks. These components can degrade over time and cause leaks if not replaced proactively.
If the leak persists after replacing the washer, double-check that all components are installed correctly and tightened securely. If the problem continues, there may be damage to other parts, like the valve seat or tap body, which may require professional attention.
It’s best to use a plumber’s grease or silicone grease specifically designed for use with plumbing components. These greases are waterproof and help create a better seal, preventing sticking or twisting during reassembly.
Regular cleaning with a soft cloth and mild cleaning solution can help prevent mineral build-up and corrosion. Avoid using abrasive cleaners or scrubbers, which can damage the tap’s finish and promote corrosion.
Say goodbye to leaking taps and high water bills. Our ultimate guide walks you through replacing tap washers and preventing future leaks like a pro. Find the tools, materials, and techniques needed to replace a tap washer and end the annoying drip of a leaking tap.
Have you noticed an unusual leak coming from a drain in your home? Keep your plumbing system in top shape with our guide to preventing and repairing leaking drains. From DIY fixes to professional help, we cover everything you need to know.
Keep your rainwater collection efforts thriving with key maintenance insights. Our expert guide helps you understand the common causes of tank leaks and the best preventative measures to take. Strengthen your rainwater tank’s durability and contribute to water conservation with ease.


