Whether it’s a small drip or a significant rupture, a leak in your pool’s plumbing system must be addressed promptly to prevent further damage and costly repairs. Over time, pool leaking pipes can cause the pool water level to drop, require frequent refilling, and possibly cause structural issues if left unrepaired.
This guide will help you spot where your pool might be leaking and give you steps to fix usual pipe issues. We’ll cover inspecting and repairing cracked PVC pipes, leaky fittings and connections, and worn-out rubber gaskets. Tackling minor leaks early can save you from bigger problems down the track.
Following the tips and advice in this blog post will allow you to enjoy your pool again without the hassle of constantly battling a dropping water level and the need for costly repairs.
Understanding Pool Pipe Systems
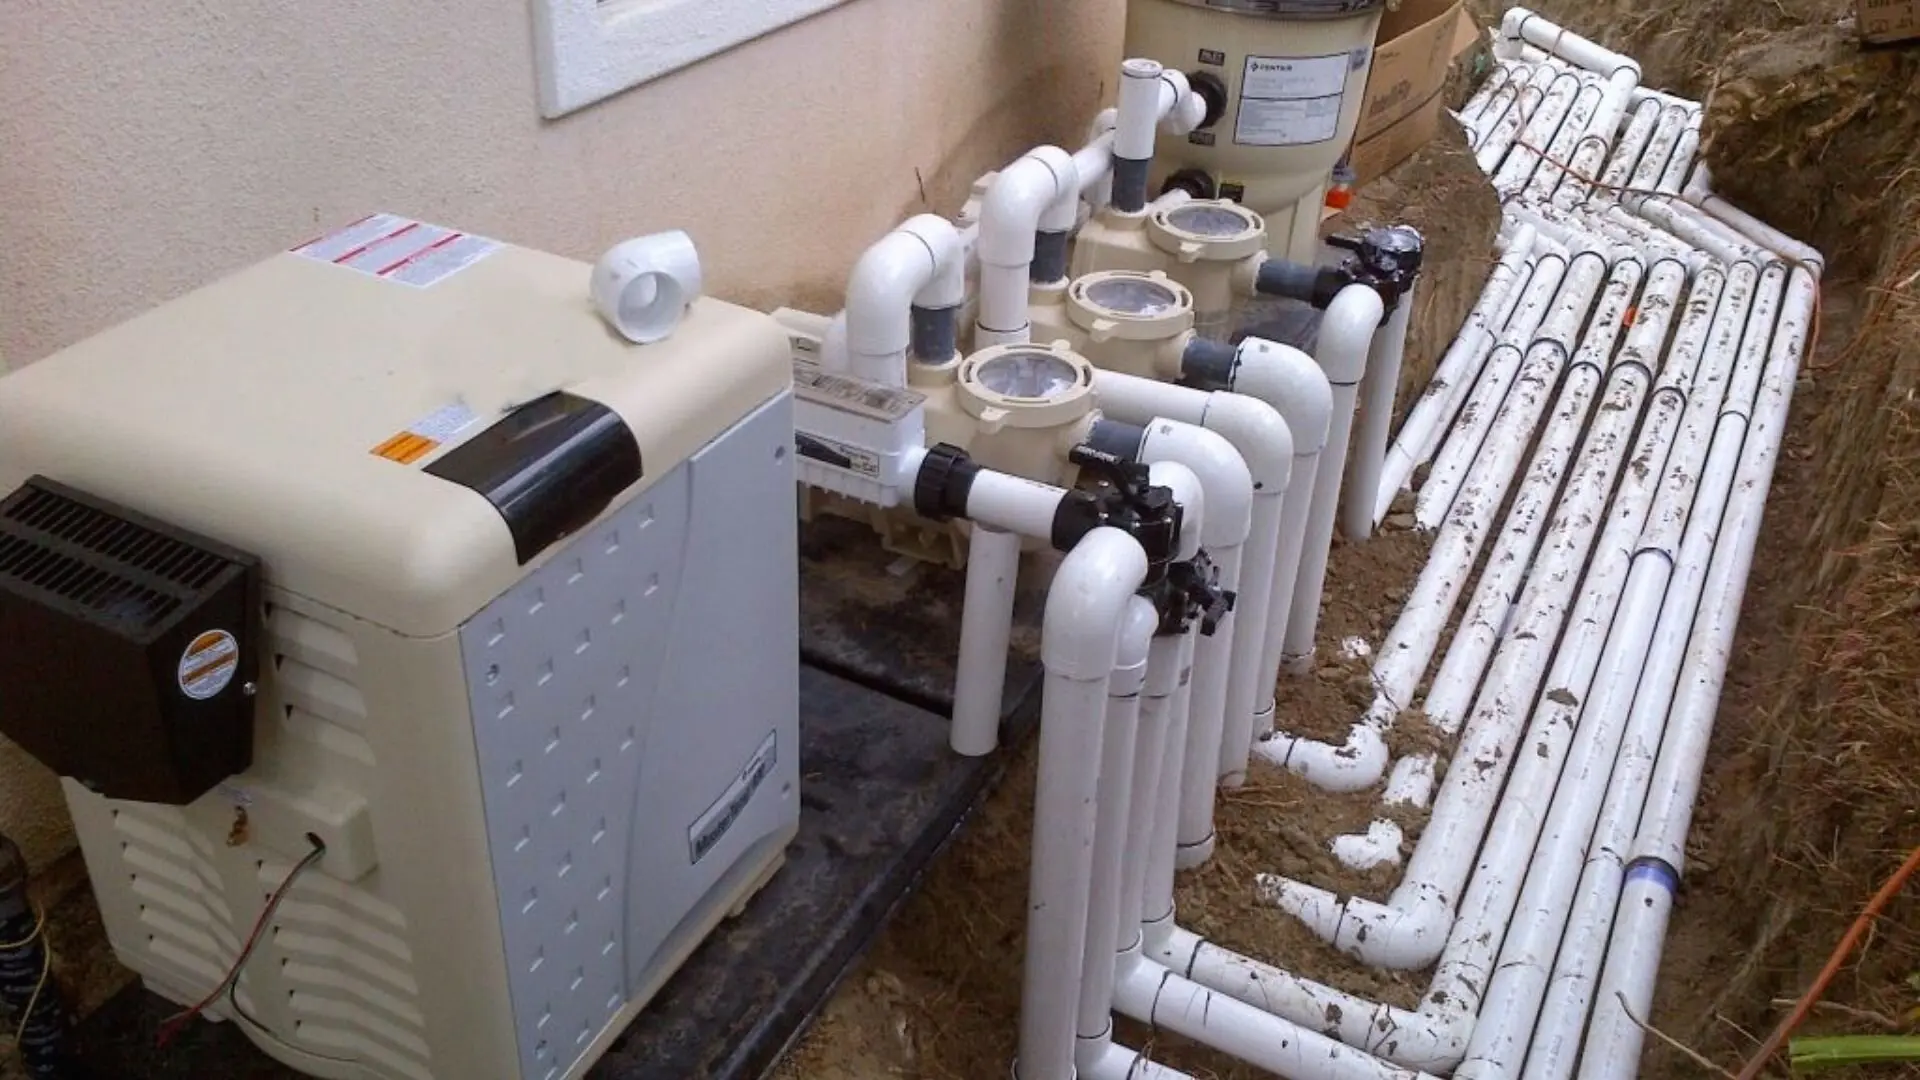
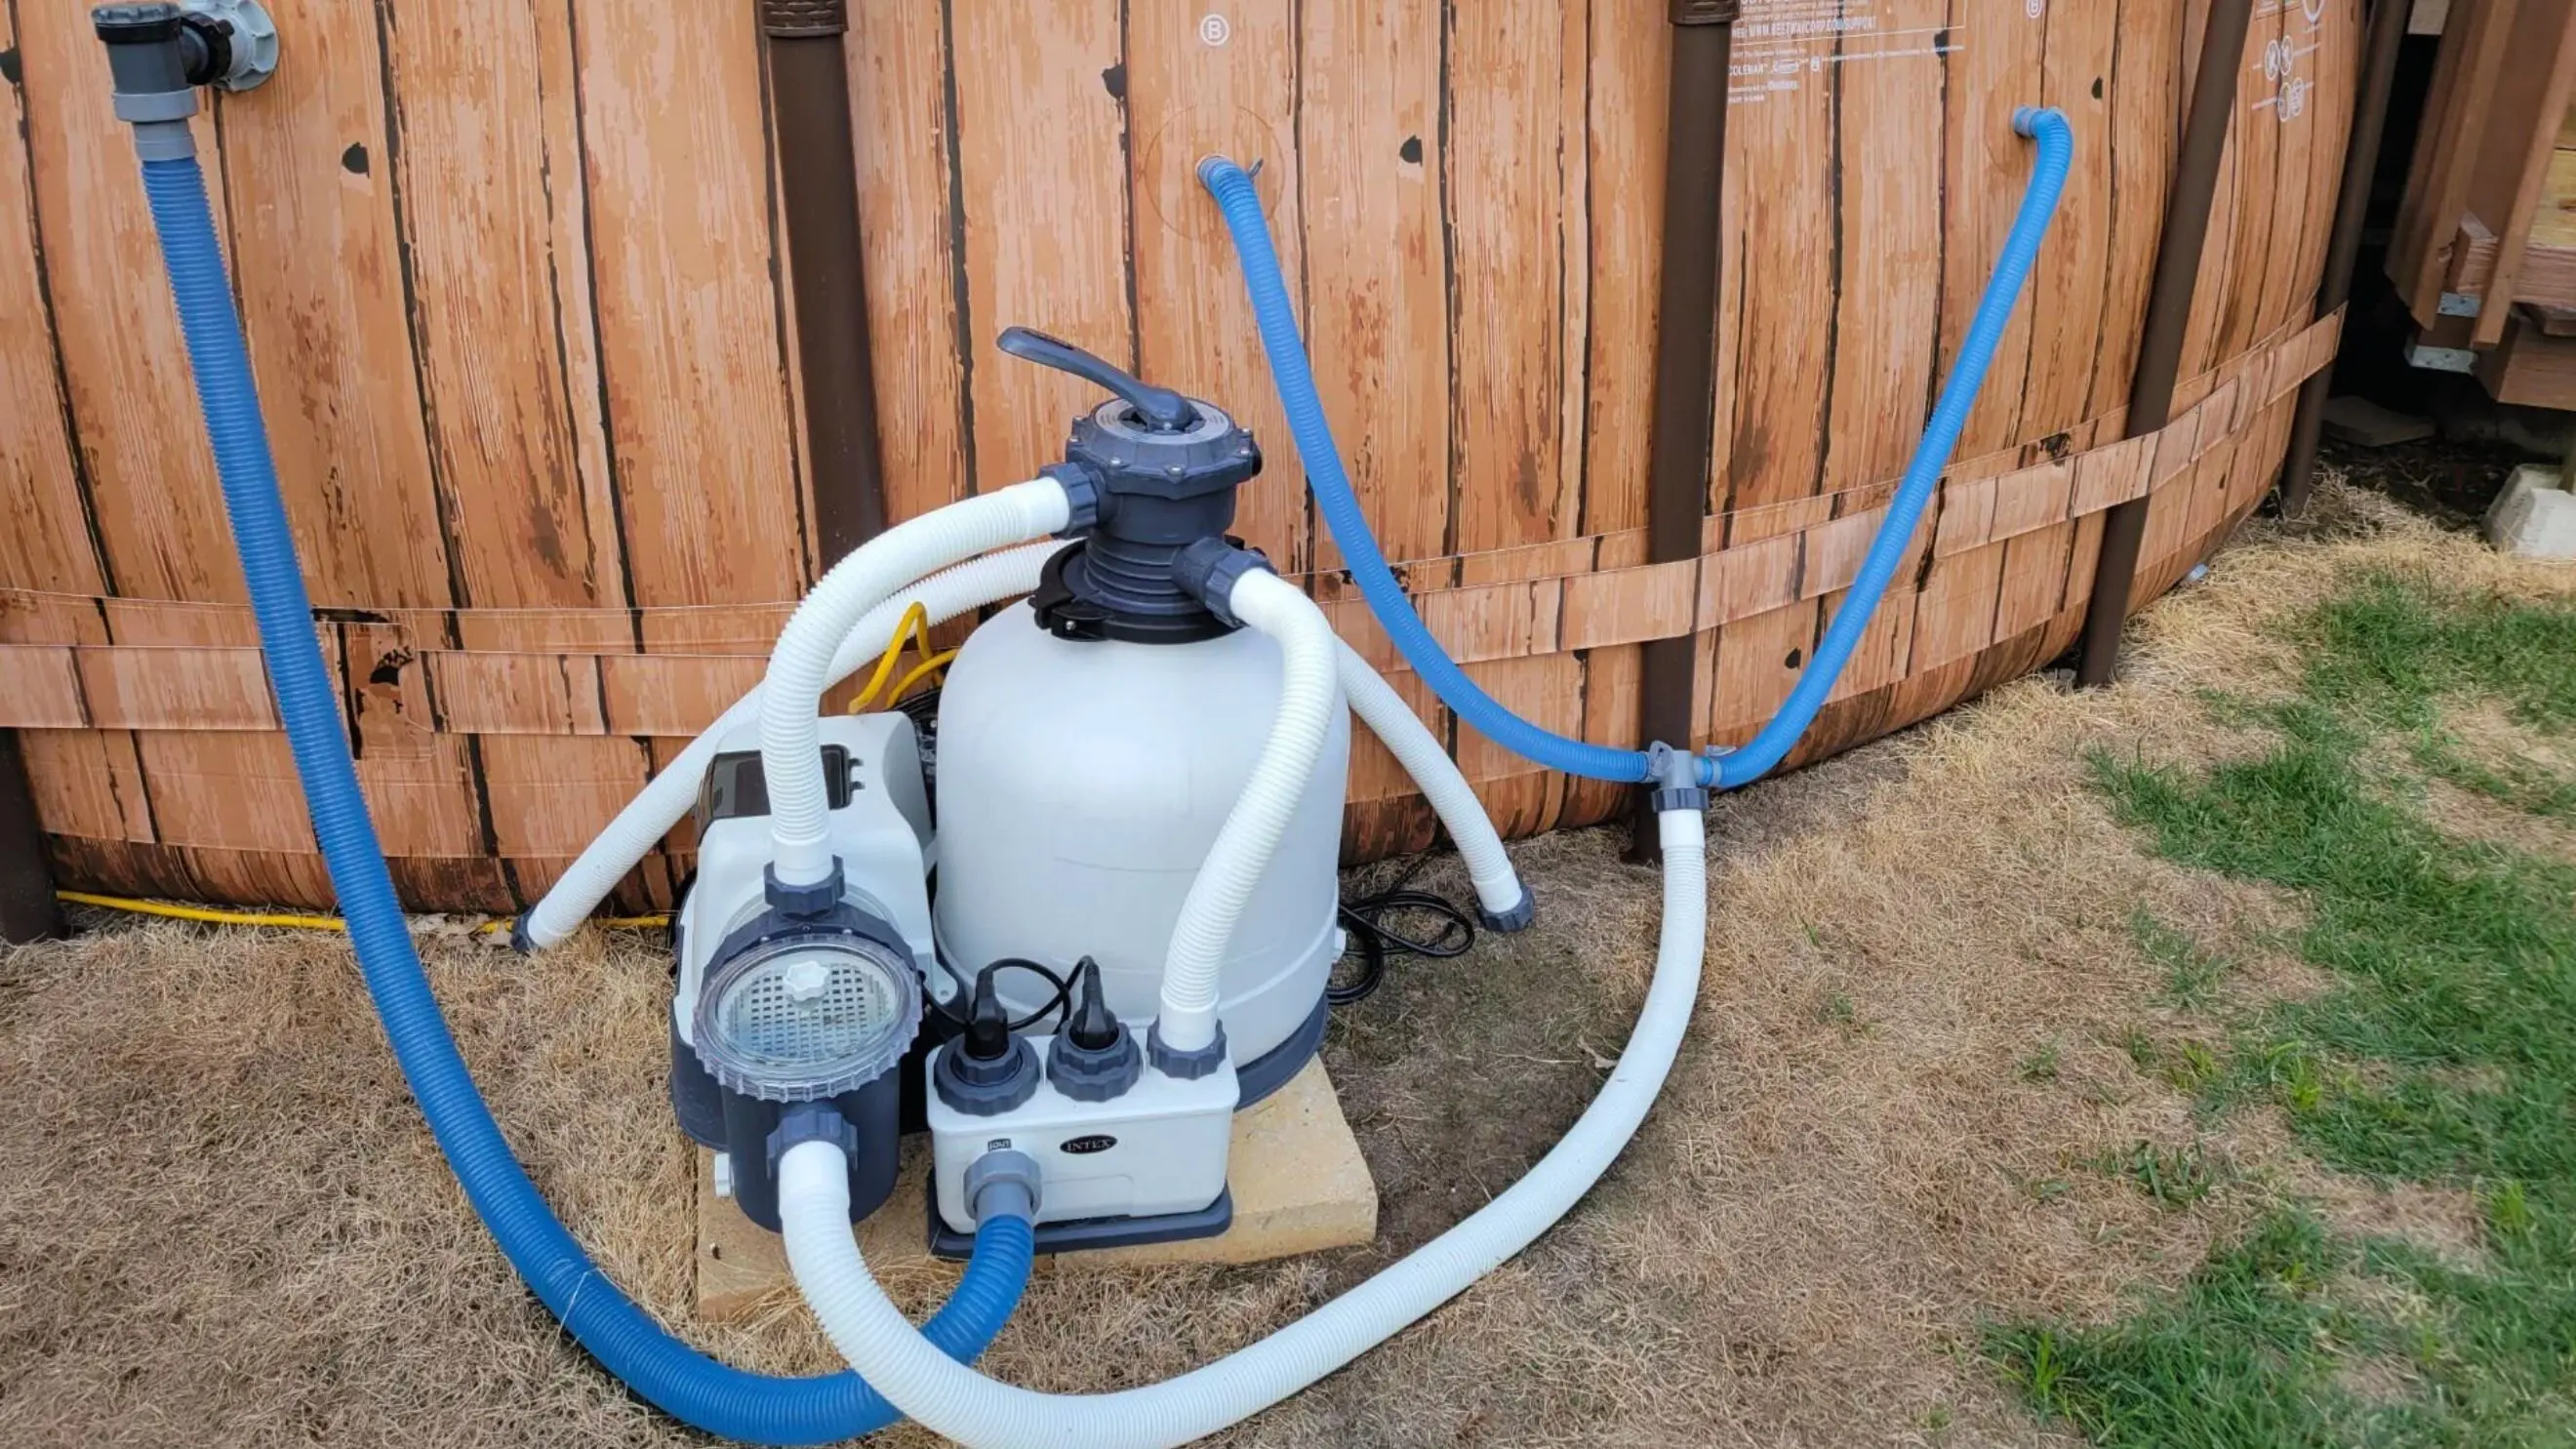
Every pool plumbing system follows a basic design. Getting to grips with your setup will help you figure out where a leak might be hiding. Typically, the system includes main return lines, which send filtered water back into the pool, and main suction lines that take water out for filtering.
These main lines connect to smaller pipes that crossover under the pool and join back to complete the circulating loop. Additional lines connect skimmers, main drains, and the water supply for pool cleaning systems.
![]()
Knowing where these pipes are buried and the flow of water through the system is essential for effective troubleshooting and repair. Examining your pump room may also provide clues from the layout of the pipes and any previous work or modifications that could influence where an issue develops.
Addressing leaks promptly and repairing leaking windows, taps, or other components is crucial for preventing future leaks and avoiding costly damage. Regularly inspect your plumbing system and consider professional leak detection if you suspect a hidden pipe leak.
Identifying Pool Pipe Leaks
Leaks can occur in pool plumbing systems in several different ways. One of the most common and apparent signs is a short-term loss of water level in your pool.
This indicates a larger rupture somewhere, allowing a steady flow of water to escape. A simple water test by fully circulating the pump can also help spot leaks as you physically inspect all buried pipes and connections above and below water.
Skimmer leaks—The most common leak is a separation between the plastic skimmer and the concrete pool. This is easily fixed with pool putty. Some minor, gradual leaks may only be noticed by water constantly damping around the pool, an area of the yard, or the pump running excessively. Visual inspection can reveal wet or soaked spots in the soil or worn-out rubber components that have developed cracks.
You may also see mineral deposits or discolouration forming on pipes from water slowly seeping out. Using a pool store plumbing leak detection dye that temporarily colours the water is also an effective way to trace the source.
Add the dye and closely check all returns, fittings, skimmer baskets and equipment areas over the next few hours to pinpoint the leakage point. Narrowing down the location is essential before attempting the repair.
Tools And Materials
You’ll need some basic tools and materials to tackle common plumbing leaks. Having pipe wrenches and channel lock pliers in various sizes is key for disconnecting and tightening fittings.
You’ll also need a utility knife to cut PVC pipe as required. A primer and PVC cement were used explicitly for pool pipes to glue new PVC joints. If a replacement part is needed, it’s a good idea to have several sizes of elbows, unions, couplings, and cleaning bushings on the supply side.
Old gaskets must be replaced with rubber washers and O-rings. Epoxy putty or PVC solvent welds can repair minor cracks.
It would be best to have rags, buckets, and a wet or dry vacuum handy for cleanup. A wire coat hanger can help snake clogged lines. A leak detection kit with dye tablets makes pinpointing the exact spot simpler. And, of course, always wear proper safety equipment like gloves, eye protection and breathing masks when working with chemicals.
Step-By-Step Repair Process
Repairing leaks in pool pipes is essential to maintain your swimming pool. Small leaks can turn into big problems if not addressed promptly.
Here are the step-by-step procedures to repair pipe leaks in your pool:
![]()
Step 1: Find the leak
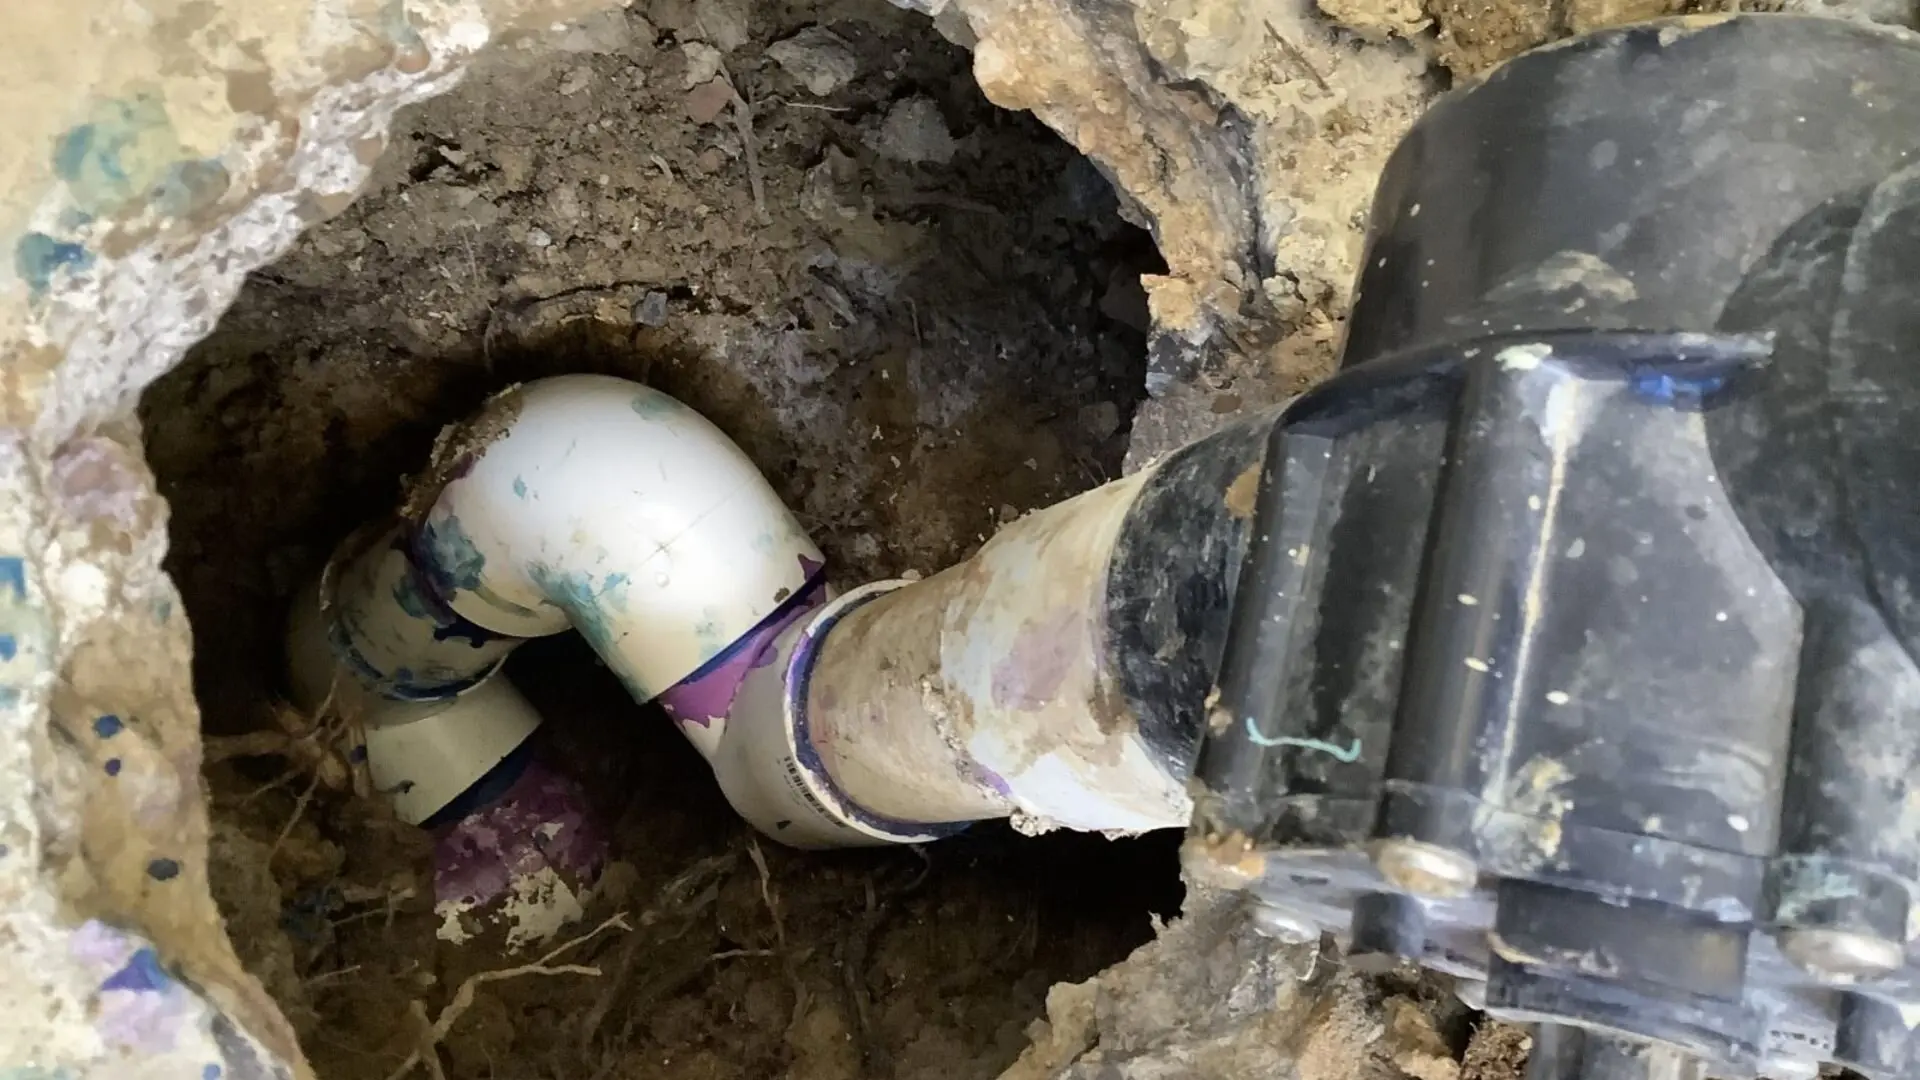
Fixing leaks in underground plumbing, whether they originate from a pipe connector below the deck or under the skimmer, requires effort. First, ensure the leaks are from the pipes by turning off the pump and blocking all lines.
This may require draining some water from the pool to expose the pipework. Carefully inspect all pipes and fittings for signs of cracking, corrosion, or visible leaks. A leak detection solution may sometimes be needed to pinpoint small or intermittent leaks.
Once the leak location is identified, drain more water from the pool as needed for access. Be careful when draining water, as pipes may weaken without water pressure. Support unstable pipes properly to avoid additional damage.
Step 2: Prepare the repair area
Clean away dirt, debris, algae, or calcium deposits from the pool leak site. This is important for the proper adhesion of replacement materials later. Chisel or remove rough edges for large cracks to facilitate a smooth repair.
Step 3: Select appropriate repair materials
For small hairline cracks, an epoxy putty may suffice. You may need to cut out and replace the damaged pipe section for larger cracks or holes. Have PVC pipe, solvent glue, fittings, clamp-style repairs or flexible patches on hand based on the type and extent of the damage?
Step 4: Apply primer or solvent as directed by the product manufacturer
This helps ensure a strong bond between the pipe surfaces and repair materials. For epoxy patches, clean and roughen the pipe surface as specified.
Step 5: Apply the repair material and securely fasten it in place
Carefully measure and cut the new piece to fit tightly for replaced pipe sections. Apply solvent glue and rapidly assemble while the adhesive is still wet.
Step 6: Allow adequate curing or drying time as per product instructions
Epoxy patches may take a few hours, while solvent-welded PVC joints take 24 hours to cure fully. Support or clamp the leak repair in the interim.
Step 7: Refill the pool and monitor the repair area closely for a few days
Add appropriate chemicals and balance water as needed. Check for any new concrete pool leaks - if found, repeat the repair process.
Step 8: For extensive damage or old corroded pipes, complete pipe replacement may be necessary
Ideally, the leak should be high on the pool wall to avoid draining the entire pool. This more involved process requires dewatering the whole pool, but it ensures long-term leak prevention.
Proper tools, materials and patient execution are essential to successfully repairing pool pipe leaks. Don’t delay repairs, as minor problems can worsen exponentially if ignored. With the proper process, anyone can fix common plumbing issues and enjoy their pool again!
Different Types Of Pool Pipe Materials
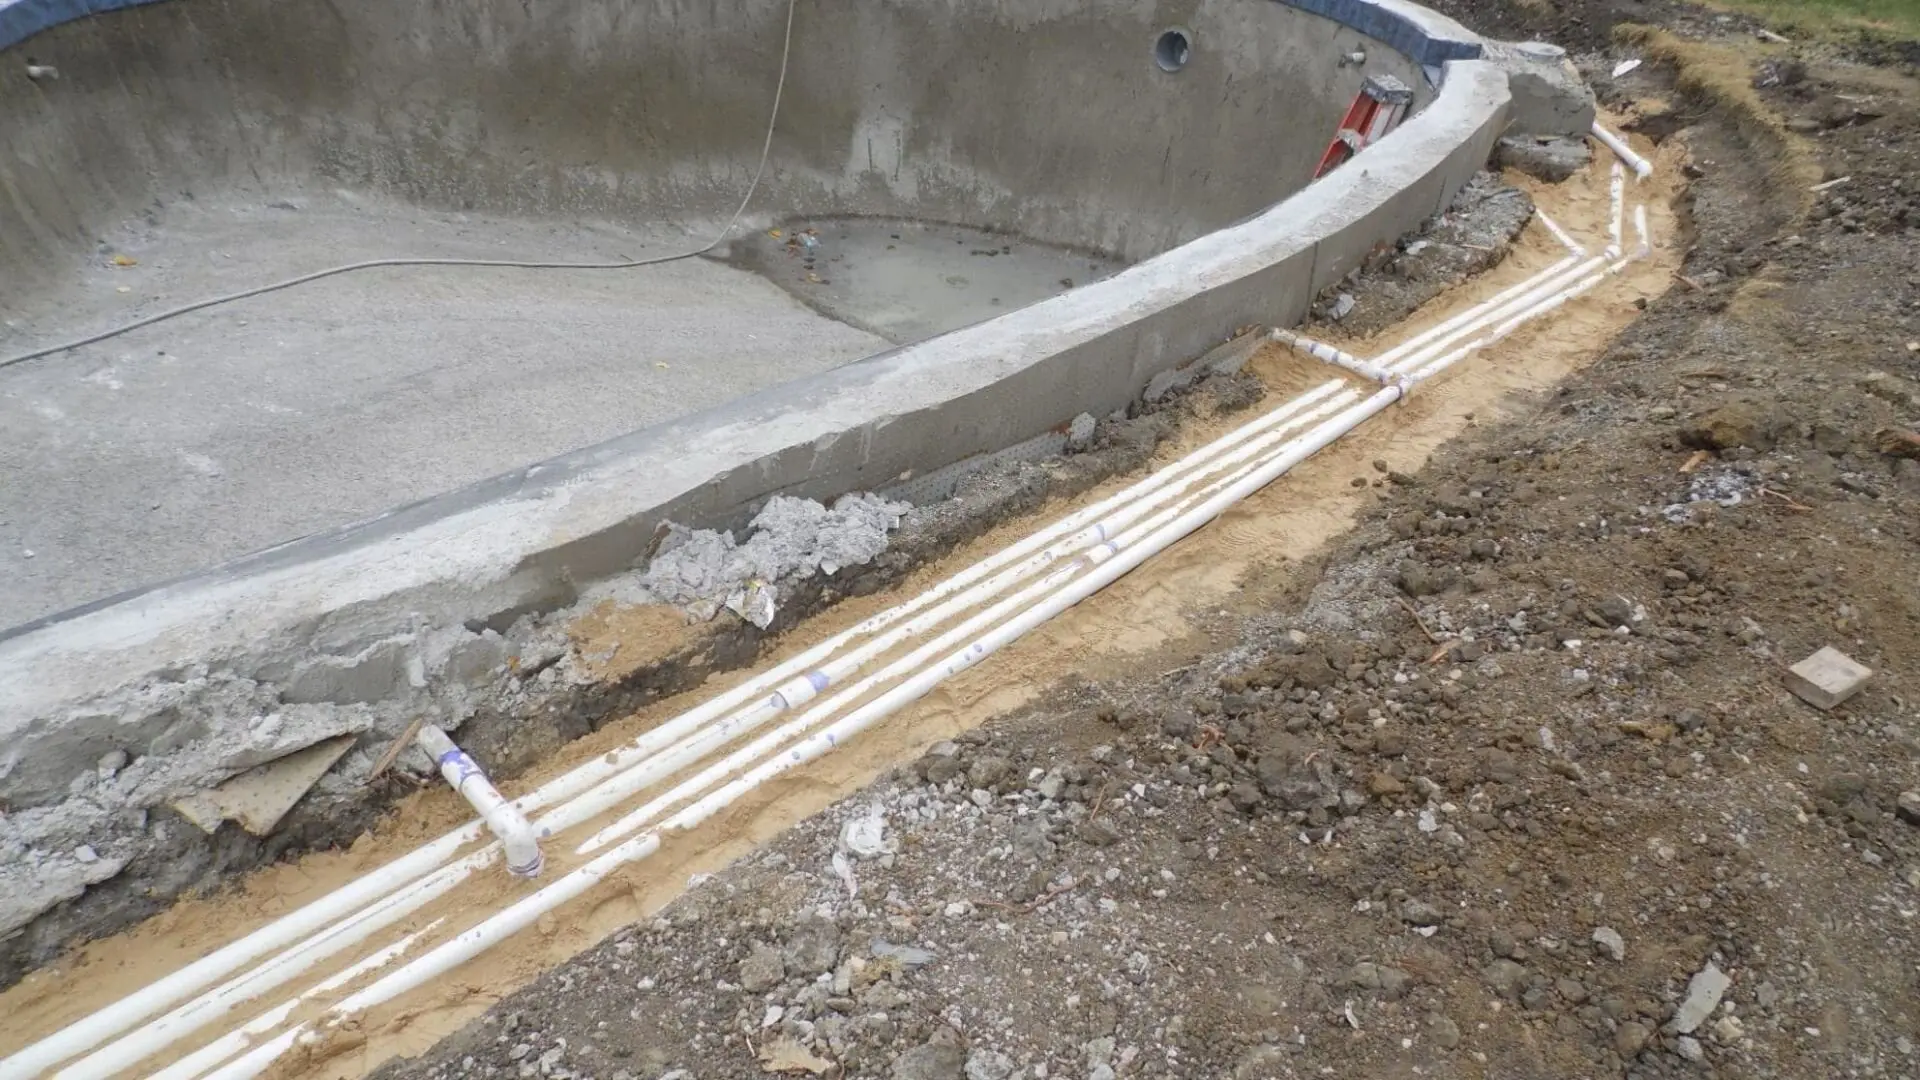
The most common material used for pool piping systems is polyvinyl chloride (PVC), which accounts for most residential installations. PVC is affordable, durable, and chemically resistant, making it well-suited for pool pipes that will be buried underground.
It is available in various schedules, with Schedule 40 being the thickest and most rigid. Another option is chlorinated polyvinyl chloride (CPVC), a variation better suited for hotter climates as it has increased temperature resistance over standard PVC.
![]()
In commercial or high-end pools, fibreglass might be used, offering extra strength but at a premium price. Less commonly, materials like copper, stainless steel, or polypropylene are found in unique setups or when replacing outdated pipes.
The type of material should match what your existing plumbing is made of to ensure compatibility when cutting in new piping sections or fittings. Understanding the material properties can also help you select the best glues, cements, or repair methods.
Prevention And Maintenance Tips
![]()
The best way to stop leaks is by staying on top of regular maintenance and inspections of your pool’s plumbing. Check all visible pipes and connections every month for cracks, splits, damp areas, or corrosion.
Please pay close attention to where pipes enter fittings and how they lay across concrete. Provide proper support if movement is detected. Also, mark your calendar to replace rubber washers, o-rings, and gaskets every 1-2 years before they dry out and become brittle.
Catching minor issues early can save time and money by preventing major repairs or complete replacements.
Seal The Leaks, Preserve The Bliss
With the right tools and materials and following the steps outlined in this guide, you should feel confident finding and fixing common leaks in pool plumbing systems. Preventing issues through regular maintenance will save you repairs down the road.
However, if a leak has you stumped or a more complex problem arises, don’t hesitate to contact the pool pipe experts. WP Plumbing in Melbourne has decades of experience solving pipe repairs, burst pipes, and replacements.
Whether a simple gasket replacement or a full re-pipe of your system, our licensed technicians can handle any job quickly and professionally. Contact WP Plumbing in Melbourne today to schedule an appointment. Your pool pipes will thank you!