A dripping tap isn’t just an irritating sound; it’s a problem that can snowball into a bigger headache. Those constant drips can lead to major water wastage, upping your water bills and possibly damaging nearby surfaces. Getting to grips with what causes a tap to leak is key to fixing the problem before it worsens.
This comprehensive guide examines taps’ anatomy, revealing their intricate components and functions. We’ll explore the most prevalent causes of leaky taps, including worn washers, faulty valve seats, mineral build-up, and loose components.
We’ll also guide you on figuring out where the leak is coming from, whether to go for a DIY fix or call in the pros, and how to maintain your taps to avoid future issues. And if it comes to it, when replacement might be the best option. By the end of this guide, you’ll know how to handle those pesky leaking taps with confidence.
The Anatomy of a Tap
To understand the common causes of leaking taps, it’s essential to grasp the basic components of a tap and how they work together. At the core of every tap is the valve seat, a carefully crafted surface that connects to the water supply line. When the tap is closed, a washer or valve cartridge presses against the valve seat, creating a watertight seal that prevents water flow.
The tap’s body holds vital parts like the valve stem, usually made of brass. This stem links to the faucet handle or tap button and reaches through the tap body. The valve seat ties the faucet to the spout. When you twist the handle, the valve stem moves, making the washer or cartridge either connect or disconnect from the valve seat. This controls whether hot or cold water flows.
![]()
Tap washers and jumper valves are vital components in compression faucets, while cartridge faucets feature a cylindrical body and a metal ball that controls water flow. Regardless of the tap type, these components work in harmony to regulate water pressure and prevent leaks.
However, leaks can occur when these components wear out, become damaged, or fail to function correctly. A worn-out washer or jumper valve, a corroded or damaged valve seat, mineral build-up, or loose parts can all contribute to leaking taps. Proper installation and regular maintenance ensure these components work as intended, preventing excessive water waste and potential water damage.
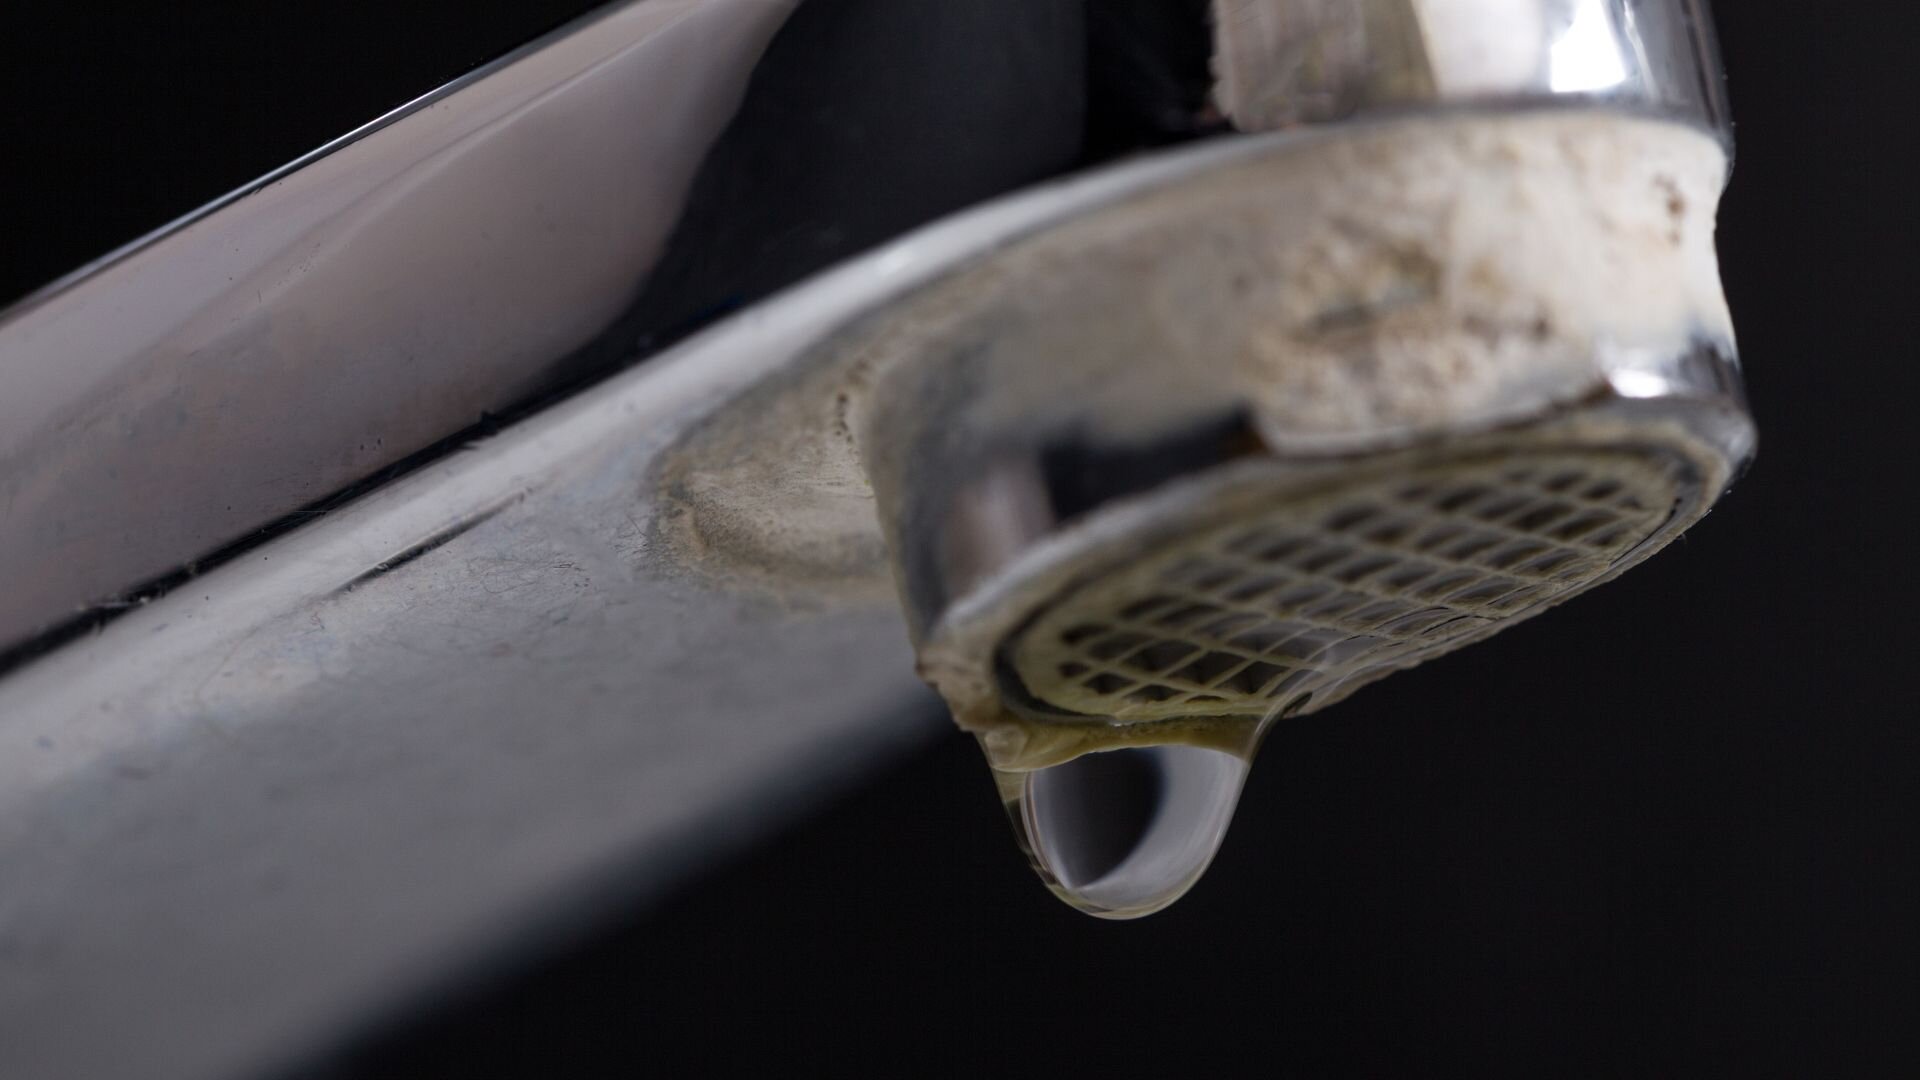
Common Causes of a Leaky Tap
![]()
Worn or Damaged Washers/O-rings
Washers and O-rings are small yet crucial components that play a vital role in preventing leaks. Over time, these rubber or synthetic components can deteriorate due to wear and tear, exposure to heat, and mineral build-up from the water supply. As washers and O-rings age, they become brittle, lose flexibility, and develop cracks or distortions.
When washers or O-rings are worn out, they fail to create a proper seal between the valve seat and the faucet spout or tap handles. This allows water to seep through, resulting in a dripping faucet or leaking tap. In compression faucets, a broken washer or jumper valve can cause a continuous leak, while in cartridge faucets, a worn O-ring may lead to a minor leak or dripping.
To spot worn washers or O-rings, take a closer look for cracks, brittleness, or any warping. If water keeps leaking when the tap’s off, it’s probably time to swap out those parts. Thankfully, they’re not costly and you can usually grab them at the nearest hardware shop.
Faulty Valve Seat
The valve seat plays a key role as it links the water supply to the tap body. It’s what stops water when the tap’s off by forming a tight seal. But with time, it can get damaged or corroded, which messes with its sealing ability.
A damaged or corroded valve seat can result from excessive water pressure, mineral build-up, or improper installation. Even a minor imperfection on the valve seat’s surface can prevent the washer or cartridge from sealing correctly, leading to a leaking faucet or tap.
Signs of a faulty valve seat include persistent dripping even after replacing the washers or O-rings, water leaking from the tap bonnet or valve body, and difficulty turning the faucet handles or tap buttons. You may also notice discoloured or rusty water, indicating corrosion within the plumbing system.
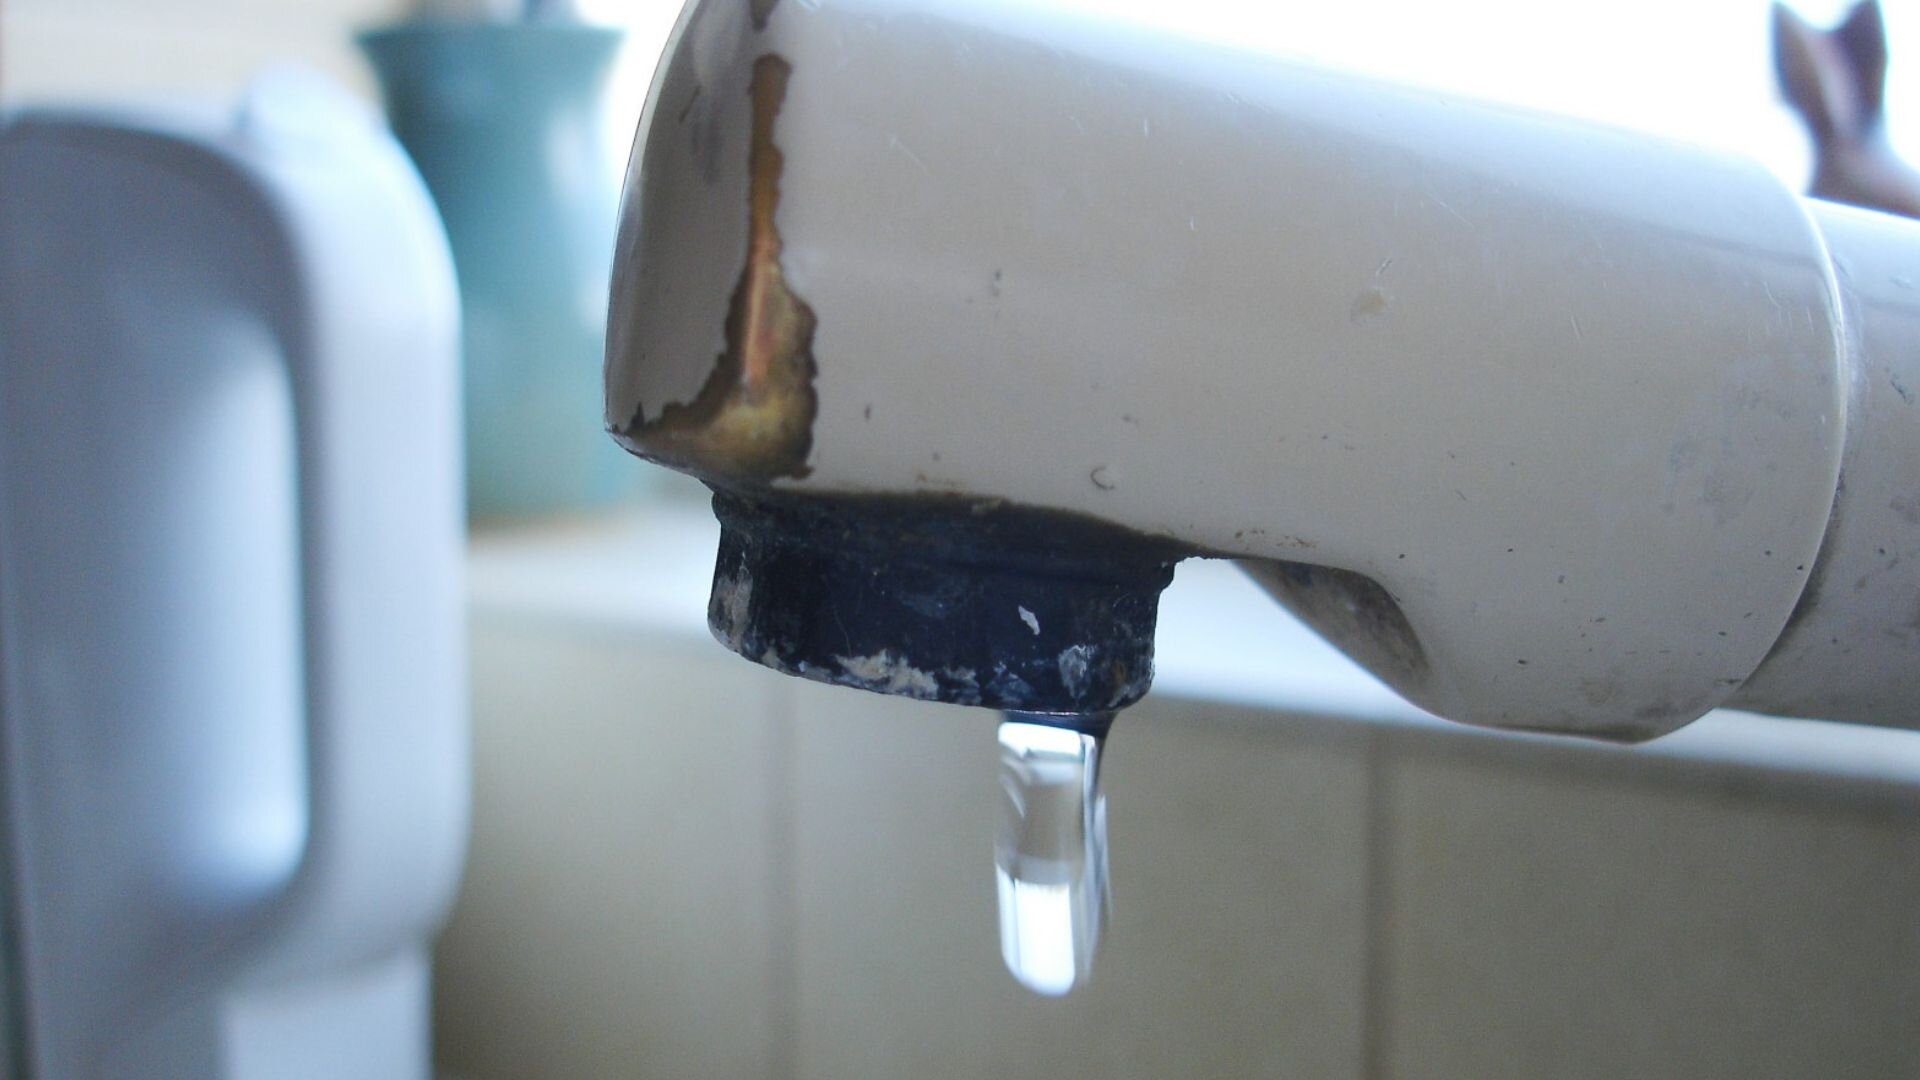
Identifying the Source of the Leak
![]()
Inspect the Tap Closely
Have a look for any clear signs of leaks around the spout, handles, or valve body. Keep an eye out for water stains, mineral deposits, or any dripping water.
Listen for the Leak
Turn off the water supply and let the tap drain completely. In a quiet environment, you may hear the faint sound of water escaping, which can help locate the leak’s origin.
Check the Tap Components
Remove the tap handles, cover plate, or faucet aerator (if applicable) to access the internal components. Examine the O-rings, washers, and jumper valves for signs of wear or damage.
Test the Water Pressure
Turn the water supply back on and observe the flow of water. Excessive water pressure can strain the tap components and cause leaks.
Proper diagnosis is crucial before attempting any repairs, as the leak source can vary from worn washers to faulty valve seats or even issues with the plumbing system itself. If the leak persists or you’re unsure of the cause, it’s best to consult a professional plumber.
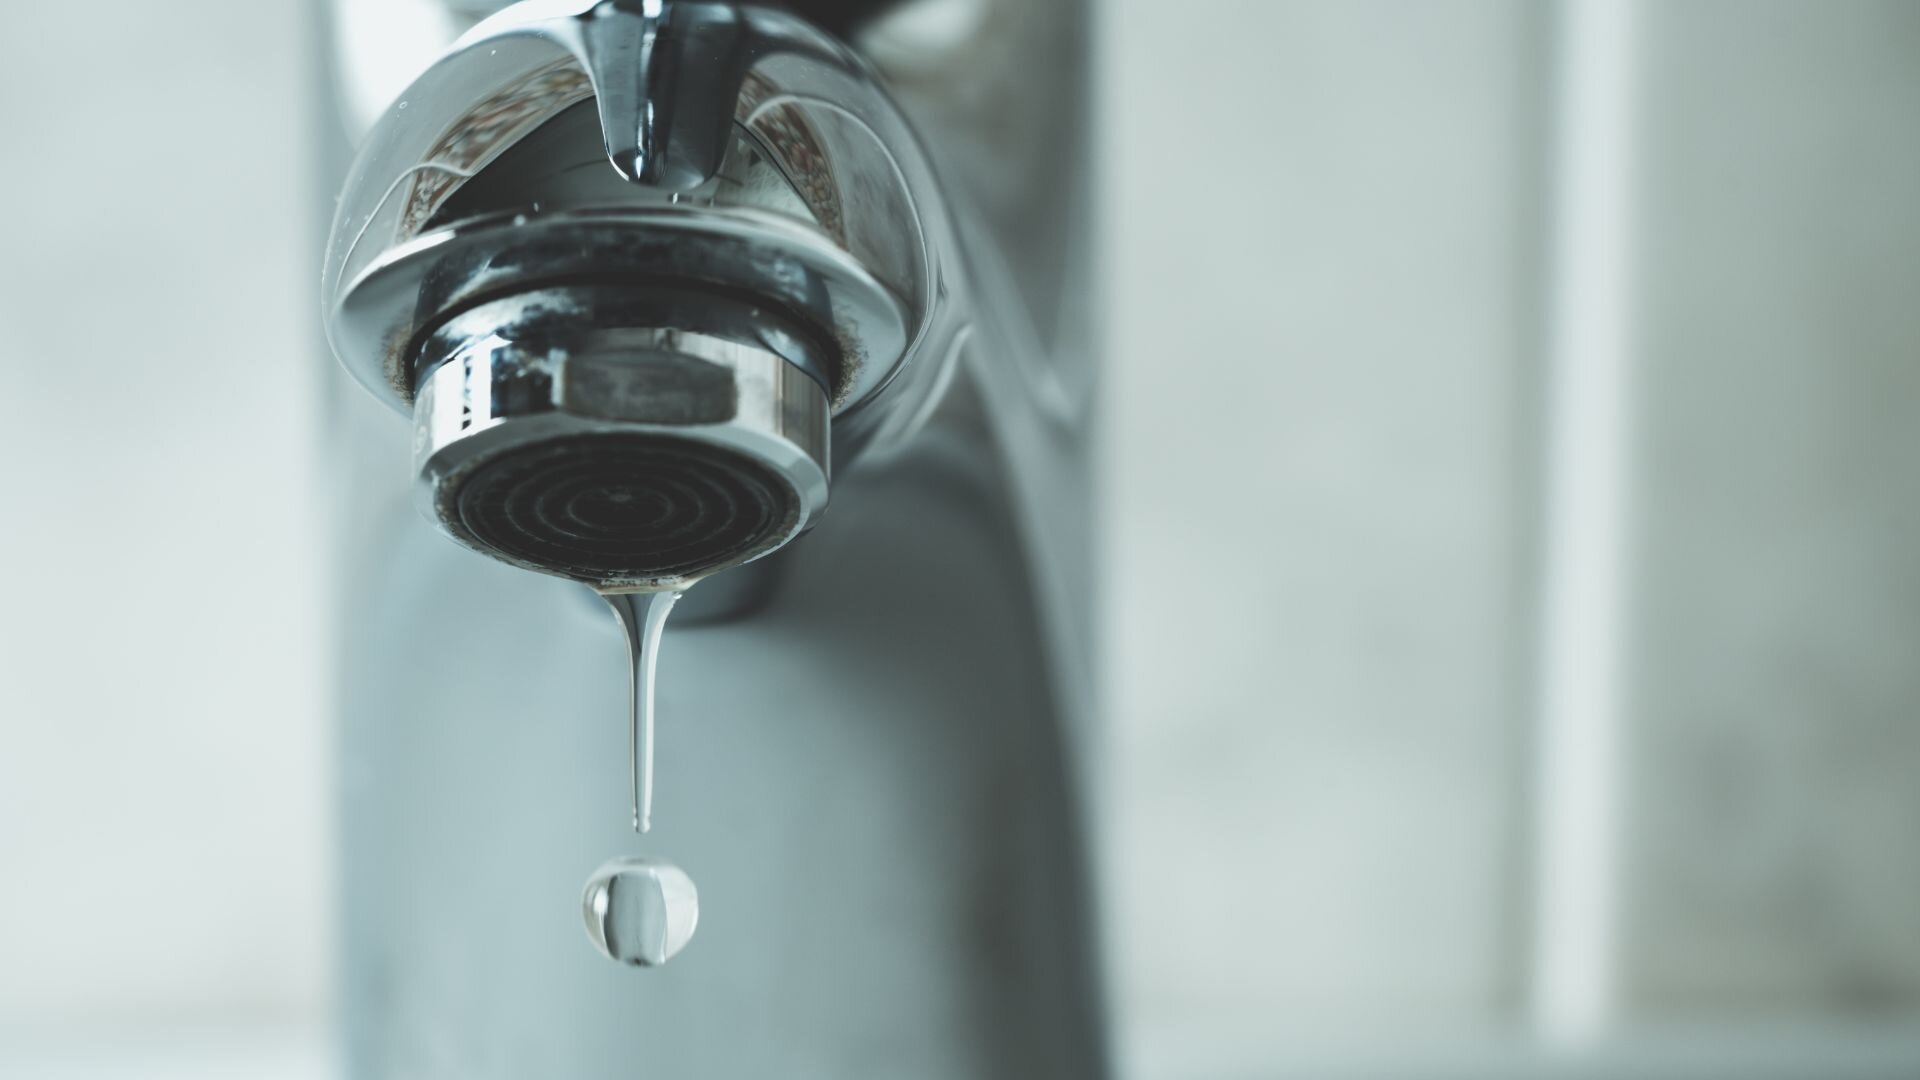
DIY vs. Professional Repair
![]()
DIY Repair Options
DIY repairs can be viable for minor leaks caused by worn washers or O-rings. To replace a tap washer, turn off the water supply, remove the handle and stem screw, and use needle-nose pliers to pull out the old washer. Install the new washer and jumper valve, reassemble the tap, and turn the water back on.
For compression washer faucets, you’ll need to unscrew the stem using a shifting wrench. Once disassembled, replace the rubber washers and any worn parts before reinstalling the valve stem and handles.
When to Seek Professional Help
However, professional assistance is recommended in several scenarios. If the leak persists after replacing washers, it may indicate a faulty valve seat or issues with the home’s water pressure. Attempting complex repairs without proper knowledge can lead to further damage or leaking faucets.
Tree roots, broken pipes, or pipe issues can also contribute to leaks, requiring the expertise of a licensed plumber. Professionals have the tools and experience to effectively diagnose and address these underlying problems.
Benefits of Hiring a Professional Plumber
Hiring an experienced plumber offers several benefits. They can accurately identify the root cause of the leak, whether due to worn components, improper installation, or broader plumbing system problems. With their expertise, they can ensure all repairs are done correctly and efficiently, preventing future leaks and water damage.
While DIY repairs may suffice for minor tap leaks, it’s crucial to recognise when professional assistance is necessary. A licensed plumber’s knowledge and experience can save you time, money, and hassle in the long run, ensuring your plumbing system functions optimally.
Don’t Let a Leaky Faucet Become a Plumbing Nightmare
A leaking tap can be more than just an annoyance – it’s a waste of precious water resources and a potential indicator of underlying plumbing issues. This article has explored the common causes of leaky faucets, such as worn-out washers, O-rings, and faulty valve seats. We’ve discussed methods to identify the source of the leak and guided you on when DIY repairs may be appropriate.
However, it’s crucial to address a leaking tap promptly before it escalates into a more significant problem. Ignoring dripping water can lead to water damage, mould growth, and increased utility bills. Sometimes, the issue may stem from deeper problems within your home’s water pipes or excessive water pressure.
Don’t hesitate to seek professional assistance if you are unsure about the cause or feel uncomfortable attempting the repair yourself. A licensed plumber has the expertise and tools to diagnose and fix the issue properly, ensuring your taps work efficiently and your plumbing system remains in top condition.
Call WP Plumbingfor reliable and affordable solutions to your leaky faucets and plumbing needs.