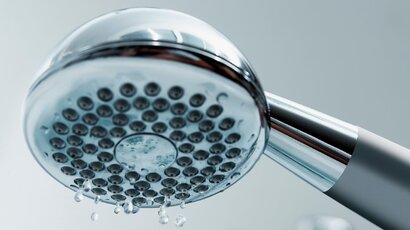
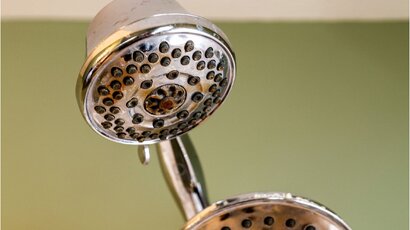
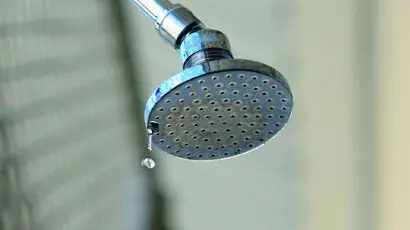
That tiny drip-drip-drip sound you keep hearing? It’s not just water, it’s your money, your peace of mind, and potentially your bathroom walls at risk. While it might seem harmless, a leaking shower head often points to one silent troublemaker: a worn-out washer.
This blog will explain why these sneaky little components cause so many issues and show you exactly how to fix a leaking shower. With a few basic tools, some patience, and our step-by-step guide, you’ll be back to a quiet, drip-free bathroom in no time.
What Causes Shower Head Leaks
So, what makes a leaky showerhead tick? More often than not, it comes down to just a few culprits: a worn-out rubber washer, dodgy o rings, clogged nozzles, loose connections, ormineral deposits building upinside the head. These issues mess with your water flow and cause constant moisture that leads to water leaks and water damage over time.
Washers wear out because they’re constantly exposed to water pressure and mineral buildup. Over time, they crack, harden, or simply lose their shape. Think of it like your thongs losing their bounce—they’re not doing the job anymore.
![]()
Here’s how you can tell if it’s time to replace that washer: Is your shower head dripping even when the tap’s off? Notice water leaking from the swivel or around the shower arm? Maybe there’s an annoying hiss or a spray that seems to shoot off in strange directions. If so, your washer’s waving a red flag.
A leaky shower faucet may not scream for attention, but it’s an issue worth fixing. After all, ignoring that constant dripping showerhead can rack up your water bill and strain your plumbing system. Time to fix a dripping shower and save money while you’re at it.
Tools & Materials Checklist
Here’s what you’ll need to fix a leaking shower head:
- Adjustable wrench – Gets a good grip without damaging fittings.
- Soft cloth or rag – Protects chrome finishes while you twist.
- Replacement washers – Rubber or silicone, these do the heavy lifting.
- Teflon tape – Also known as plumber’s tape or thread seal tape, it helps give threads a watertight seal.
- White vinegar – Breaks down mineral buildup without harsh chemicals.
- Old toothbrush or small brush – Ideal for scrubbing away gunk.
- Bucket or towel – Catches excess water and mess.
Each item on this list helps make your job easier, cleaner, and more precise. And if you’re missing something? Your local hardware store’s got you covered.
Prepping Your Work Area
Before you dive in, get your workspace sorted.
First up, turn off the water at the main water supply or use the water shutoff valves built into your bathroom, if available. You don’t want a sudden geyser mid-job.
Next, lay a towel or place a bucket under the shower to catch any excess water. Don’t forget to cover the drain—there’s nothing worse than watching a washer or screw vanish down the plughole just as you’ve unscrewed the entire shower head.
Working with older plumbing? Take extra care. Some fittings can be fragile after years of use and mineral deposits. Safety and convenience go hand in hand, and a bit of prep now saves a headache later.
Removing the Shower Head
Let’s start with getting the shower head removed.
Wrap a soft cloth around the shower arm to prevent scratching the finish. Then grab your adjustable wrench and turn the shower head in a clockwise direction—gently. If water’s left inside, let it drain into your bucket or towel.
Now, if the shower head doesn’t budge, don’t panic. It might be stuck due to mineral buildup. Mix equal parts vinegar and hot water, soak a rag in it, and wrap it around the shower head. Let it sit for about 30 minutes. This should loosen any stubborn sediment buildup.
Still not moving? Try using a deep socket wrench for better leverage, but always with care. Forcing it might damage the shower arm threads or the valve body.
And if you notice water leaking from behind the shower head before you even start, your leak may be deeper in the system, possibly around the shower valve or diverter valve.
Locating & Removing the Old Washer
Once the shower head is off, have a good look inside where the swivel ball joint connects. That’s usually where the rubber washer or o rings live. Sometimes you’ll find a retaining clip or a small screen filter too.
Use your fingers or a small flathead screwdriver to gently pry out the washer. Be careful not to damage the inside or scratch the valve seat.
Not sure what you’re looking at? Snap a photo before you pull things apart—it makes reassembly much easier, especially if there are extra components like a shower cartridge or screen hiding in there.
While you’re in there, check for signs of wear like cracks or stiffness. A flat or brittle washer is as useful as a wet tissue. That’s likely the reason behind your dripping tap or leaky shower faucet.
Choosing the Right Replacement Washer
Not all washers are created equal.
You’ll typically choose between a rubber washer and a silicone one. Rubber is flexible and common, but silicone tends to last longer and resist hard water. Size is crucial—diameter and thickness need to match the old one exactly to create a watertight seal.
Avoid grabbing a generic washer pack and hoping for the best. If you’re unsure, take the old washer to the hardware store and ask for help. A mismatched washer won’t sit properly, and your leaking showerhead issue will stick around like a bad smell.
Cleaning the Shower Head & Parts
Now’s a great time to clean the entire shower head.
Soak it in white vinegar for 30–60 minutes to dissolve limescale and sediment buildup. If it’s really crusty, use a small brush or old toothbrush to gently scrub around the nozzles, swivel, and internal parts.
Be thorough but gentle—you don’t want to scratch or bend anything.
Wipe down all the threads on the shower arm and inside the head with a soft cloth. This ensures your plumber’s tape will grip properly during reassembly and prevents further leaks from loose connections.
Pro tip: Even a perfect washer won’t help if debris is still stuck inside the head or clogging the spray nozzles.
Installing the New Washer & Reassembling
![]()
Slide the new washer into place, making sure it fits snugly into the joint. If there was an o ring or screen, reinstall those too.
Next, wrap new thread seal tape (aka plumber’s tape) around the shower arm threads in a clockwise direction. Two to three wraps should do the trick. This helps prevent leaks and creates a watertight seal between the fittings.
Reattach the shower head by hand first to line it up properly. Then use your adjustable wrench to tighten it slightly—don’t overdo it. Over-tightening can crack the shower head or damage the valve body.
Make sure the head sits flush and faces the right way. A crooked or skewed head won’t just look off—it could spray unevenly or leak from the side.
Testing the Repair
Time to test your handiwork.
Turn on the water gradually and watch for leaks. Check around the shower head, shower arm, and where it connects to the shower valve.
It’s normal to see a few drips at first—give it a minute to settle. If the leak persists, you may need to double-check the washer placement or rewrap the plumber’s tape more tightly.
Listen out for hissing or inconsistent spray patterns. These could suggest a loose fit or missed sediment. If everything’s quiet and dry, you’ve officially fixed your dripping showerhead.
When to Call in the Pros
Sometimes a DIY isn’t enough.
If your shower head leaking continues after a washer swap, or the shower arm threads are stripped, it’s best to call in a professional plumber.
Older homes may have worn valve seats, rusted fittings, or a dodgy shower cartridge deep in the wall. These need specialised tools and experience.
Don’t stress—calling a plumber isn’t admitting defeat. It’s a smart move when your time, tools, or patience run thin. A pro can fix a dripping tap or leaky faucet faster and more safely, saving you from potential water damage and costly repairs down the track.
Water Saving Tips Post-Repair
Now that your leaky showerhead is sorted, it’s the perfect time to make a few more water-smart choices.
Install a low-flow new shower head to cut back on water wastage without sacrificing pressure. These are easy to find and make a noticeable difference to your water bill.
Avoid overtightening taps—it wears out faucet washers and can lead to leaks.
And make a habit of regularly cleaning your shower head to prevent mineral deposits and keep water flowing smoothly. Small steps like these help your plumbing system last longer and your bathroom stay dry.
Let’s Fix It for Good
Washer replacements might seem like a small task, but they make a big difference. Not just for your water bill, but for peace of mind. Fixing a dripping shower head means less water wastage, fewer repairs down the line, and no more annoying midnight drips echoing off your bathroom walls.
But we get it, not everyone wants to deal with diverter valves, shower cartridges, or stubborn fittings. That’s where we come in.
If your leaking shower head’s proving stubborn, or you simply want it done right the first time, WP Plumbing is here to help. We offer expert plumbing services across Melbourne, from compression faucet repairs to complete bathroom fittings.
Don’t let a small drip turn into a big problem. Get in touch today and let us sort it out properly.


